I pour my nectar of the gods (Bacchus) and ruminate upon my week. I cast my nuggets of information (can't say wisdom) upon the ethereal sea and hope they wash up as flotsam on your electronic beach. Then the beach cleanup crew comes by and throws it all in the trash. It ain't ambergris. OK, my two faithful blog followers, we are schlepping toward some sort of progress. Sunday was a screw off day. Ben mulled over beam top blocks (don't bother your pretty little head). I mulled over nothing except the pins in the beams. It was, in the U.S., the official end of summer: Laborial day weekend, or something like that. Wherein the kids are in school and the quantitative American psyche twists into thoughts of fall, cooling weather, football, pilgrims, nips of frost on proverbial pumpkins, and hunkering down for the cold months. And a big thankya to Ken, ATW, for his comments. Fifty percent of my blog followers (Ken) demands more. Maybe we will drag ourselves into the new millennium and put out a new medium in a shameless attempt at grubbing for filthy lucre. I would have to amend our "donate" page and lower our scruples, so read it while you can......
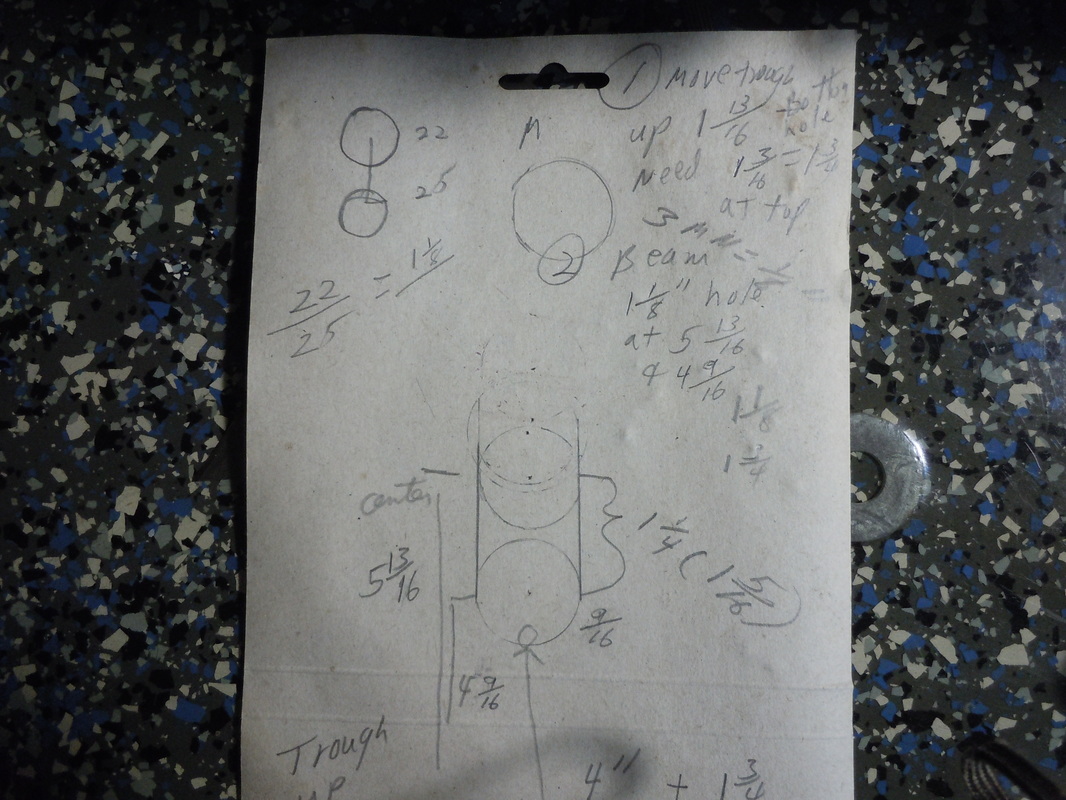
Through the workday our thoughts are anticipating the feel of spray in our faces: the evening shower is all we get at this point. Believe me, in this heat we need it! Ben made a comment that it was a day of normal frustration. We have two types of frustration: Normal, everyday frustration and blinding rage. howl at the universe, tool throwing frustration. There is never a day without frustration. It is is boat building at this scale. Do not try this at home! First, think out the process and make notes. A drawing helps. Something about the trough holes at the top, not the bottom of the beam slot. My mind just exploded! Is everything we do complex???????? Oh yeah!
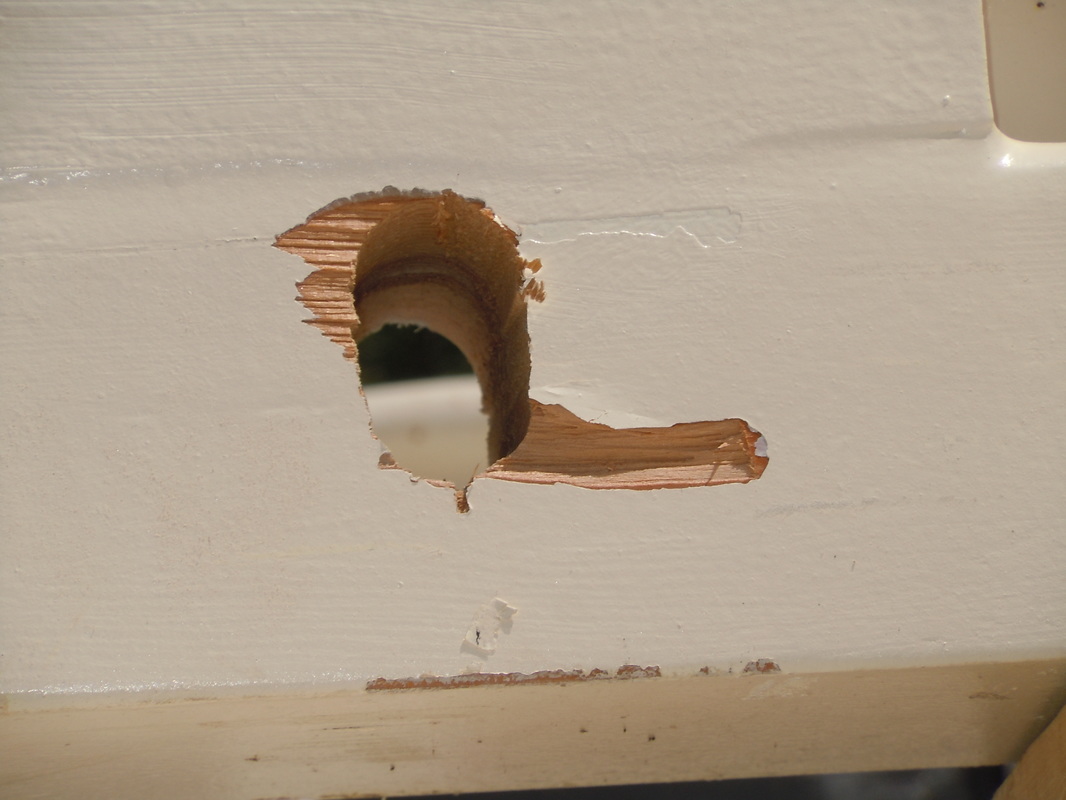
Then execute the plan. Note: the previous holes in the troughs were too low by about two inches (50 millimeters to you metrifiers). A new set of holes was drilled.
Top hole good, bottom hole bad.

Once the new holes were established, we dropped the beams back in and marked the position of the top of the slot using the new trough as reference. I cannot tell you how many times the beams have been in and out. No, wait, we didn't put the beams in. We just moved the reference hole up by the required amount.
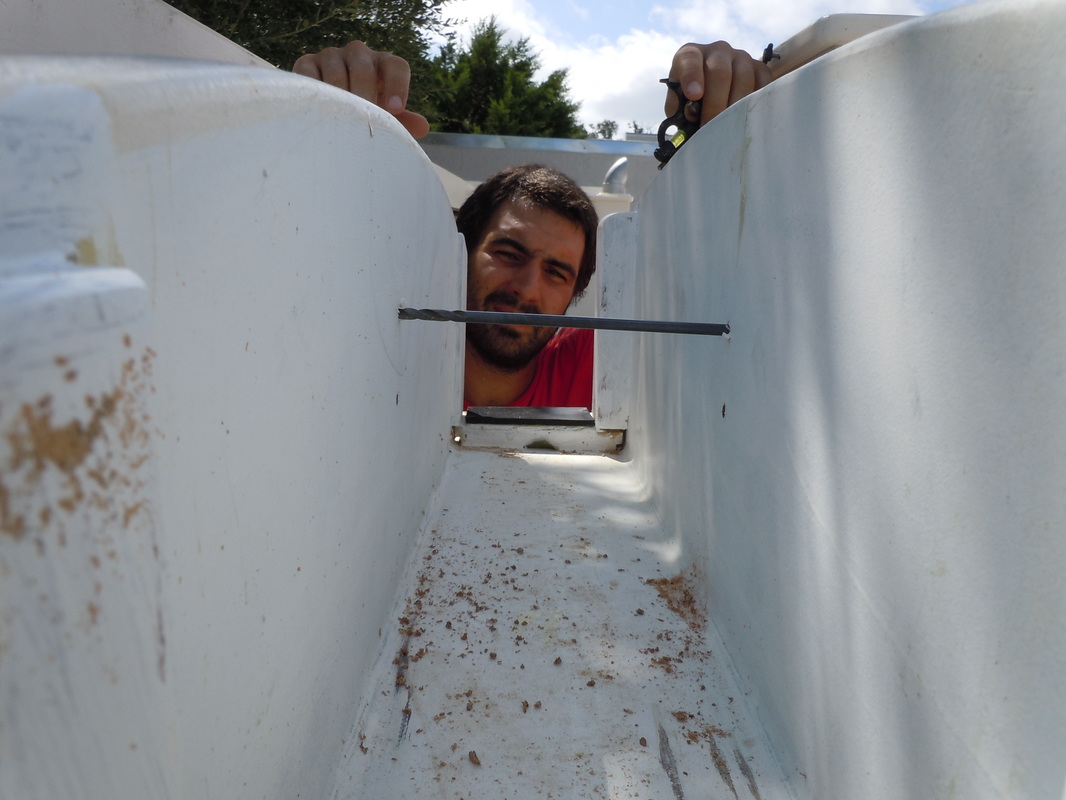
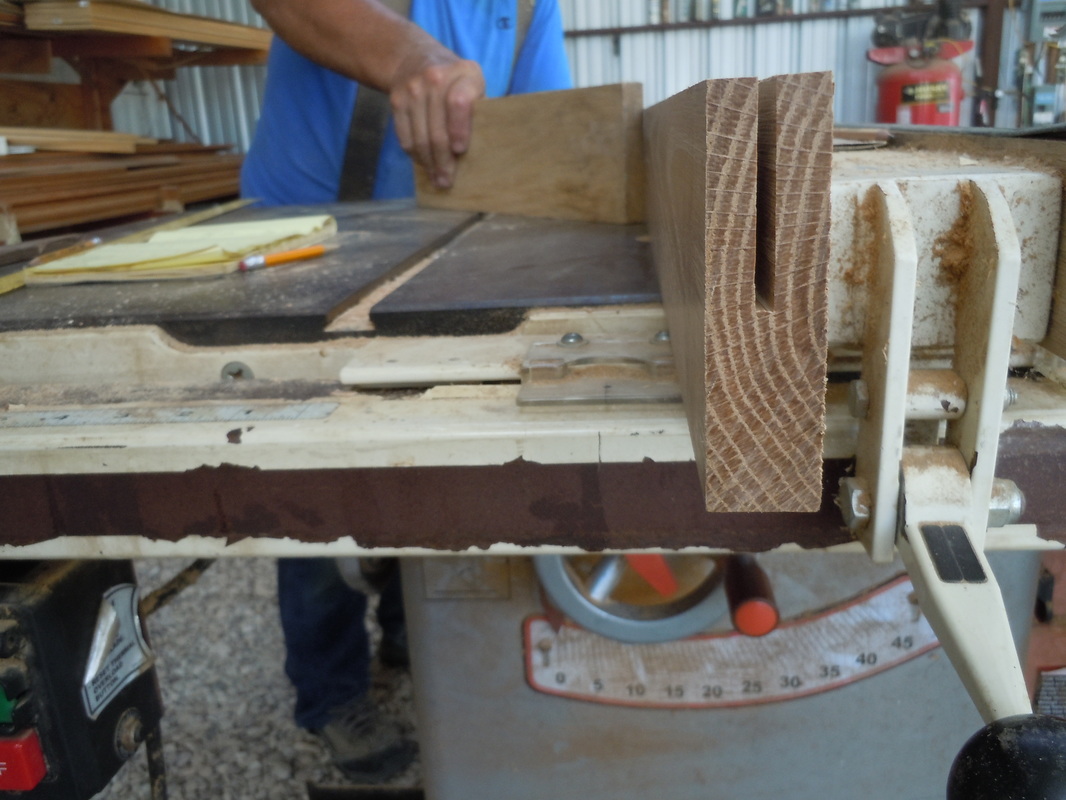
In the beams, drill an over and under hole. Connect the holes to form a slot. A pin through the beam trough walls holds the pin in the slot.
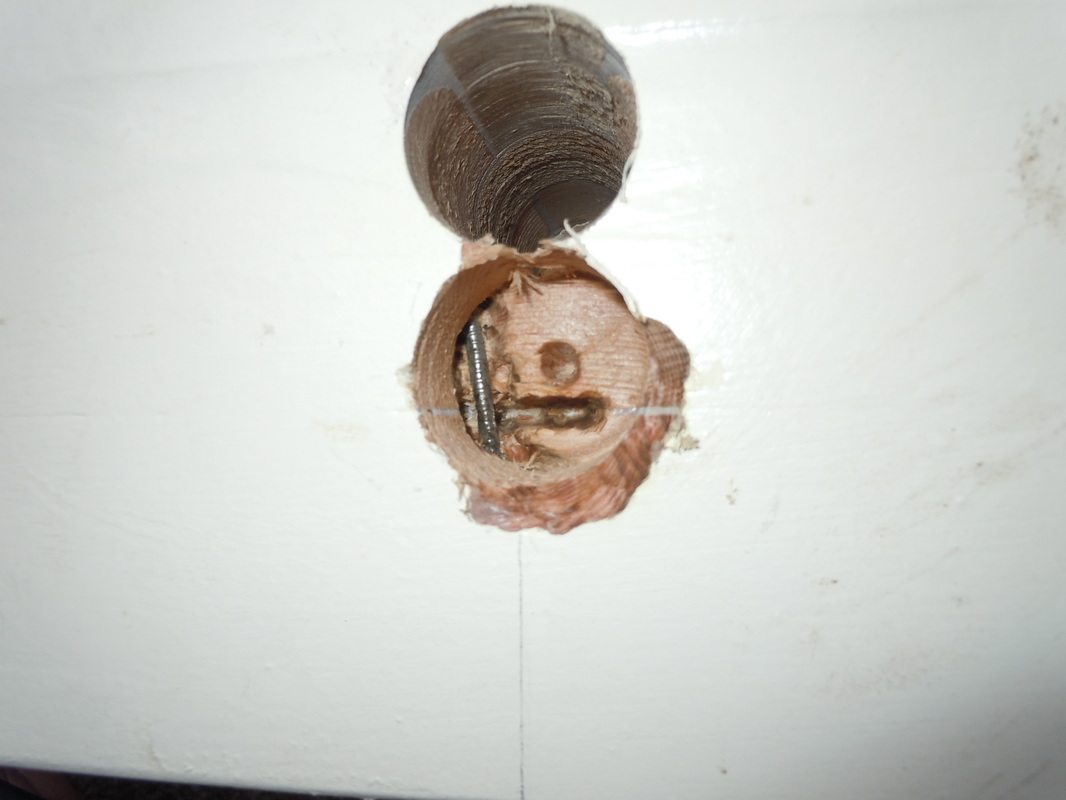
Until the speed bore drill bit connects with the nail!

Then cut around the nail and cut it off. Simple!
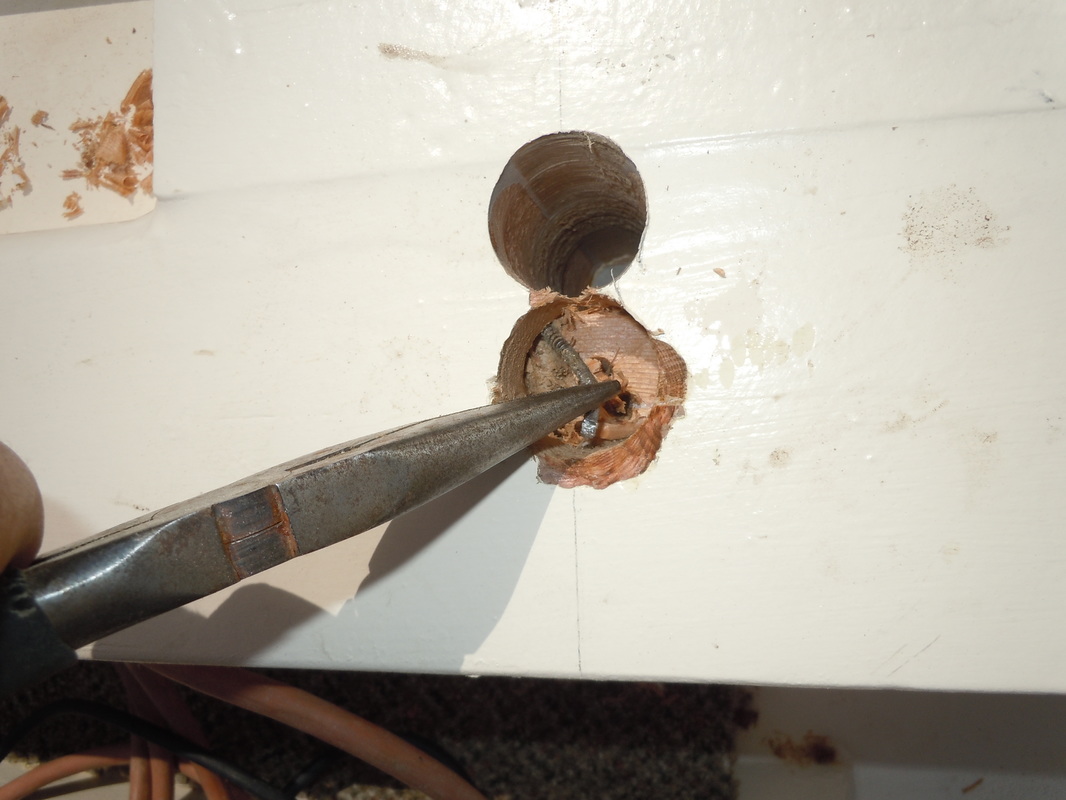
Except that the nail is in the bottom of a 1" diameter hole. Twenty minutes of digging, bending and cussing with various implements finally got one out. We hit a couple more. Is everything we do complex??????? Most assuredly!
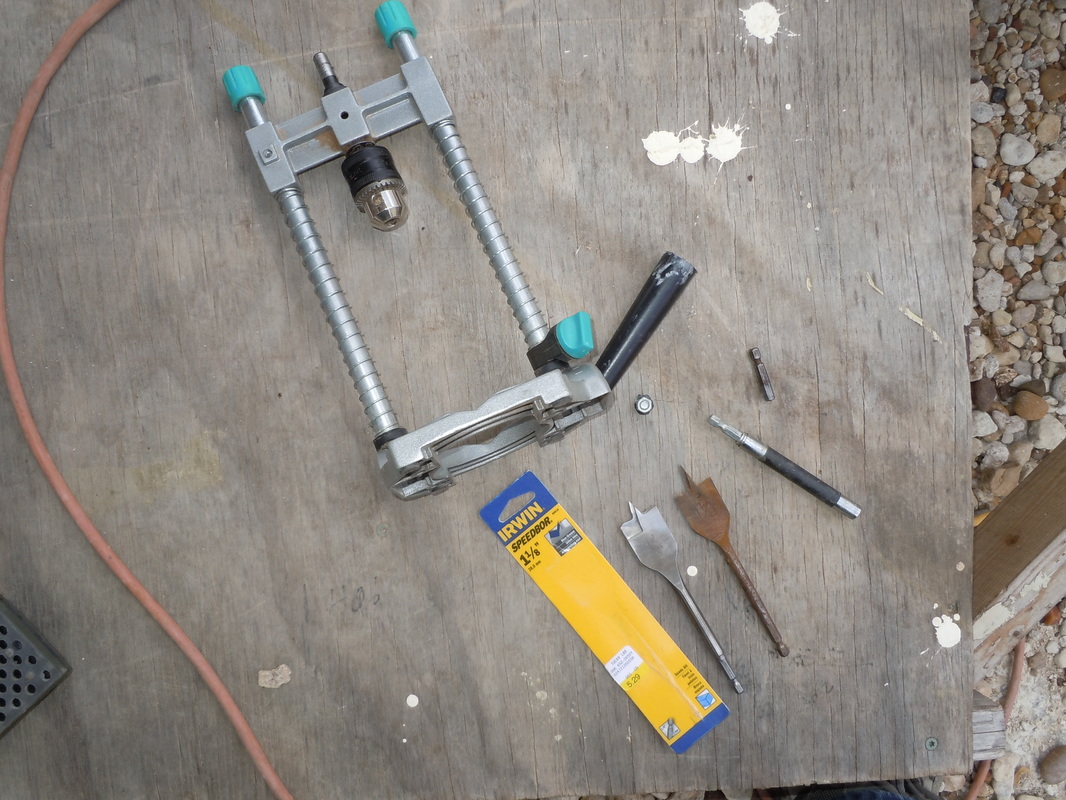
In this process of drilling these 6, six inch deep slots, we destroyed two hex extensions, two paddle bits, and broke the drill guide when it fell off the hull. One paddle bit was sharpened 3 times!
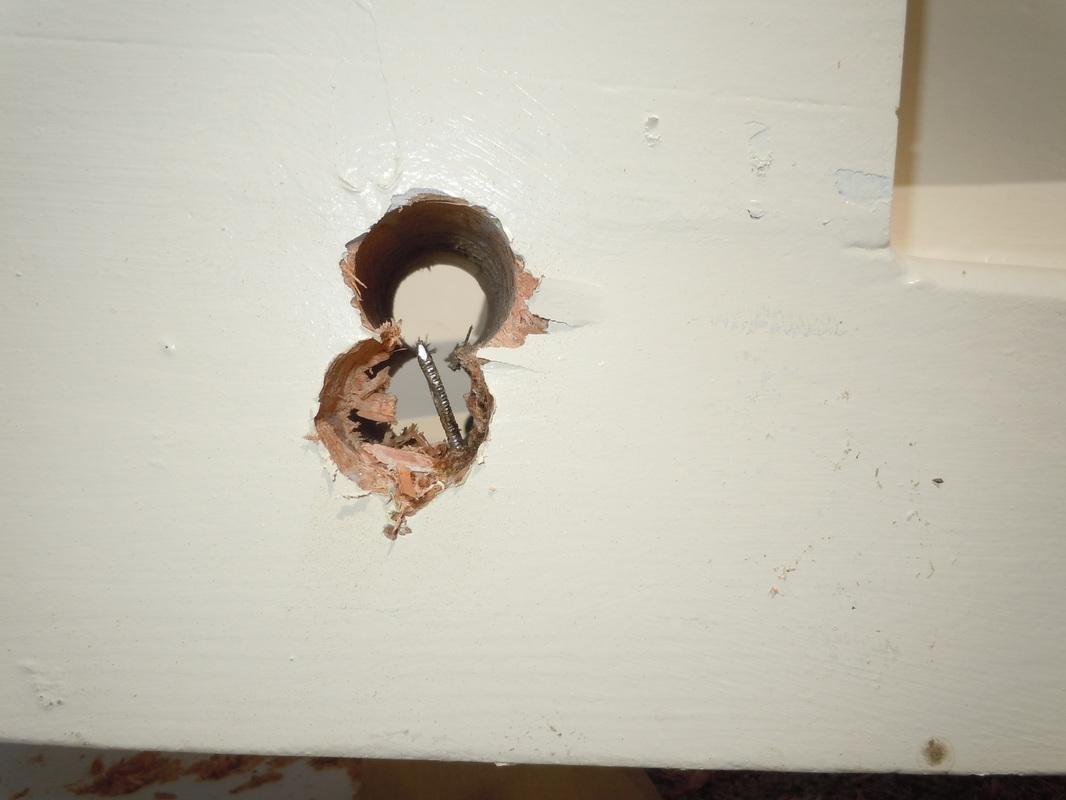
Some holes were really boogered up!
Budge worked them until the back to school crud, dragged home by the kidz, got him. These slots are 6" deep and less than 3" long. Keeping the bit square is a challenge.
This is a cross section of the beams. Ben decided to varnish one of the beam cut offs.
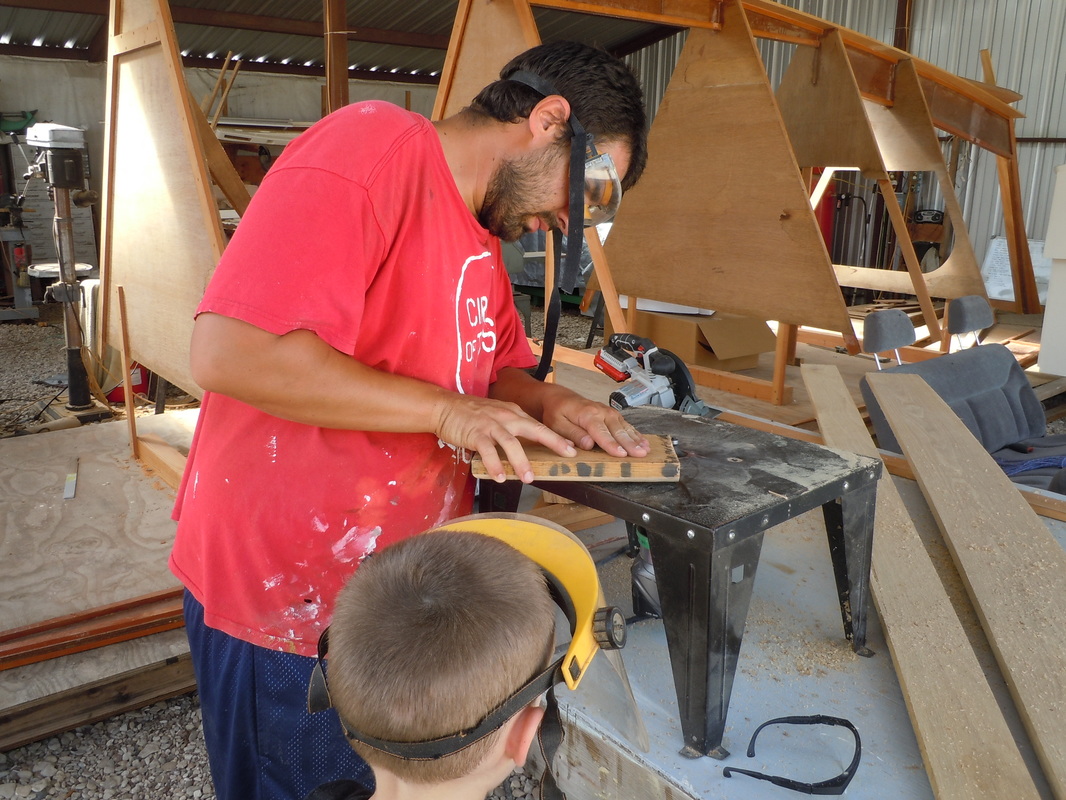
Each beam end has a wood end cap glued to it. Ben worked on cutting them. Not so easy as you think. Each beam was a little different and not so square.
OK..........semi square.
Then Ben turned to the beam top blocks. After starting and rejecting several ideas, he started them. They are just some blocks glued to the beam tops to prevent the lashings from moving down the curve of the beam.
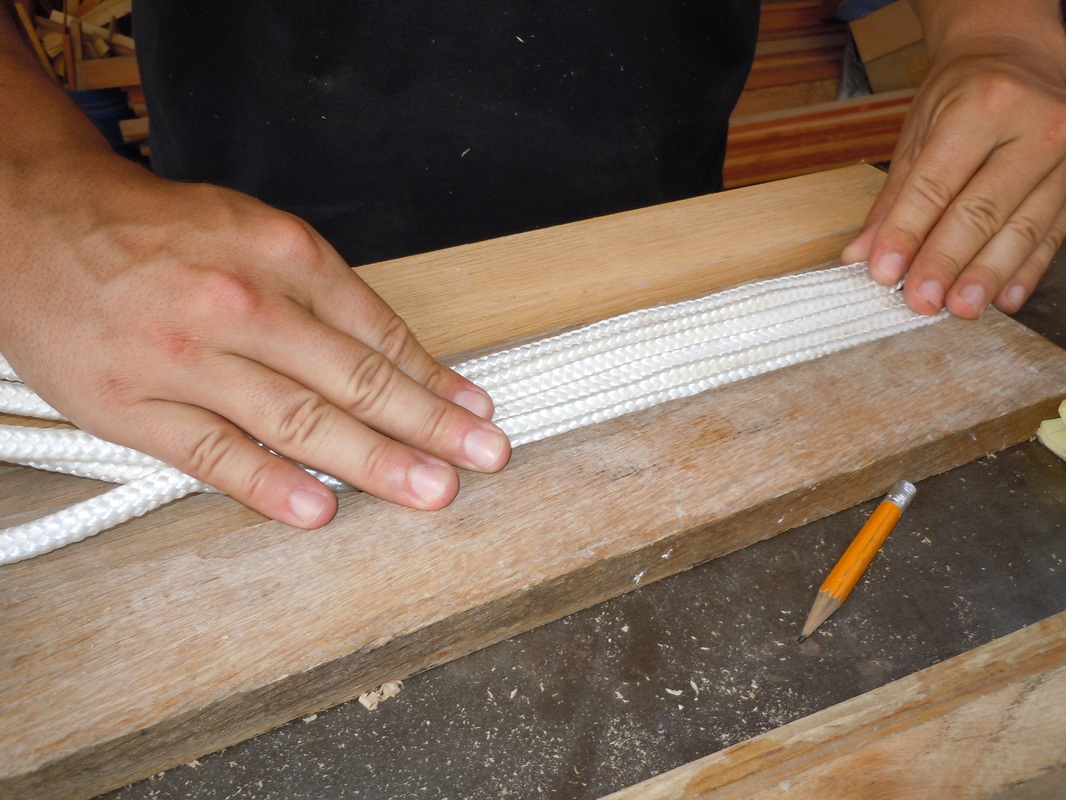
Rejected concept #1, or was it two? Six rope wraps rest on rejected oak cap.
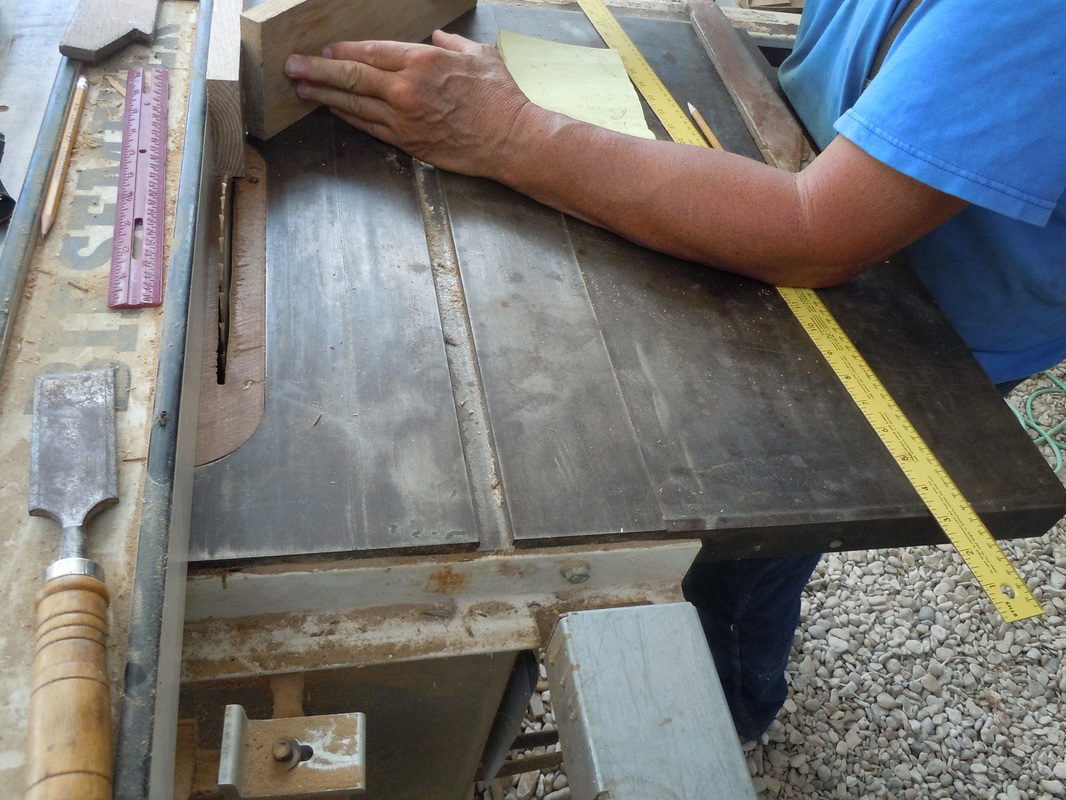
First make thinner boards by sawing thick board halfway through.
Then flip the board and cut the rest of the way. Is everything we do complex?????? Yup!
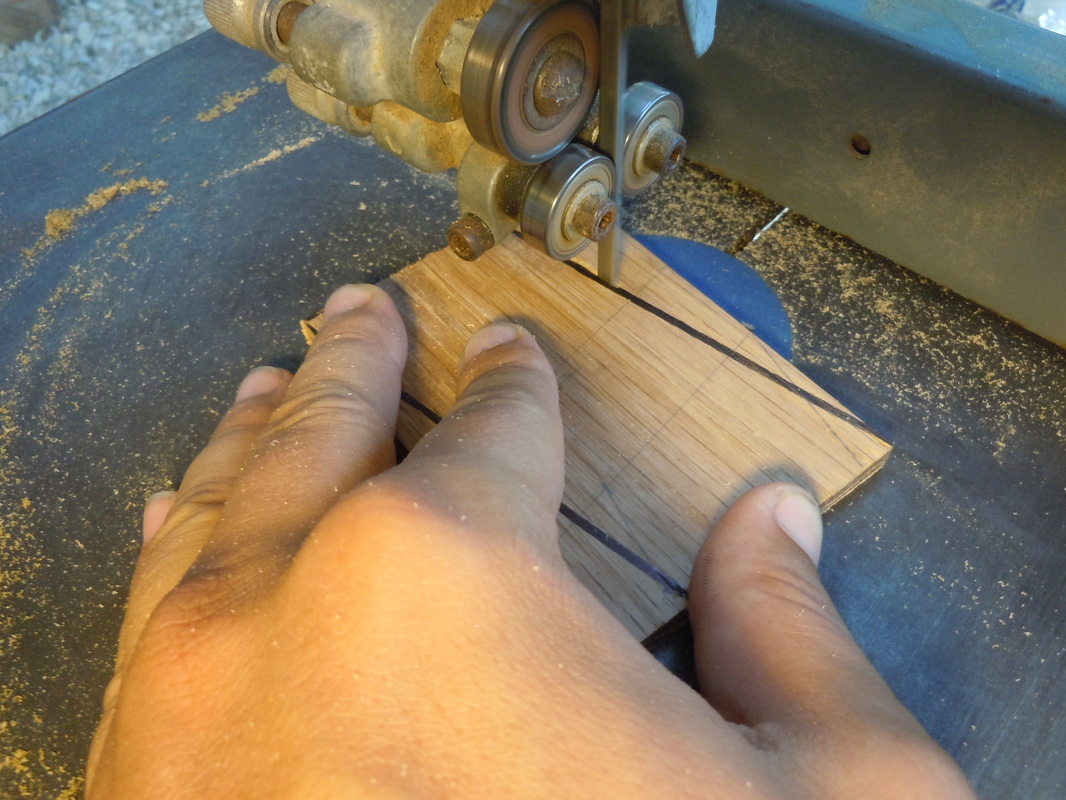
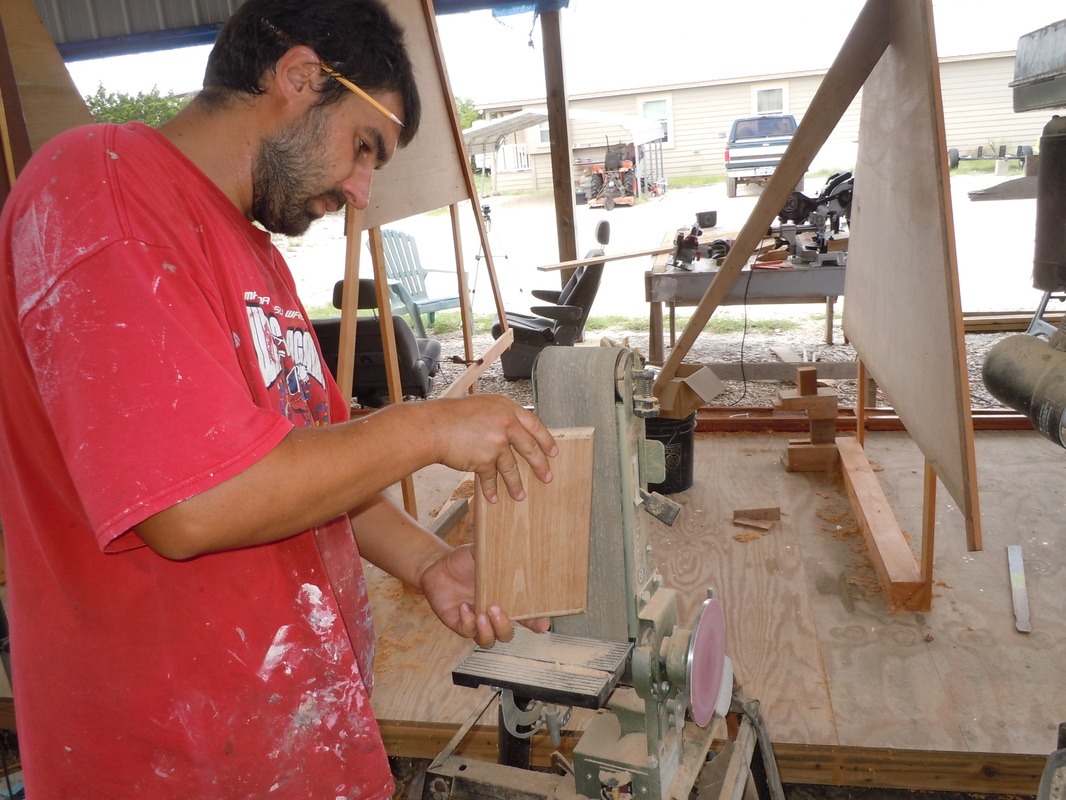
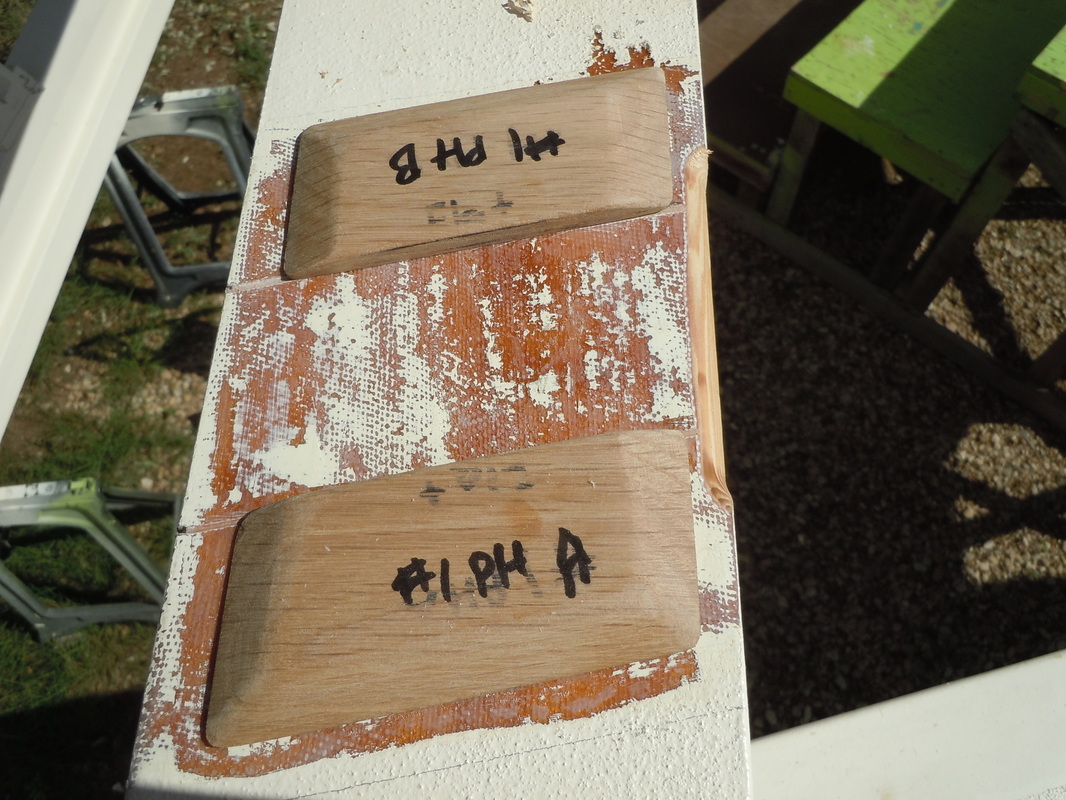
Cut each block to fit the individual beam.
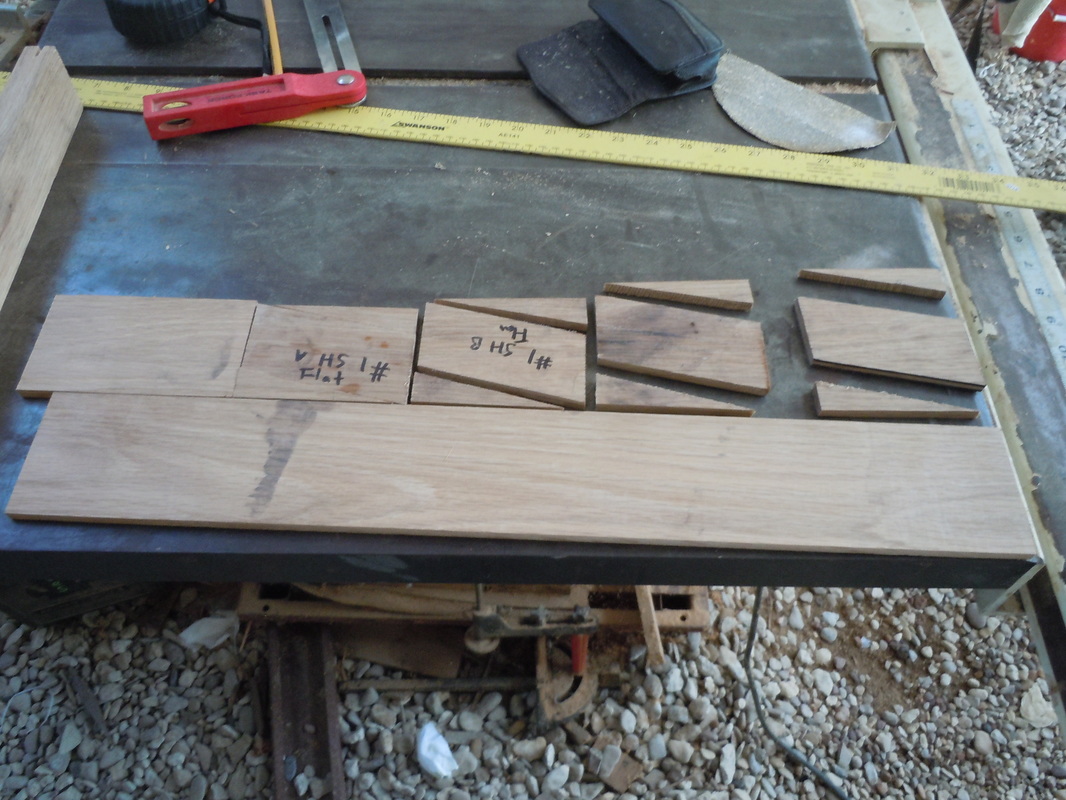
The final blocks, of course. aren't square.
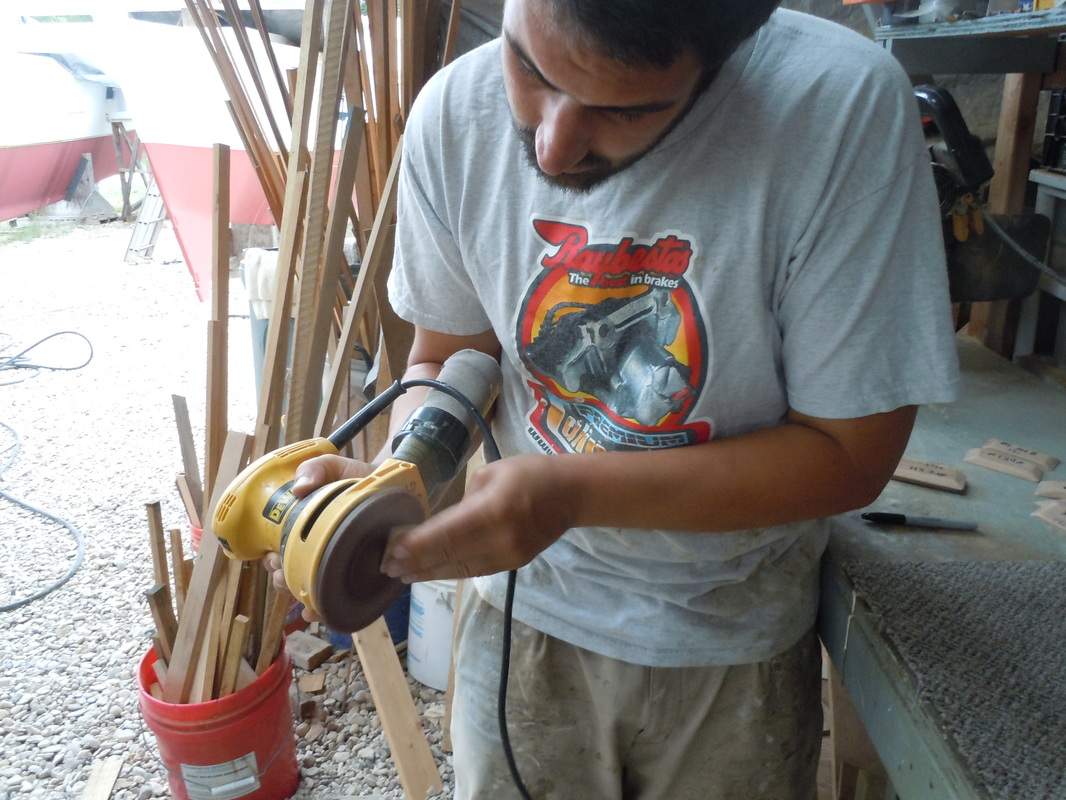
Sand 'em up.
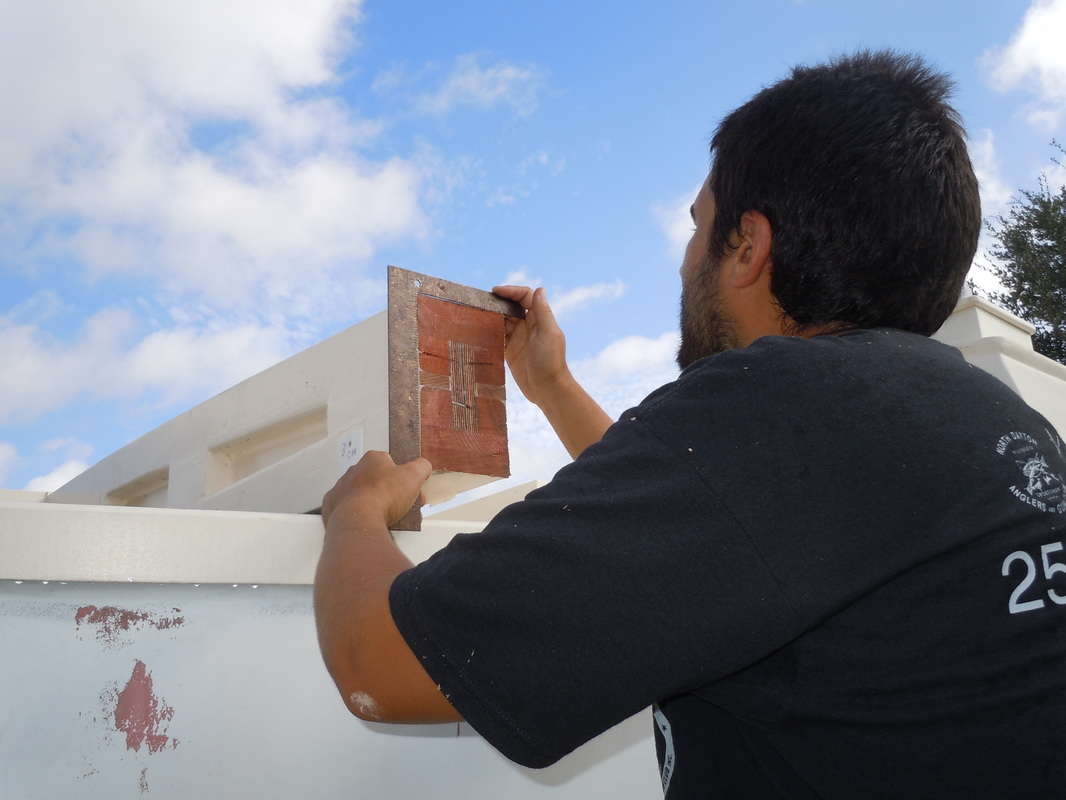
Beam one has two blocks. The others only have one. They are even with the gunwale. Of course you have to scrape off the paint and anti skid material. Then you round over the beam so the lashings won't chafe on a sharp beam edge. Ben will next glue them on, probably glass the area, epoxy coat the blocks, and paint.
Next, drill the bushing holes. OK, here's how it works. Bushings go in beam trough holes. 1" pin goes in bushing through slot in beam and into bushing on opposite side.
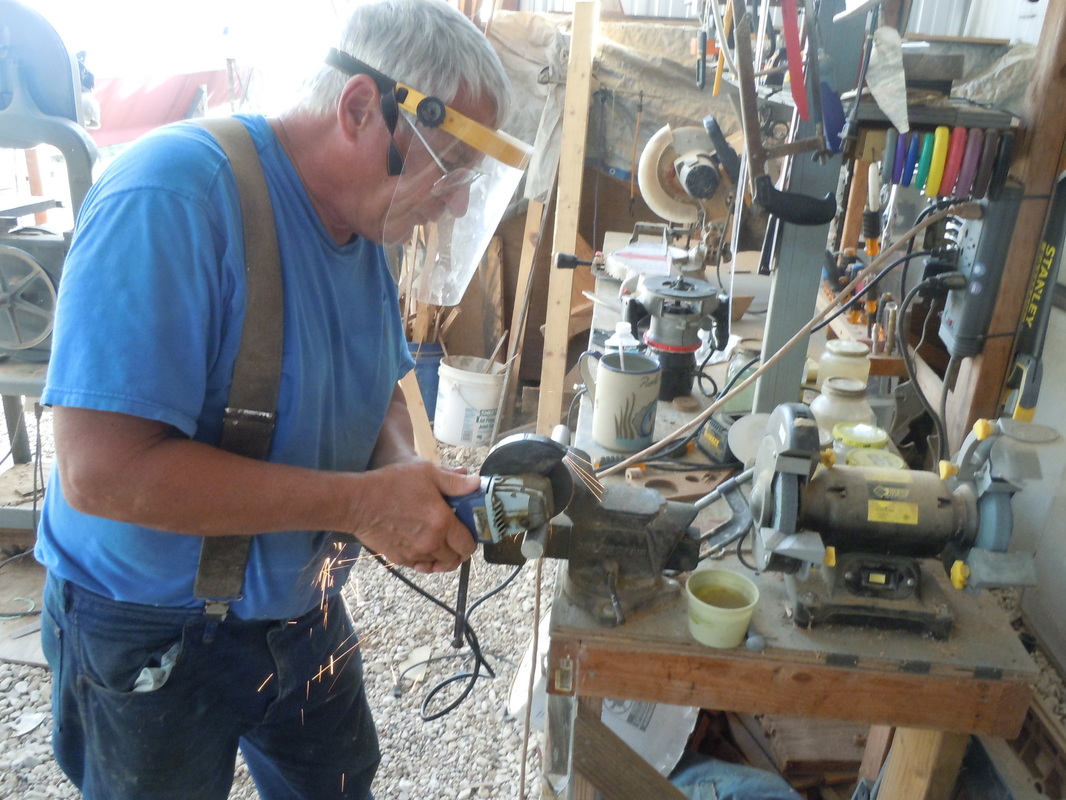
So you need pins cut from stainless rod.
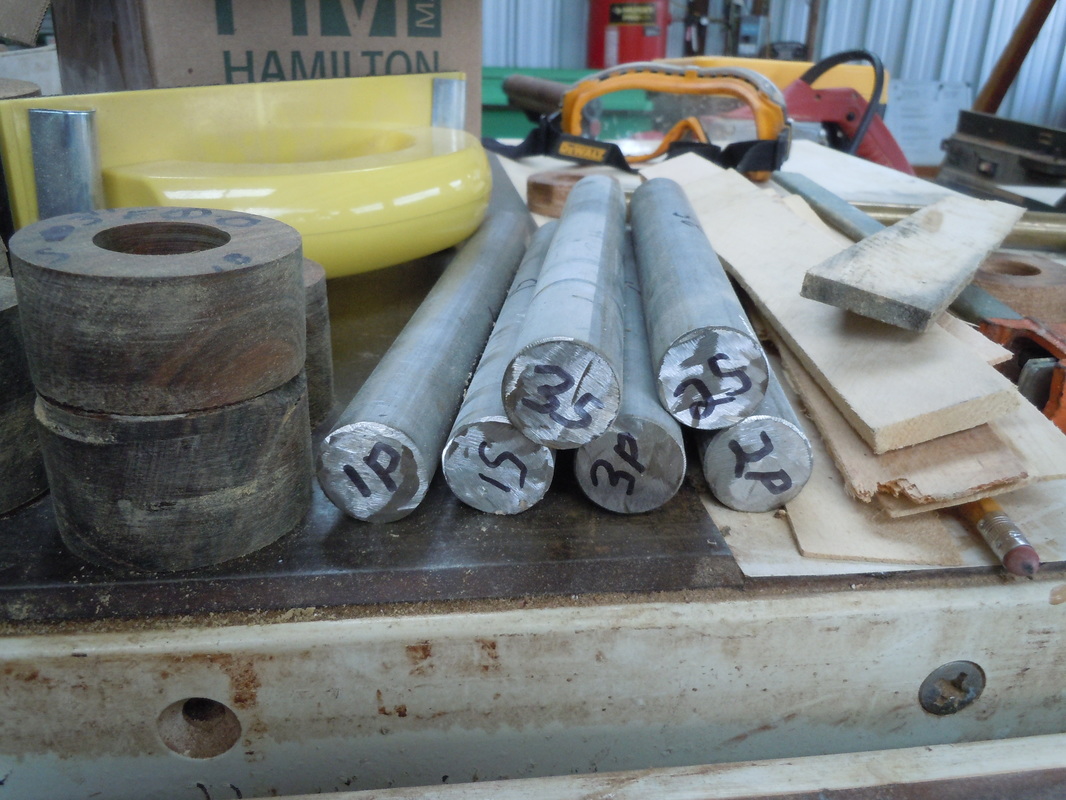
Six of 'em.
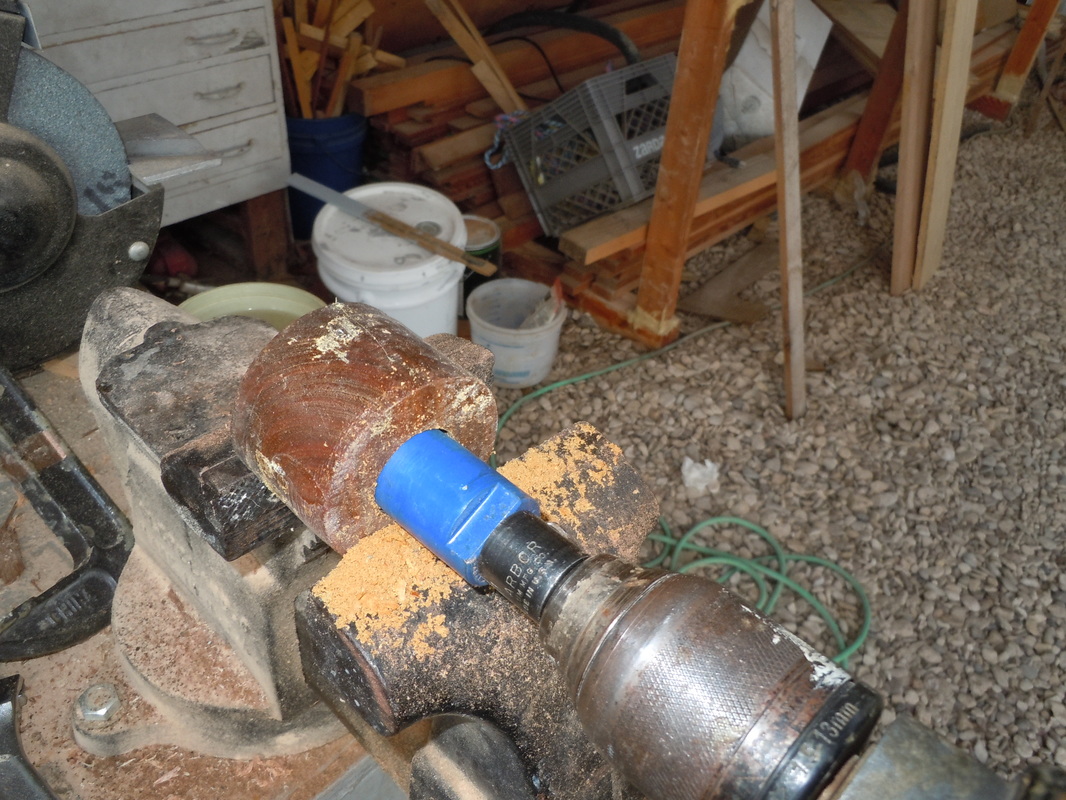
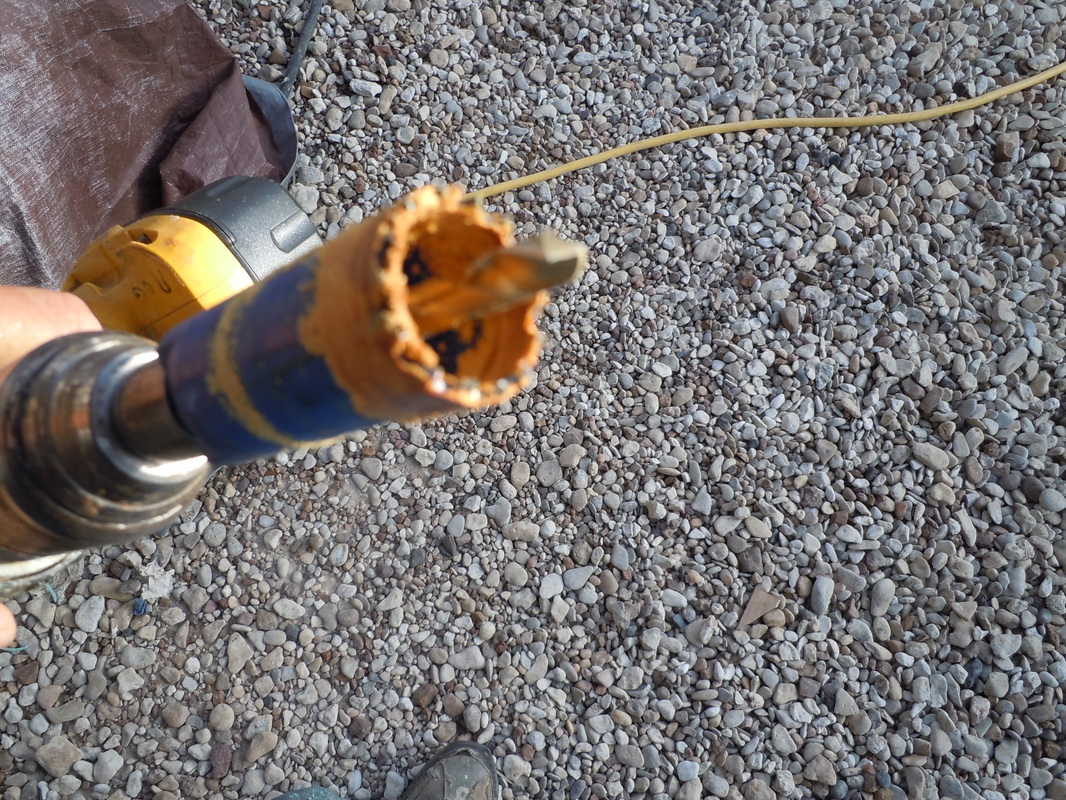
And a dozen bushings drilled with a 1" hole saw. Lignum vitae........I'm stupid!
Stopping many times to clean the gunk off the blade.

And get the wood plug out of the hole saw.
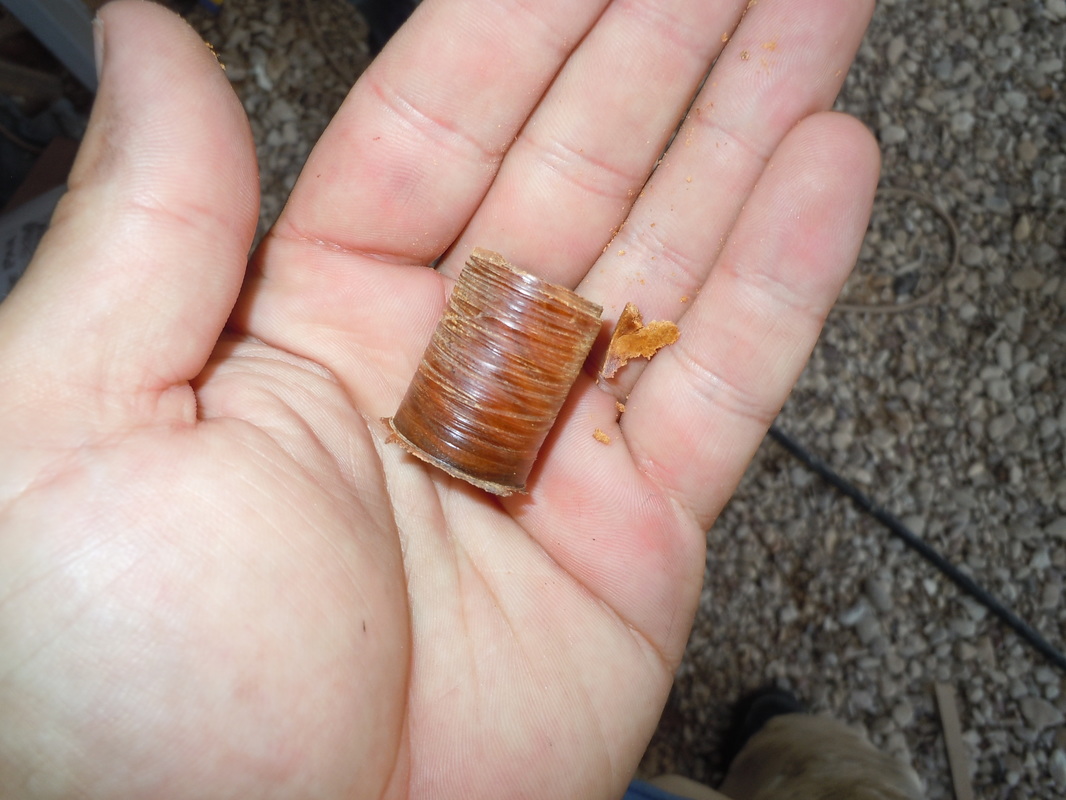
Plug.
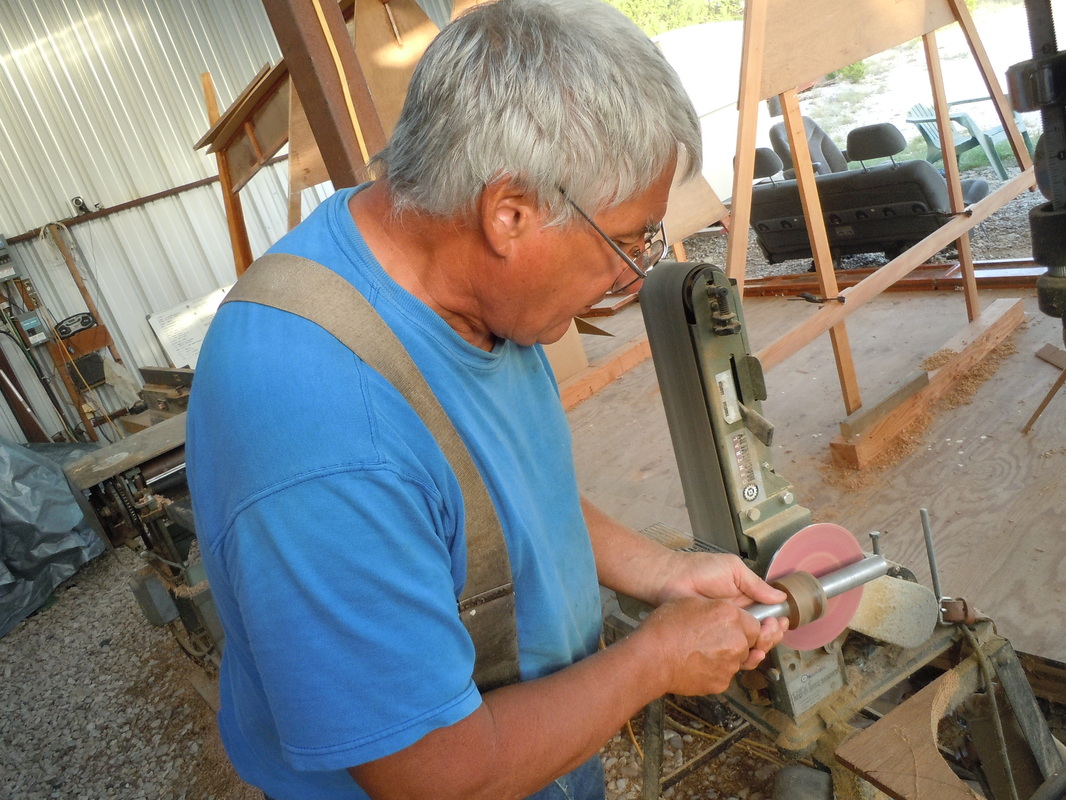
I had the blanks for the bushings soaking in a mix of tung and orange oils for a year or so. They were removed a year back so I had to sand off the coating so we can glue them in the holes. Is everything we do complex???? Unfortunately, yes.
The Music ♫: Blind Willie McTell "Statsboro Blues"
American blues, only possible through the voluntary or involuntary clash of cultures.
 RSS Feed
