Here I am living the dream. Why does this entail some sort of sunny location? I am out on the boat in the sun and it doesn't seem that pleasant. Having been raised a northerner, I adapted to heat and cold. The enjoyment of winter and summer activities stir our lives and create change. This heat has me shifting around my working hours. I try to get in early and take an extended break in the middle of the day, coming back when the temperature drop below 95.
Every Saturday I sit here and stare at the screen thinking "What am I going to write about?" I always feel like I didn't do anything each week. Such it was again this week. I download the Nikon and say "Holy frijoles I took 61 pictures!" I scroll through the weeks photos and say "Was that this week that I did that? I pour an IPA into a frosty glass and commence siphoning my thoughts to screen.
BOAT: Bend Over Again Today. Ahhhh.....acronyms.

That about says it. Texans think Texas is a little bit of heaven, but what about those flames? Heaven doesn't have flames, does it?

The cure for the heat.

|

|
So I got a limited amount of T- shirts. I have enough for all my faithful followers. Yup. I have two shirts. I figured twenty bucks and five bucks to ship. Probably no one wants one and I'll be stuck with them. Anyway supplies are limited and soon there will be a full line of of merchandise from my brother's Zazzle store. I guess you can contact me: [email protected] if you want. Talk about the hard sell.
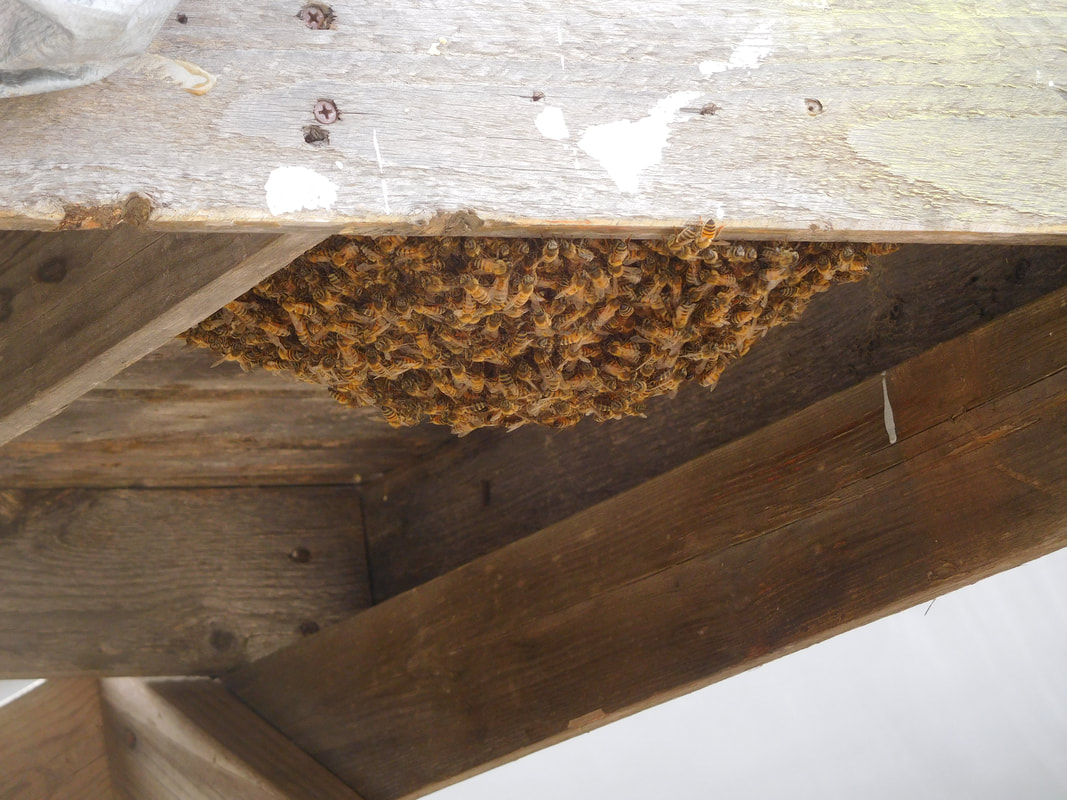
To remind me that I need to enjoy my surroundings, I was visited by a bunch of ladies who were establishing a new society. I told the yard guys so they wouldn't spray. Gary, chief yard guy, did some research and said "They'll move on in a couple days". They were good neighbors, all in all and were no bother. I enjoyed there presence and soon they were gone. I hope they found a nice new place to live. They were just house hunting and visited me in my new home. Soon I'll move on also.
So I sez to myself "Self, quit fornicating around and take care of the fornicating cockpit (heh, heh). I fornicating mean it!" So I started. The epoxy was once again consolidated into two large containers. It eliminated that convenient kit I made with a consolidated large box so it can be stored. I put the large container labeled "working epoxy" in the starboard aft cabin, : AKA: "the feces storage area". I finally got everything out of the cockpit. Of course the crap in the area was scattered everywhere on the decks. I'll get to it. I'll get to it. I dug out the cushions Rocky (you remember Rocky, don't you?) made and vacuumed the cushions and cockpit. The cockpit cushions (and the cockpit, come to think of it) were Budge's concept. I just poured another IPA, but I digress. I am listening to Ted Hawkins and Screamin' Jay Hawkins tonight, but I digress....
So the concept is the cushions have tabs with female snaps on the back to anchor the cushions to the cockpit with male snaps screwed into the cockpit to hold the cushions in place. I marked where all the snaps lined up and drilled holes in the cockpit where the male snaps screw in. I screwed in all the fifty odd snaps and snapped in the cushions. I had to re-position about 3 or 4 snaps. Then I unscrewed all the snaps and stashed the cushions.
I dug out the working epoxy box, which was stored in the starboard aft cabin and is a real pain in the butt to dig back out. I mixed a 45 drop epoxy batch. That's right: 45 drops. And with the small dental brush, coated all 50 odd holes with epoxy.
The cockpit was suffering from dings and dangs. I painted the cockpit so it will look spiffy again. Now I am waiting some days for the paint to cure in the 90° heat. Then I will screw those 50 odd male snaps back into the cockpit!
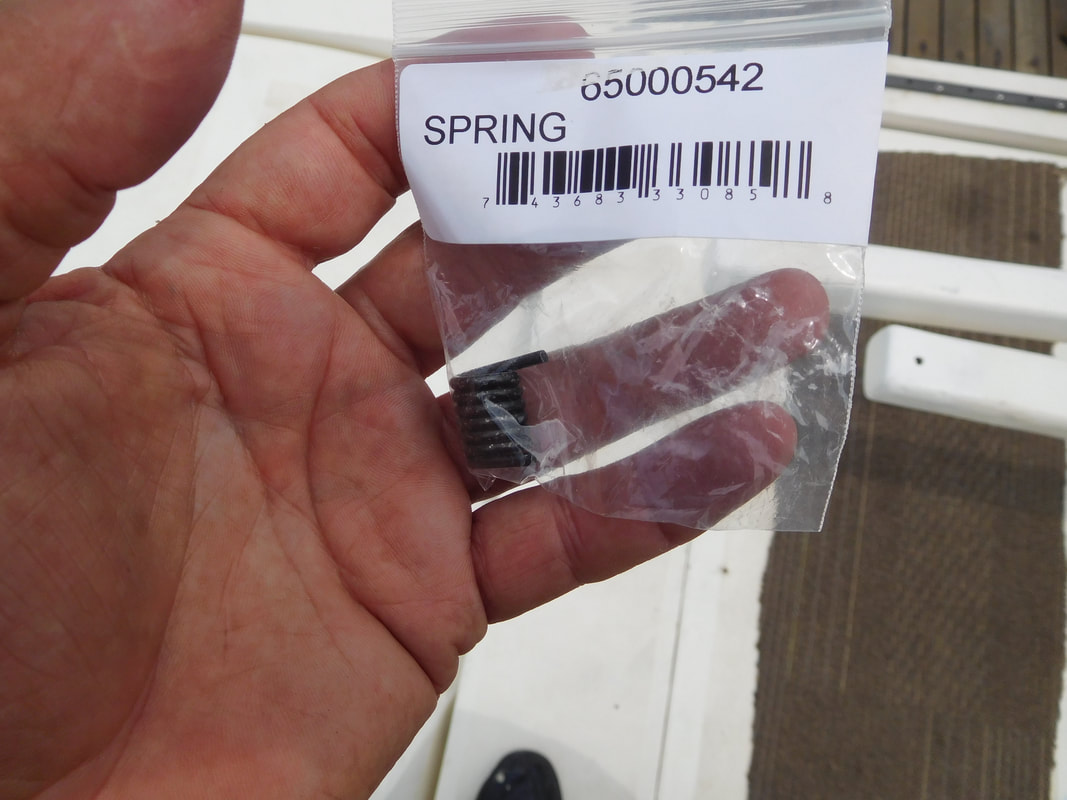
I had to order a new spring for the flappy thing on the windlass. It came in: $14±. I put it in. Fourteen Dollars!
So with the new flappy thing spring installed I decided to finish the windlass installation. I first had to mount the control for the windlass. I decided to locate it so it could be easily worked on (Ha!). I drilled two holes to mount it in the mast case. Of course I had to dig out the working epoxy storage box out of the starboard aft cabin. This is not easy to dig out. I mixed about 9 drops of epoxy and coated the mounting holes. I waited for the epoxy coated holes to catalyze. I put the working epoxy storage box back in the aft cabin.
I bolted the control box in the following morning. I had to make up some cables, now that those six lugs finally arrived. I had to borrow a lug scruncher from yard guy, Jim. My hand scruncher can't do anything under 10 gauge.
I decided to mount the switch to the port side of the mast case. That way the panel covering the access to the control box can be removed easily. I drilled a 1" hole to mount the plug for the switch. I dug the working epoxy storage box out of the starboard aft cabin (grrrrrr) and mixed about 12 drops of epoxy and coated the newly drilled hole. I put the epoxy box back in the starboard aft cabin.
So I connected the whole thing together (Da thigh bone connected ta da knee bone). Battery positive to the control box. Two positives connect the control box to forward and reverse terminals on the windlass motor. I connected the battery negative to the center terminal on the windlass motor and ran a smaller jumper to the negative control box terminal. I connected the switch box to the switch. I punched the switch button. Nothing happened,
I studied the wiring diagram and thought I had figured out. Just to be sure, I called yard guy Jim over to act the part of the pro from Dover (Delaware? Maine? England?) and double check the whole thing. It turns out the yellow negative jumper wire was unnecessary. The control box operates on the positive only. After Jim left, I removed the unnecessary negative wire and put the switch wire on the positive terminal. It works.
Now, the anchor rode. I needed something to tie the end of the rope to inside the chain locker. I decided to use a couple padeyes through bolted back to back so I could stash two separate rodes. I drilled two holes for the padeyes. I dug out the epoxy storage box out of the starboard aft cabin (Sigh) and mixed six drops of epoxy and coated the two holes.
I waited (I'm good at that). I sat under the hulls contemplating the nature of bees and such.
I bolted the two padeyes in and attached a rope through the windlass and into the locker and tied it to the padeye. I hit the switch. The windlass turned and jammed up. It ate the rope. Oh, Foop! I fussed with the windlass and finally discovered that the plastic chain separator was broken. Three trips to the Marine chain store from the west and a study of the parts diagram only produced a delay until they could call the manufacturer.
So, another week gone. I think it will be nice and warm next week.
The Music♫: Screamin' Jay Hawkins "Rock The House"
My mood.
 RSS Feed
