|
I hope that you two blog readers have realized by now that nothing written in this blog is necessarily meaningful, accurate, factual, relevant, or true. It is mostly the ramblings of an incoherent mind set adrift by the frustrations of building a boat after the gloss of the concept has been worn off and the reality continues to smack you in the face.............every day. I have been too negative of late and must try to put forth a chipper attitude. It's difficult when you sweat-soak through a shirt in an hour or less. It's difficult when epoxy mixes are 15 ml (½ oz.) or less and you still have to rush. It's difficult when you're inside a hull with no air. when extension cords and air hoses hang up on any hook or protuberance. When checking the plans requires a scavenger hunt to find information. When you sling epithets with a spittle flying rage. Where you'd rather be doing anything else................ It's not stitch and glue boat building, it's bitch and glue! The weather affects our psyche. We press on........with a chipper attitude!
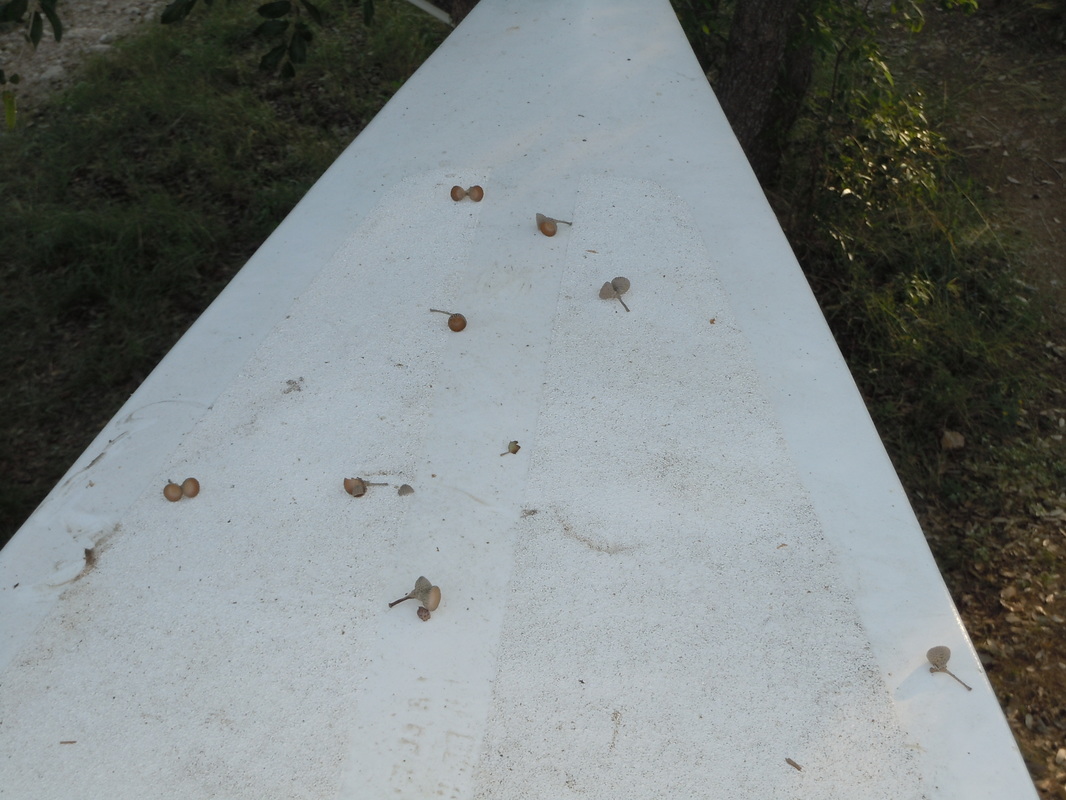
The starboard hull under the tree is being bombed with acorns. Next: attack of the killer squirrels! We are starting to get things done.
Ben started his week finishing up the end caps of the beams. Remember? Each one different?
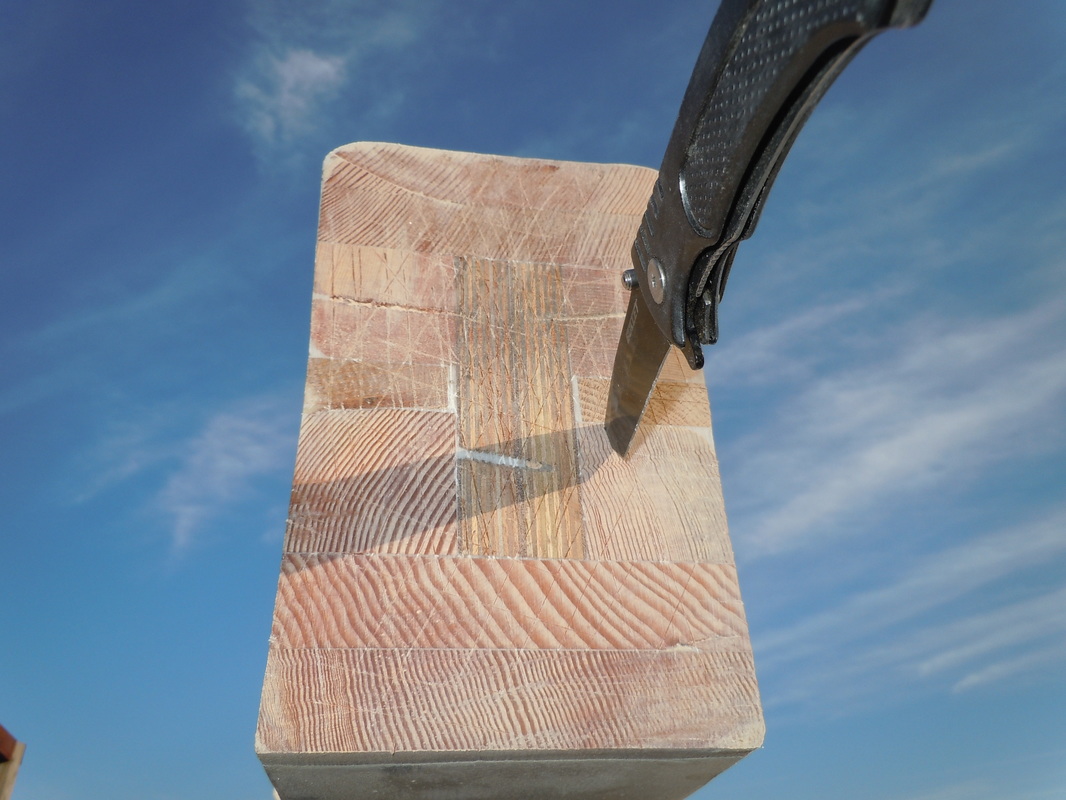
Here's a beam end. Note: fossilized screw: screw in screws to hold beam laminations together. Remove screw and fill with epoxy from syringe and Ta Dah, screw fossil!
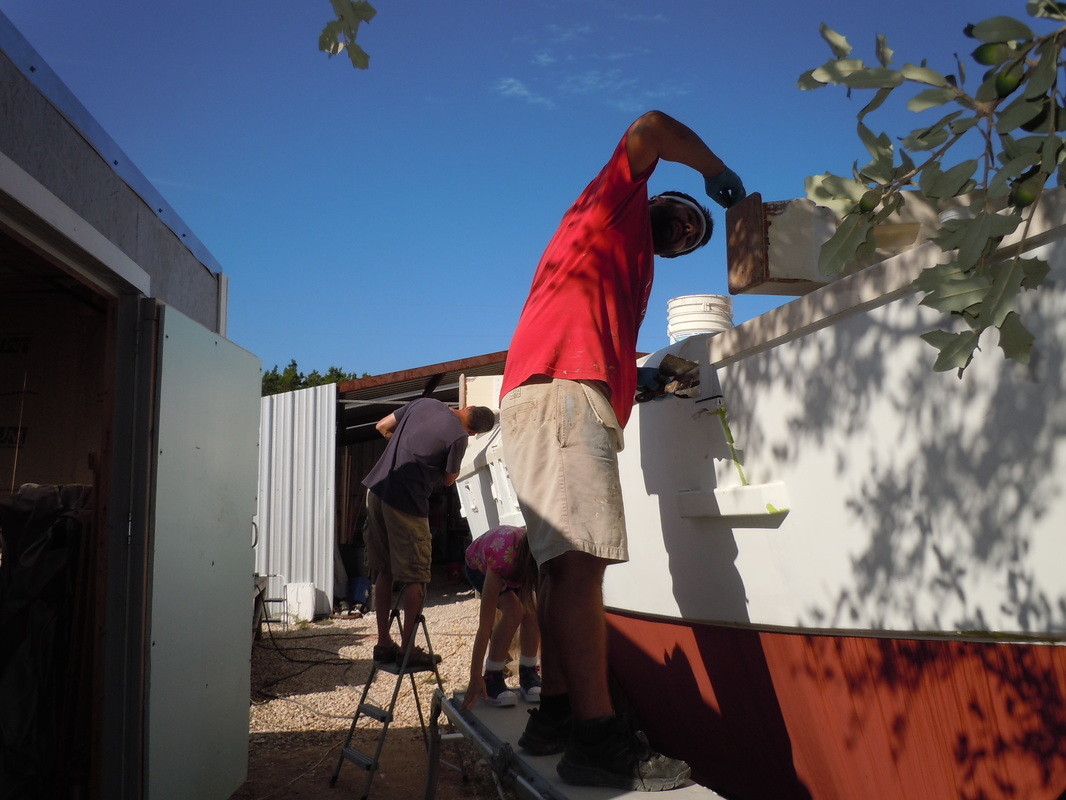
Ben and Budge cleaned up the epoxy and fillets.
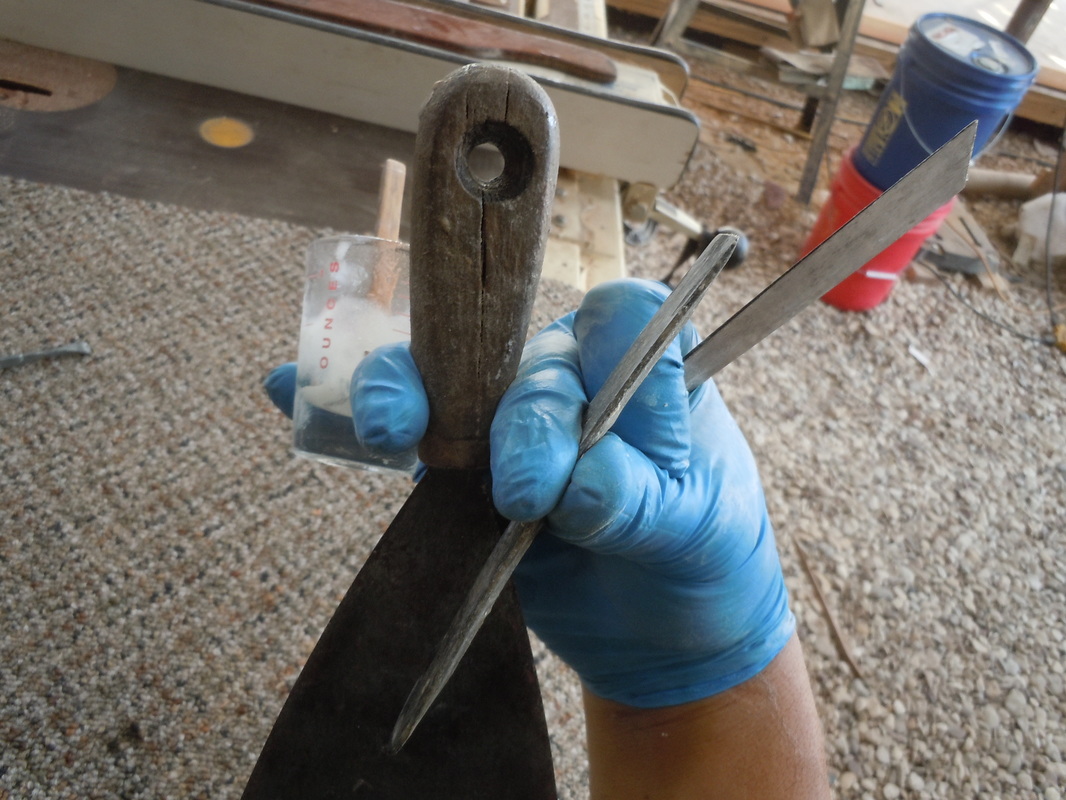
Ben sallies forth armed to the teeth with implements of epoxy. He probably has his epoxy brush in his teeth. Safety tip: insert dry end in mouth.
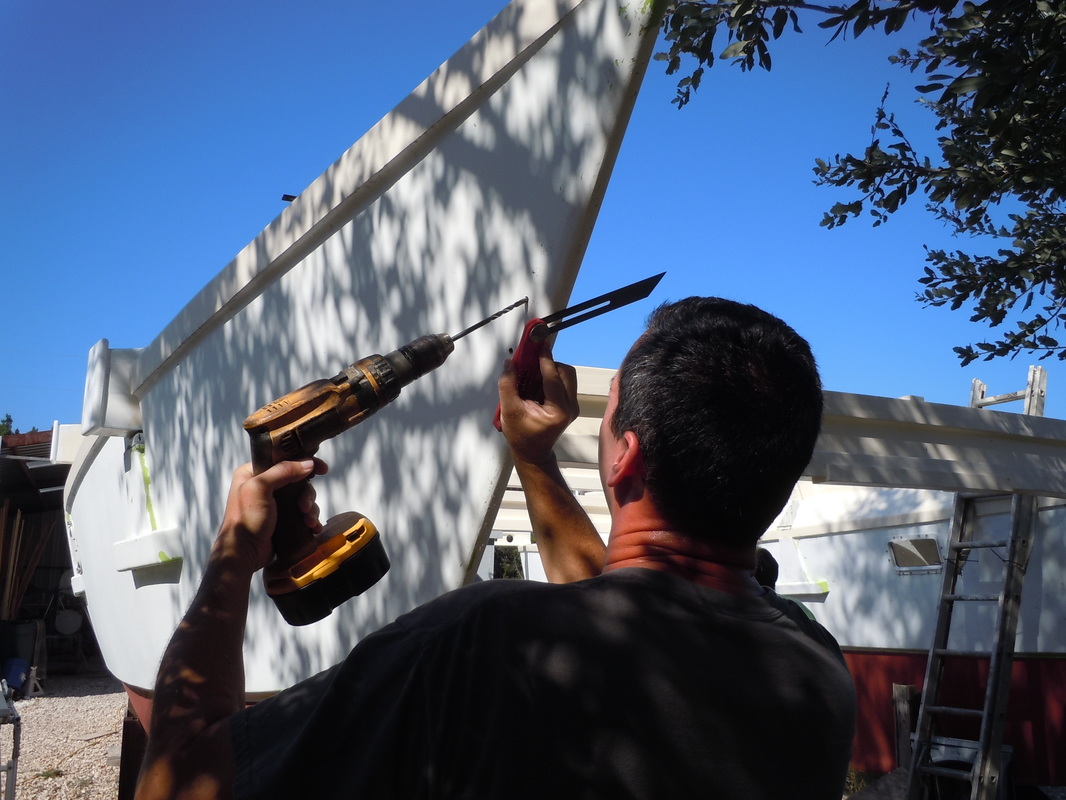
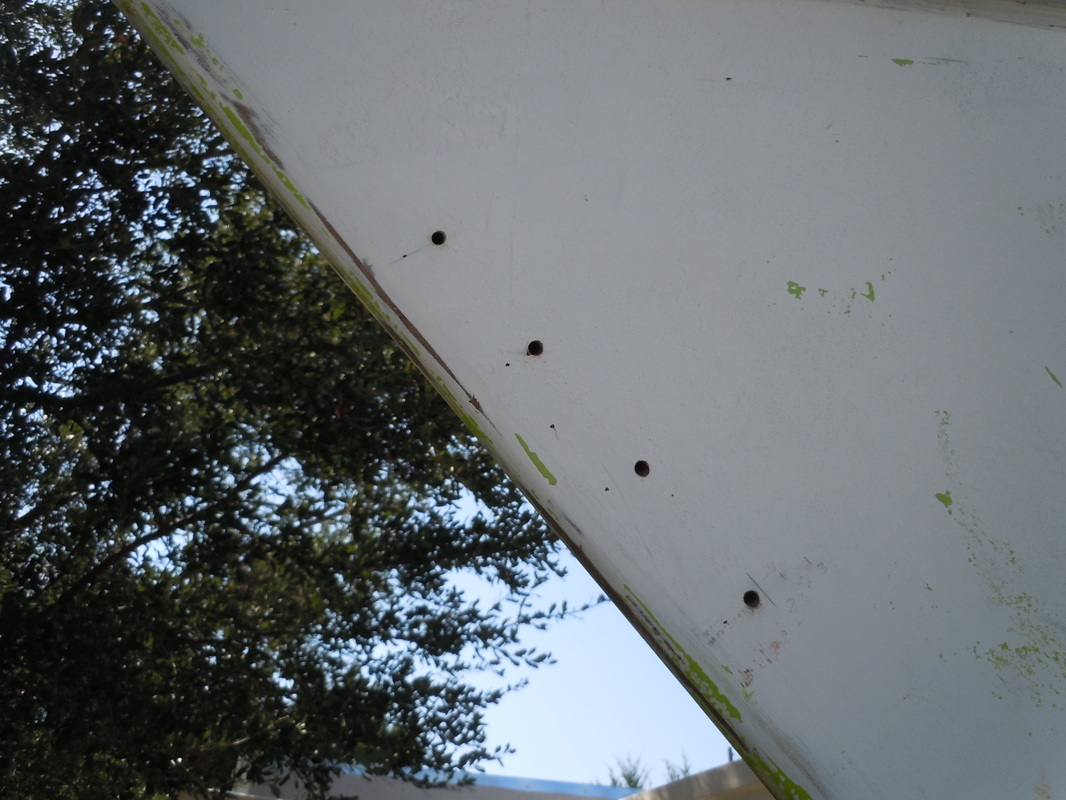
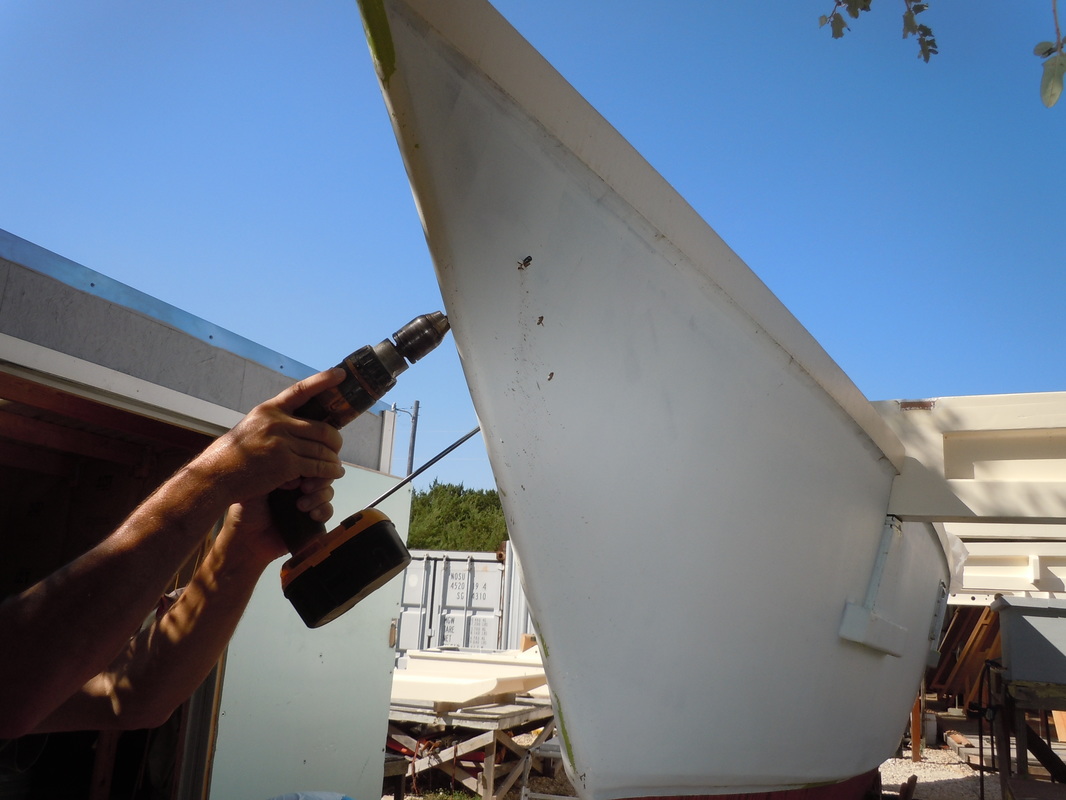
On normal boats, the forestay (what holds up the mast in the front) is attached to the bow. On this boat there are two bows and neither one is in the middle. The plans call for an eye on each hull with a line between them. The forestay attaches to the center of that bridle. We, of course, decided to do it differently. A series of 4 holes in each hull with a rope wound around through them to distribute the forces.
Having drilled the port hull perfectly, He had problems with the starboard hull.
Uhhhhhhhhhh......a little too far back there, Budge. The fillet on the starboard side was smaller and now we had four holes through the hull.
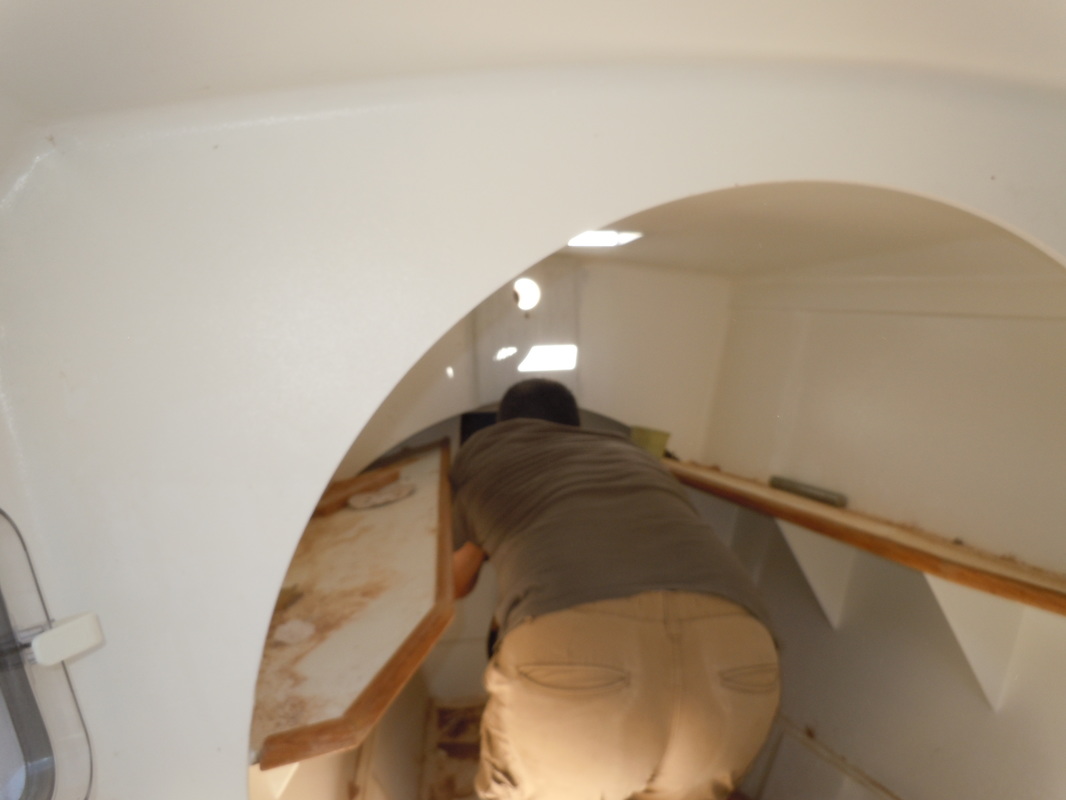
A quick check through the forward cabin. Yup We can see light! An attempt to crawl through the newly enlarged opening produced a stuck Budge: too small. Hmmmmmmmmmm..........
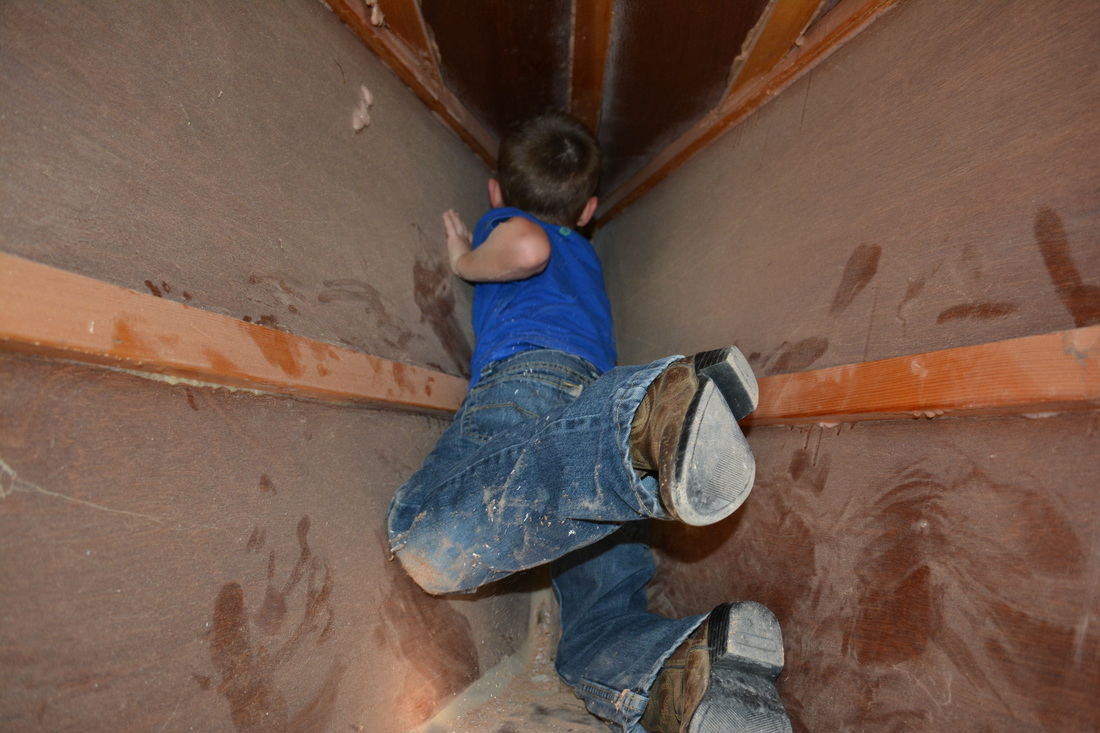
In difficult situations throughout the annals of history the phrase resounds "Send the Boy in". Bear it (Grin being not present) was tasked with fitting the metaphorical thumb in the dike. A bit of butyl rubber to fill the back side.
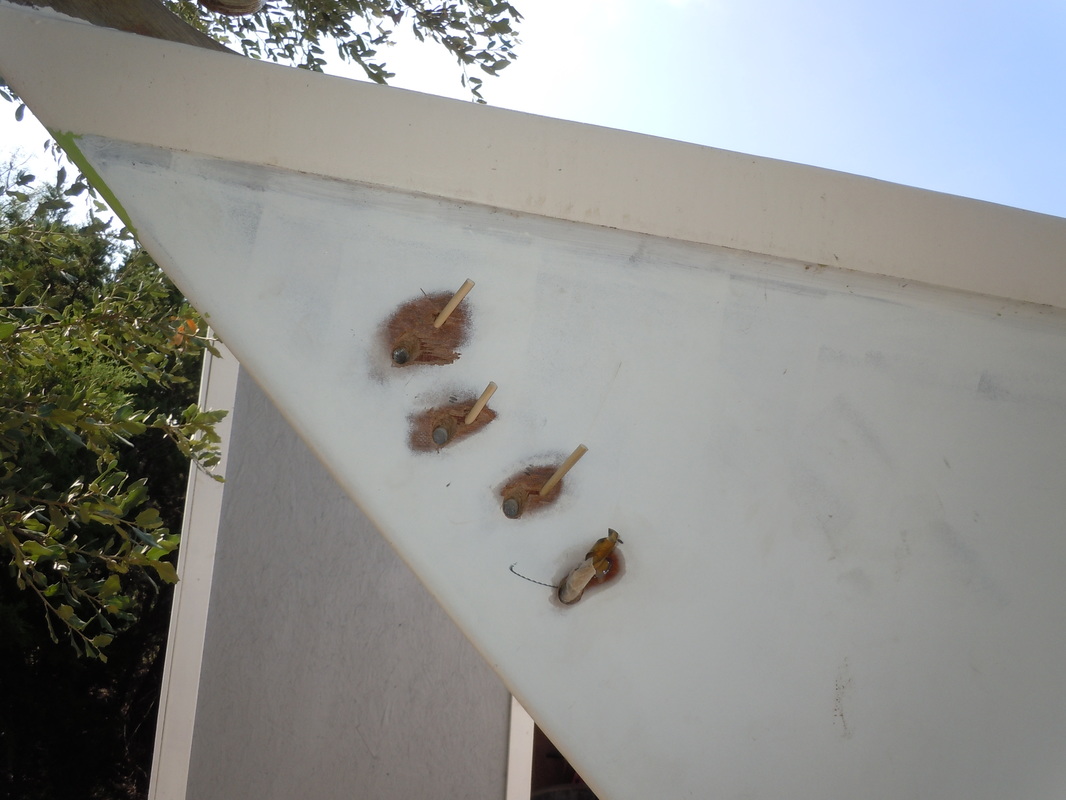
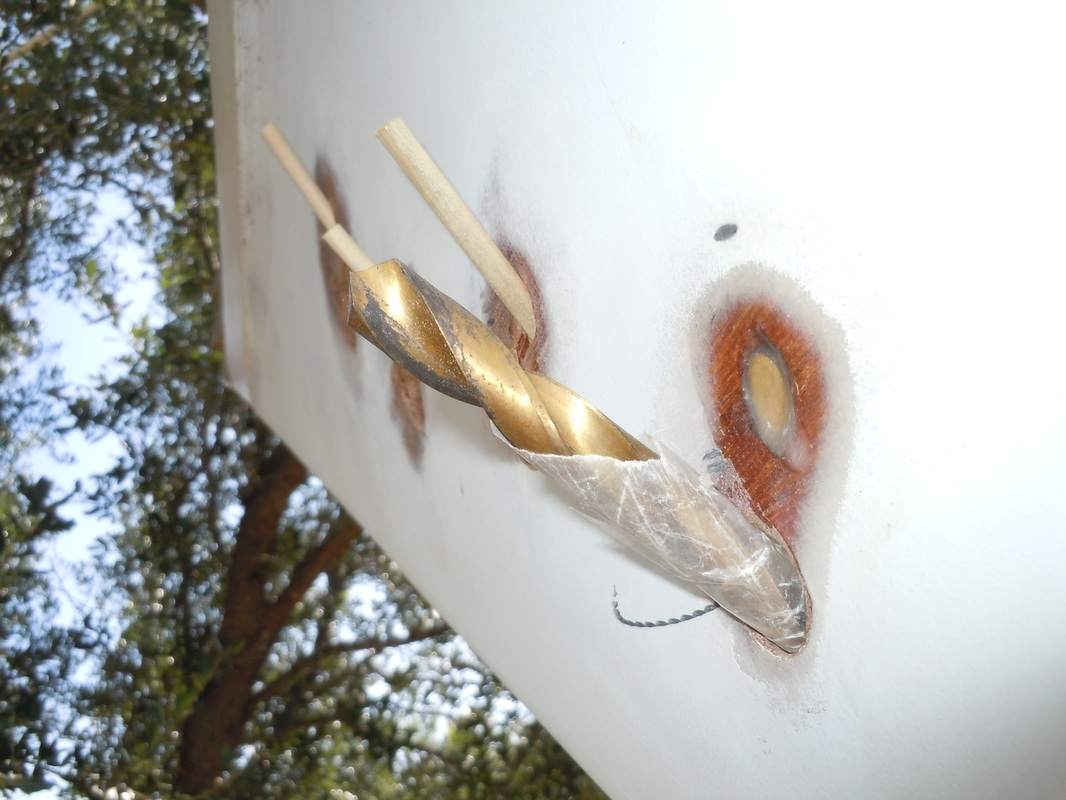
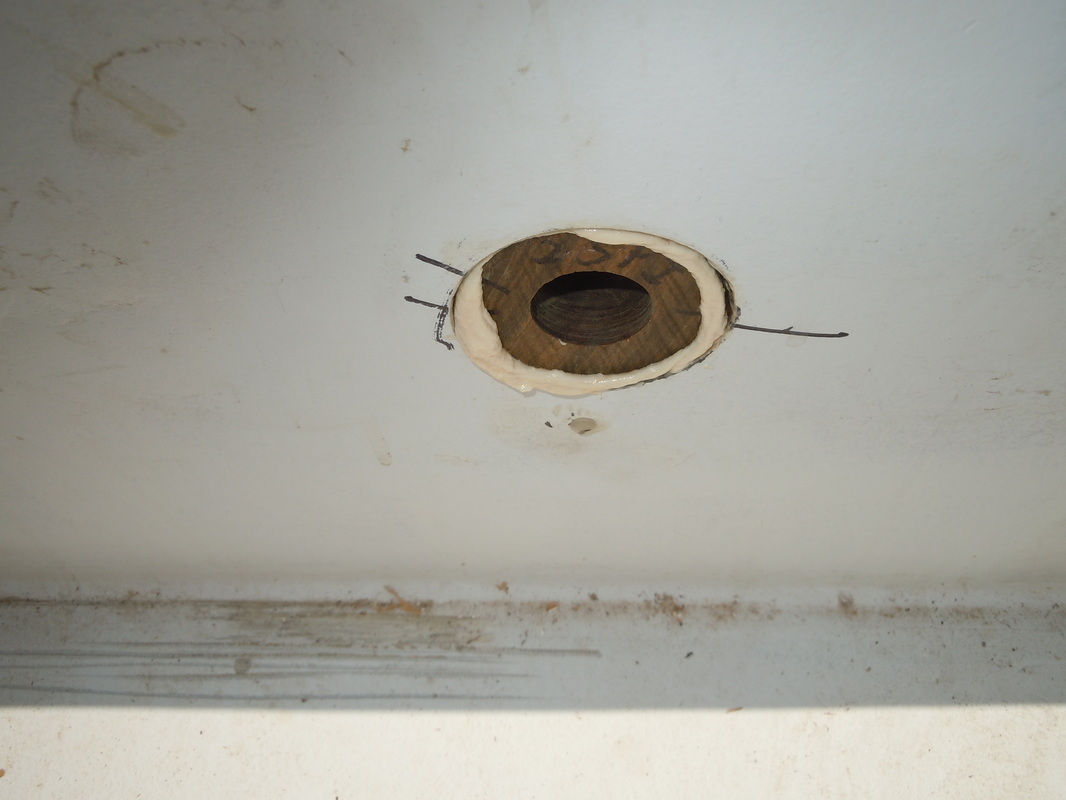
Slather dowels with epoxy and insert into badly drilled holes. Make the epoxy nice and goopy.
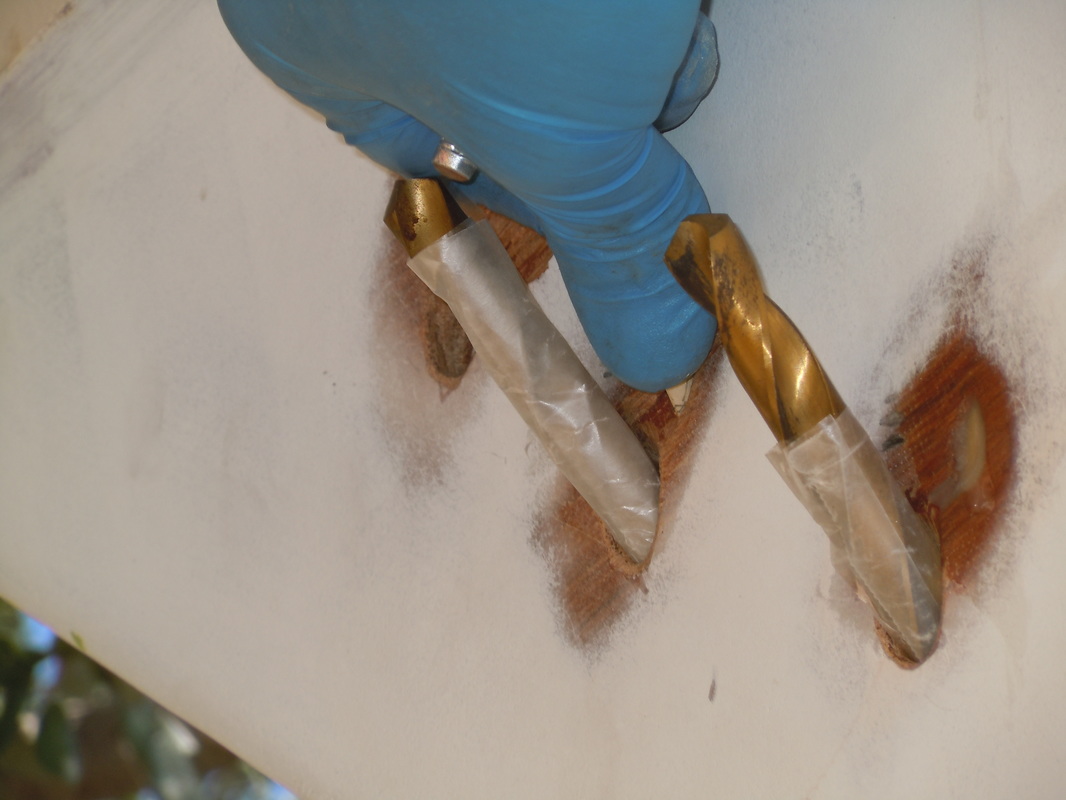
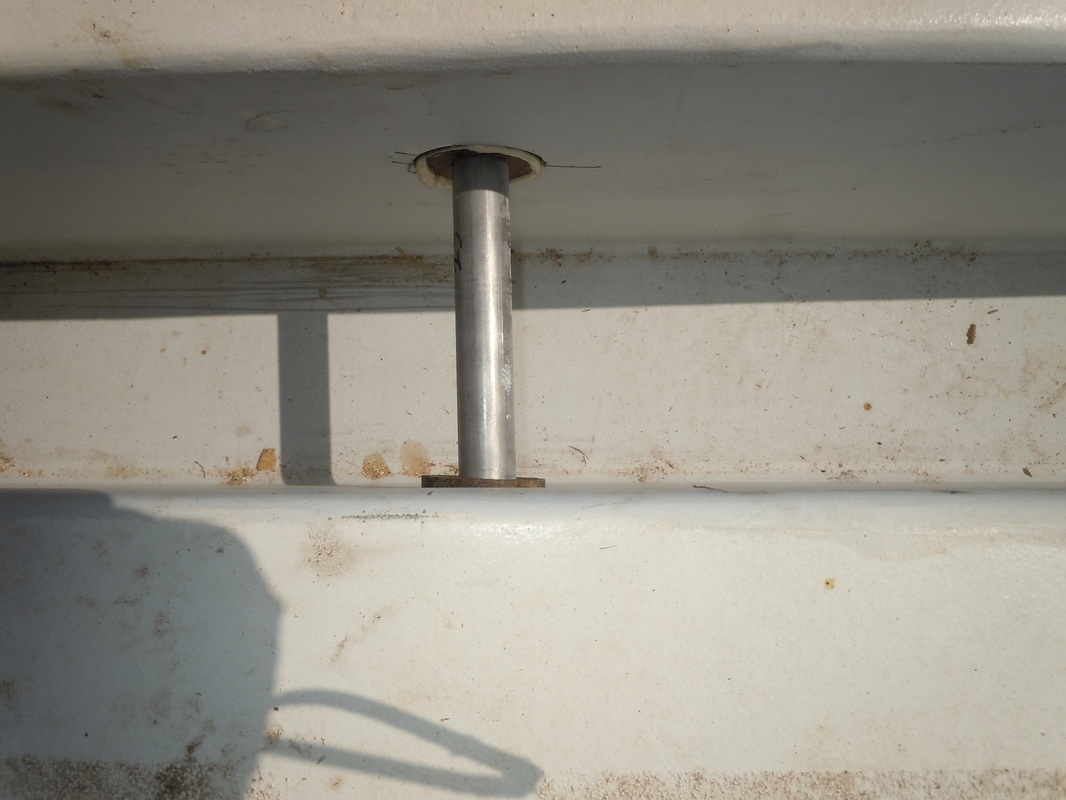
Stick a properly sized drill bit wrapped in wax paper to keep the main holes relatively clear. Ream them out a bit later, when the epoxy sets up.
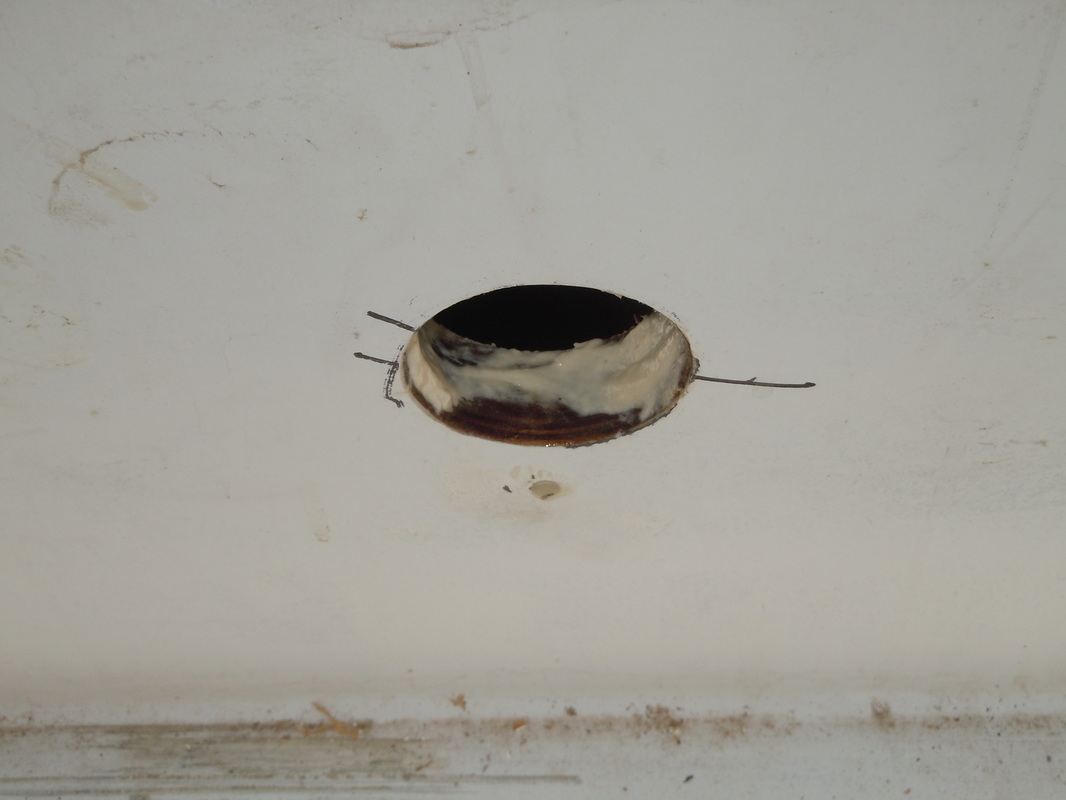
The hole filling was actually complex. There was a void on one side as well as a miss drilled hole as well as the second miss drilled hole. After failing to avoid the void, we were devoid of ideas until we fathomed the procedural process. We got 75% OK, but the top hole was a mother! Ben and I fixed it by piping in an alchemists blend of chopped glass, poly pulp, pixie dust, prayers, invocations and ralings on the humor of the gods.
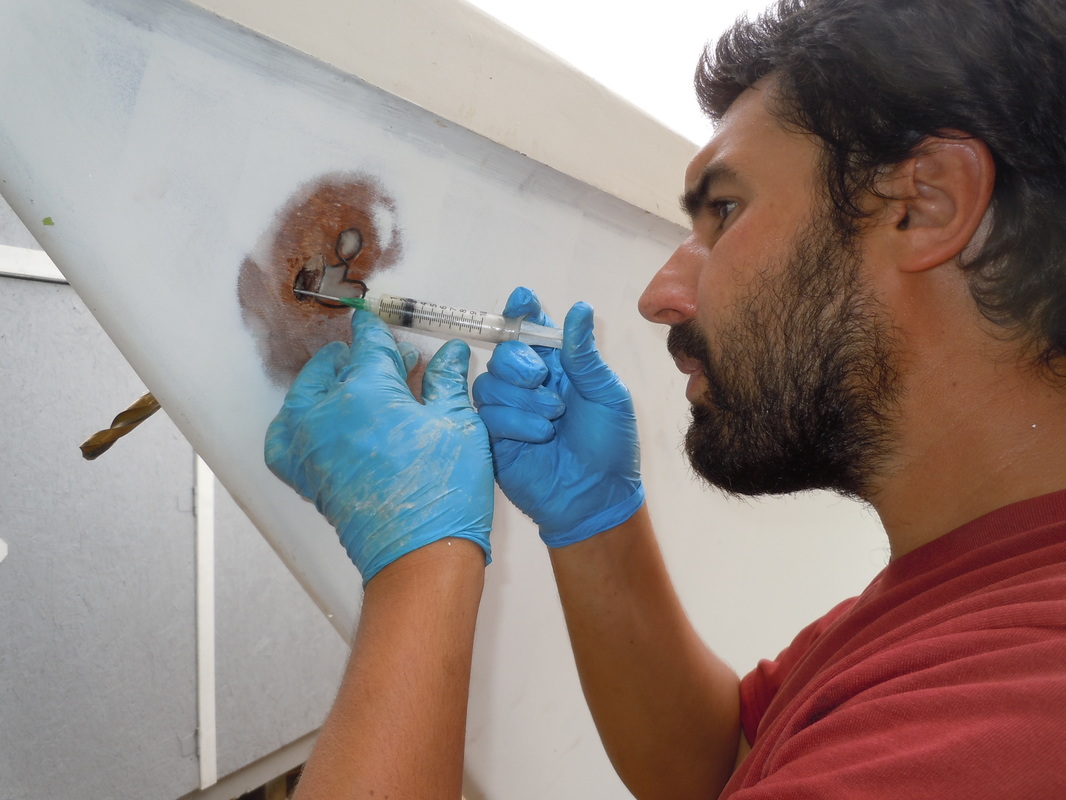
First syringing in as much epoxy to fill voids and stray pockets.
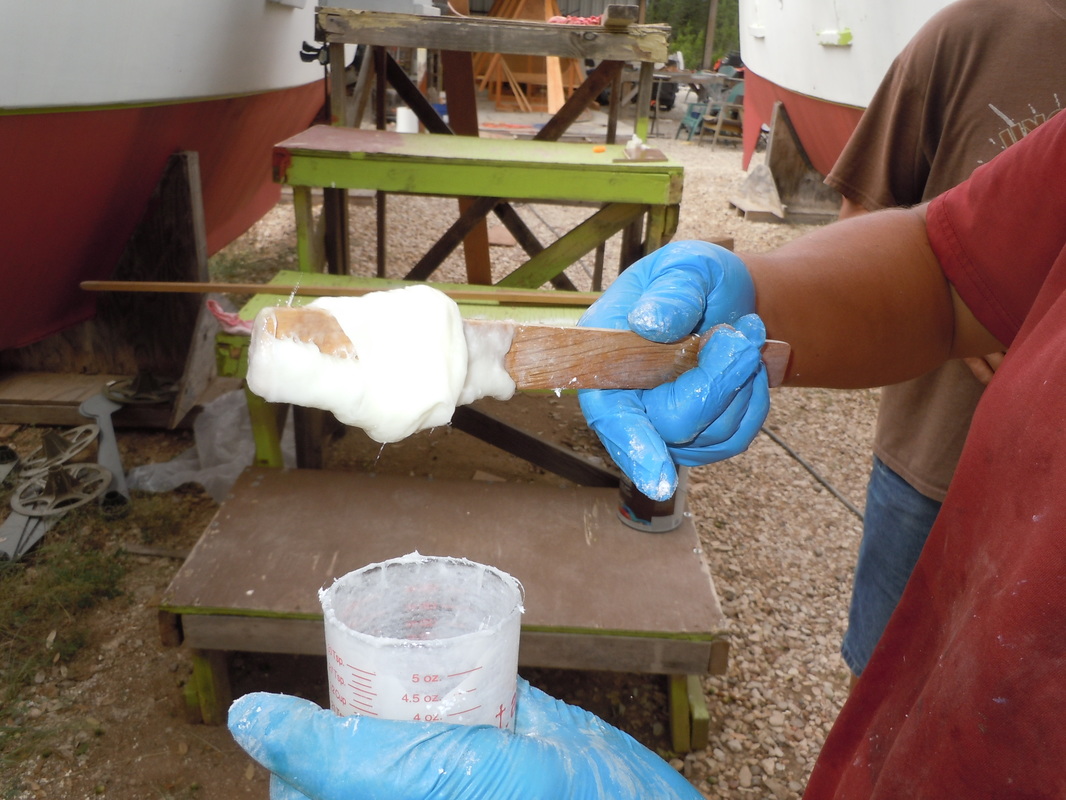
Then the thickened glop of epoxy baggie injected into the hole.
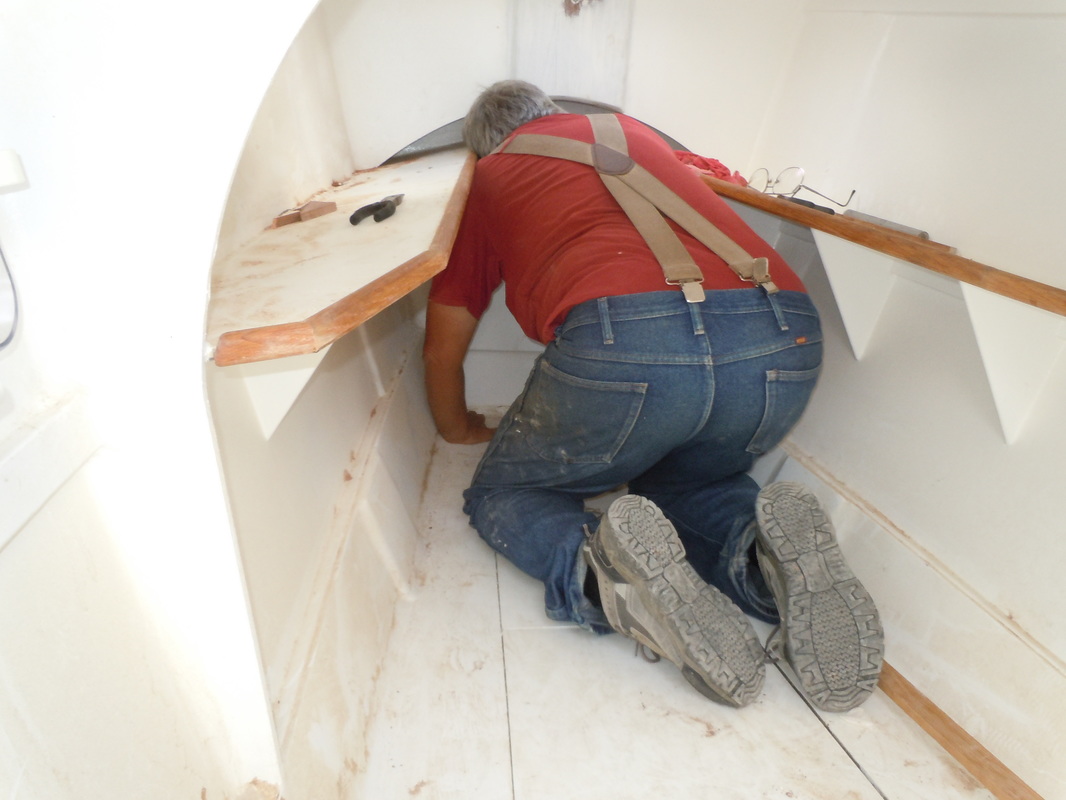
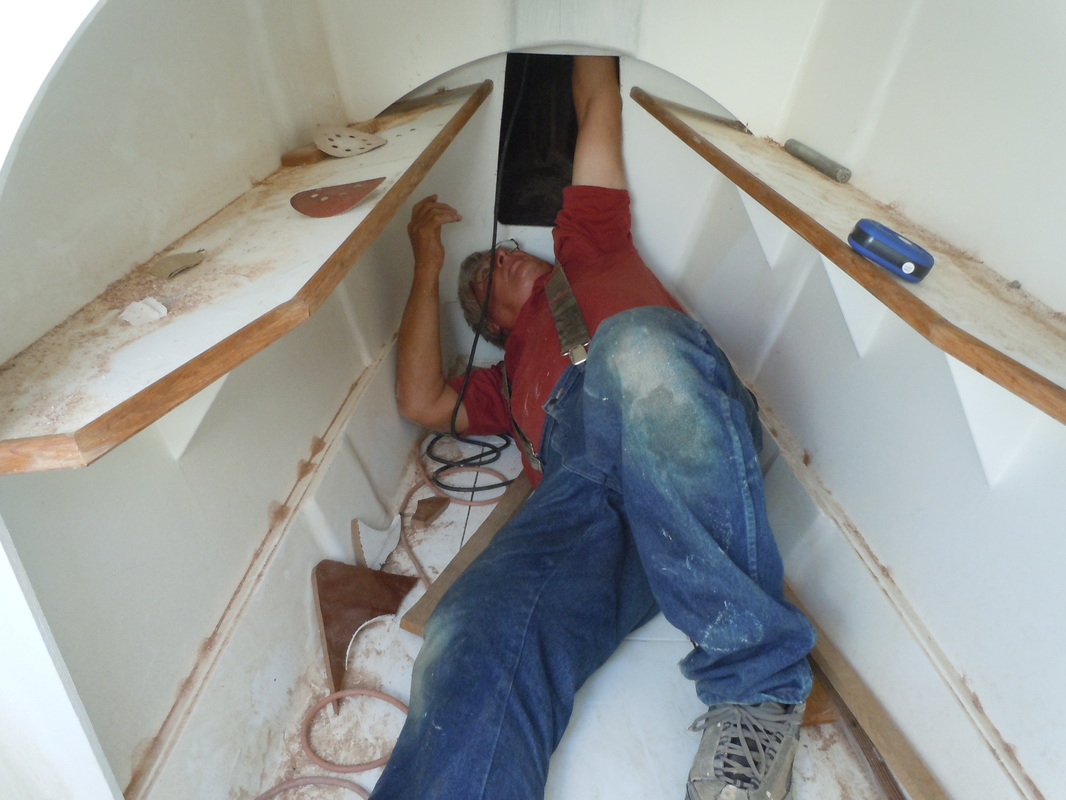
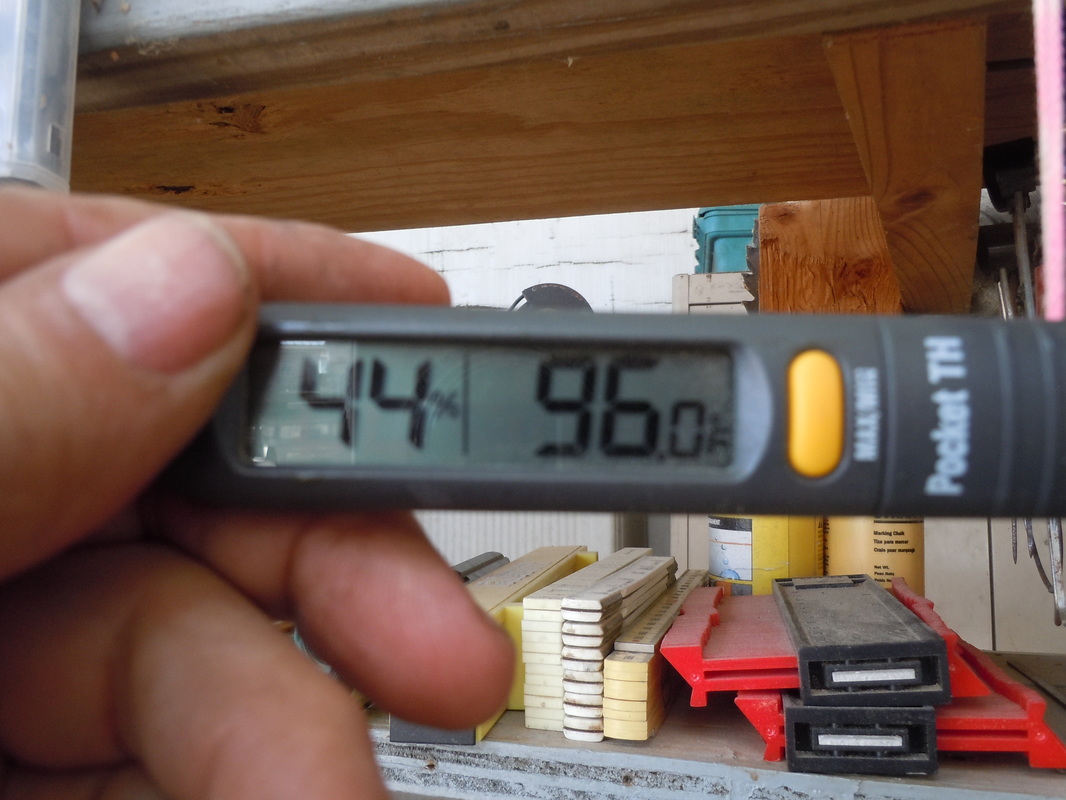
Me on the inside mashing it up against the hull with a long stick. No boy in sight. Ben asked me today to guess the temperature. Hmmm balmy day, breeze, some clouds. "can't be over 89". I says. It was 94, heading for 95. Hard to be a happy boat builder under these conditions.
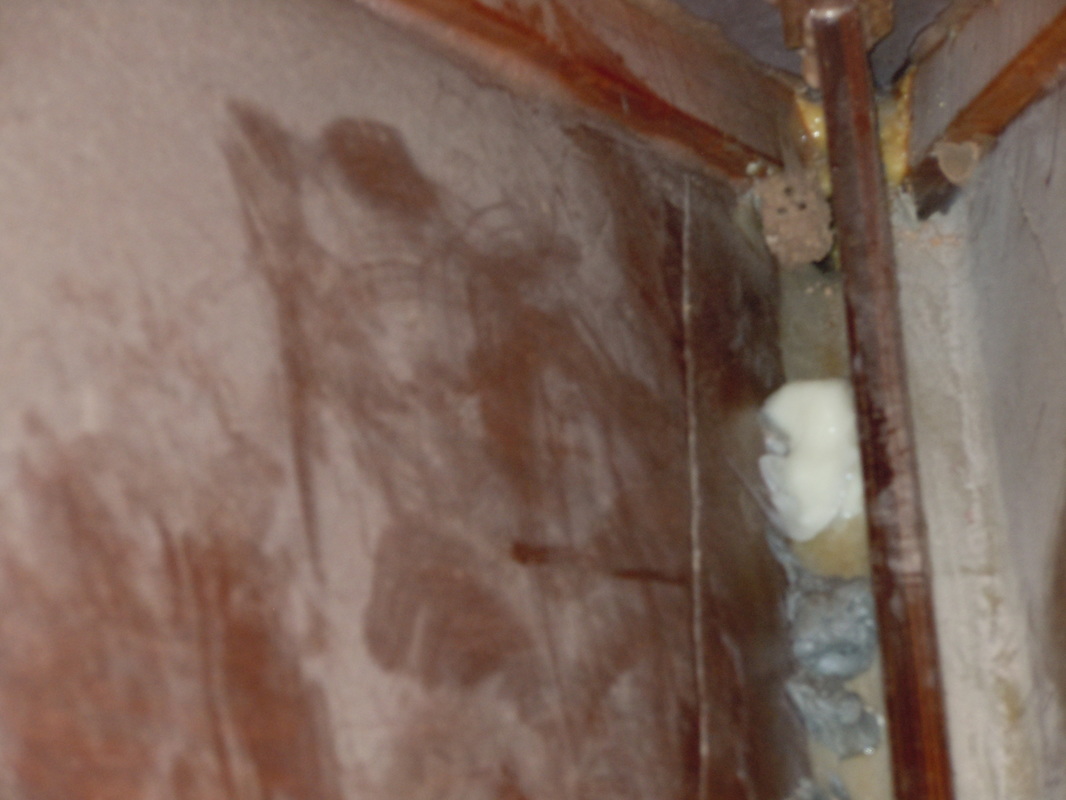
White stuff is epoxy repair. Brown stuff is mud dauber nest.
My main task of the week was gluing in the beam trough bushings (Huh?).
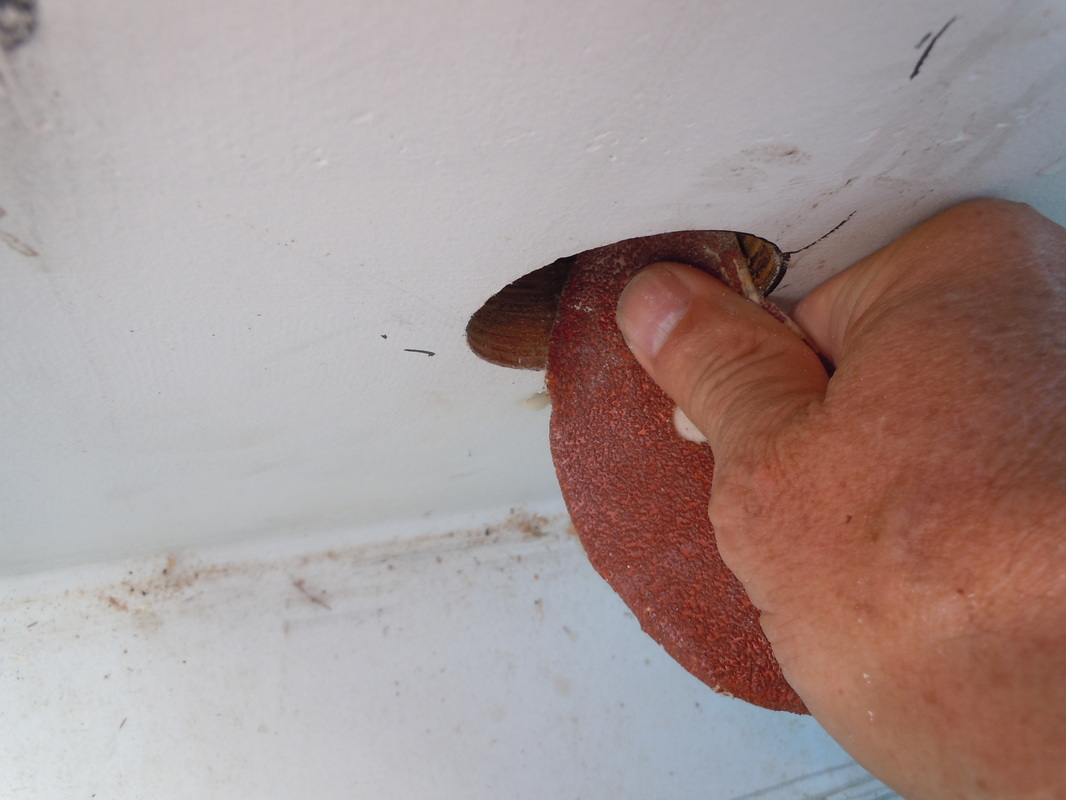
But first I had to glue in a reinforcement board for the forward starboard trough wall. A sander is in the end of my arm roughing up an area so I could glue on a piece of doug fir to reinforce the wall and bushing. Then I had to glue the board on by braille. Not easy........what is? Then I had to re-drill the hole........................................
Once the board was in place, all I had to do was drill out the hole. Here's the video.
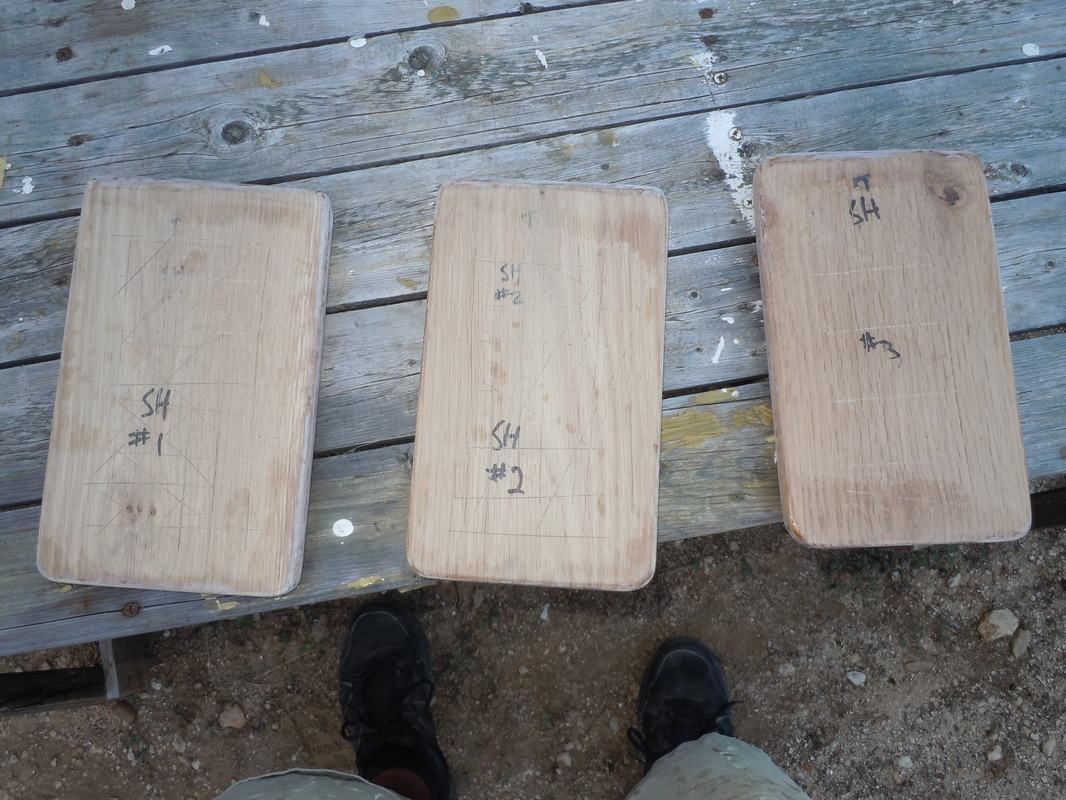
It took two mornings to glue in all twelve bushings. First a thickened coat of oak and teak epoxy.
On both surfaces. Then twist the lignum vitae bushing into place and flush it with the beam trough.
Only gluing one side of a beam trough at a time to assure correct alignment of the pins. The next day we glued in the opposite bushing with pin in place so the pins can be inserted easily.
What can I say.....other than we're chipper. chipper, I say. Are the beams finished? Nope. We still have to coat the holes in the beams with epoxy. Then something else will pop up to complicate things. Time to quit. I spent more than three hours writing this and Ben spent an hour editing the video. I'll check it in the morning. I must read this at least 4 times before I post it. Then there are still errors.
Hey, Guys, it could be worse. It could be by Peter Hollen, the song murderer!
1 Comment
|
Archives
June 2024
AuthorChuck! Send money! |
The Blog of the Dog.
www.acatnameddog.com
It's important, I think...........
Click the "<<Previous" at the bottom of the page to see the previous week's post.
 RSS Feed
