|
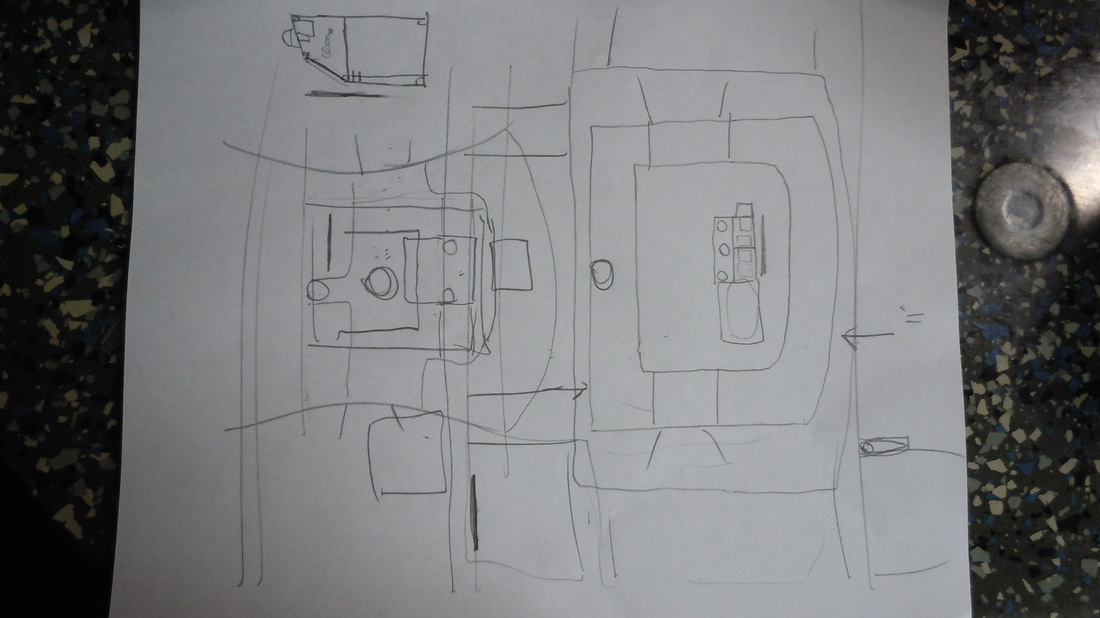
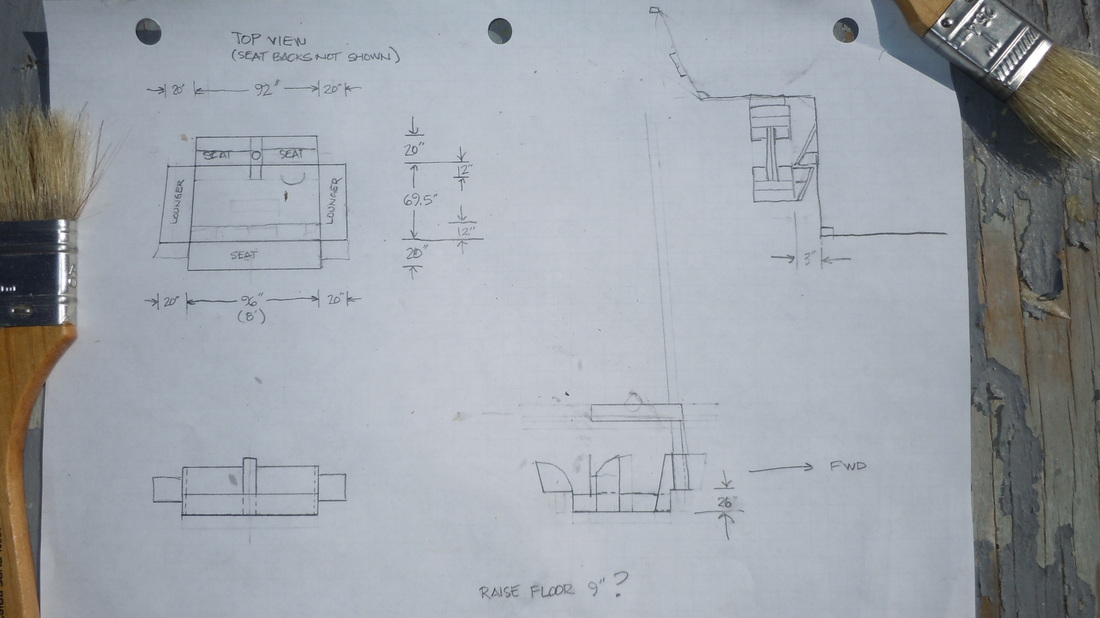
So you get all fired up then it rains for three day. Thanks to Tom for the comment and planning a sail on our local lake sometime. It'll be a WW Potter sailatron! Budge has rambled (again) through the Elysian fields of his mind and came out with this (again) final design for the pod, now called the "cock pit". Gotta get that guy out on the boat!
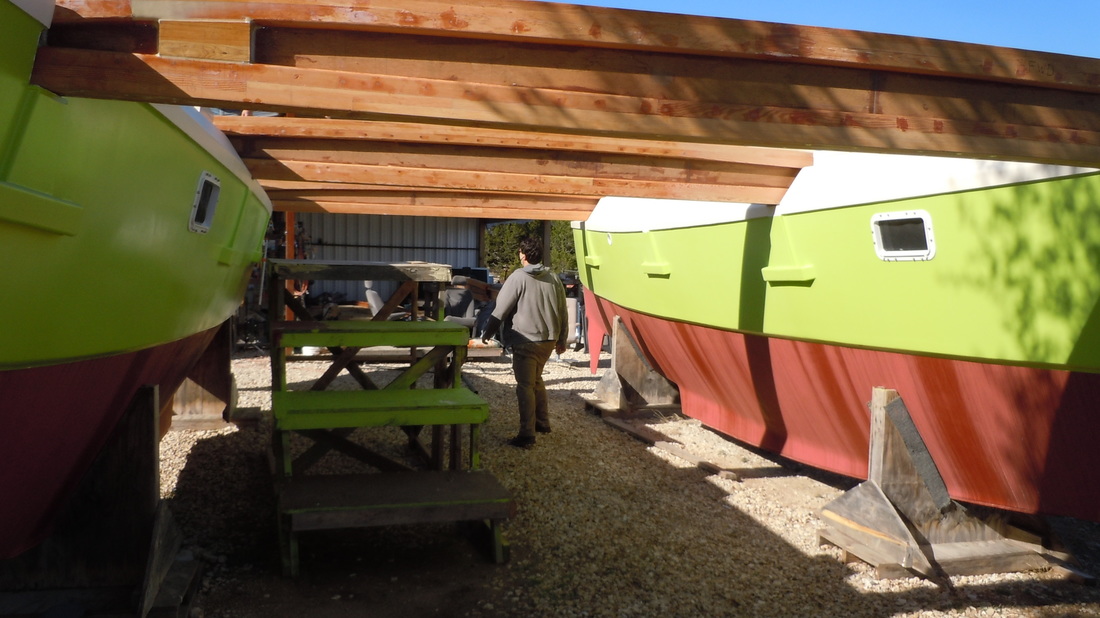
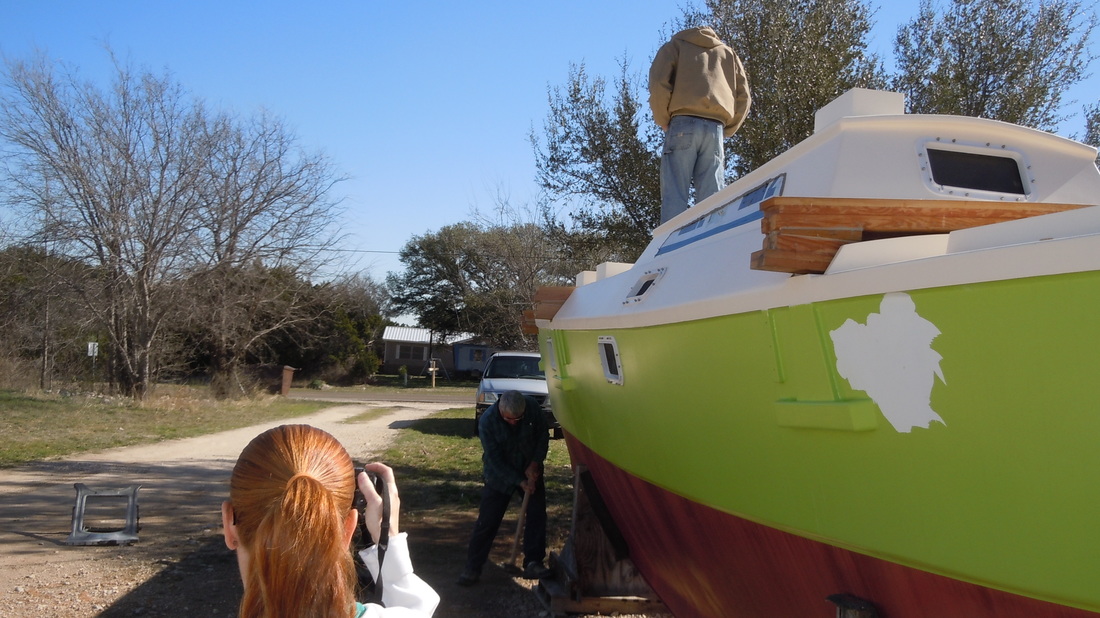
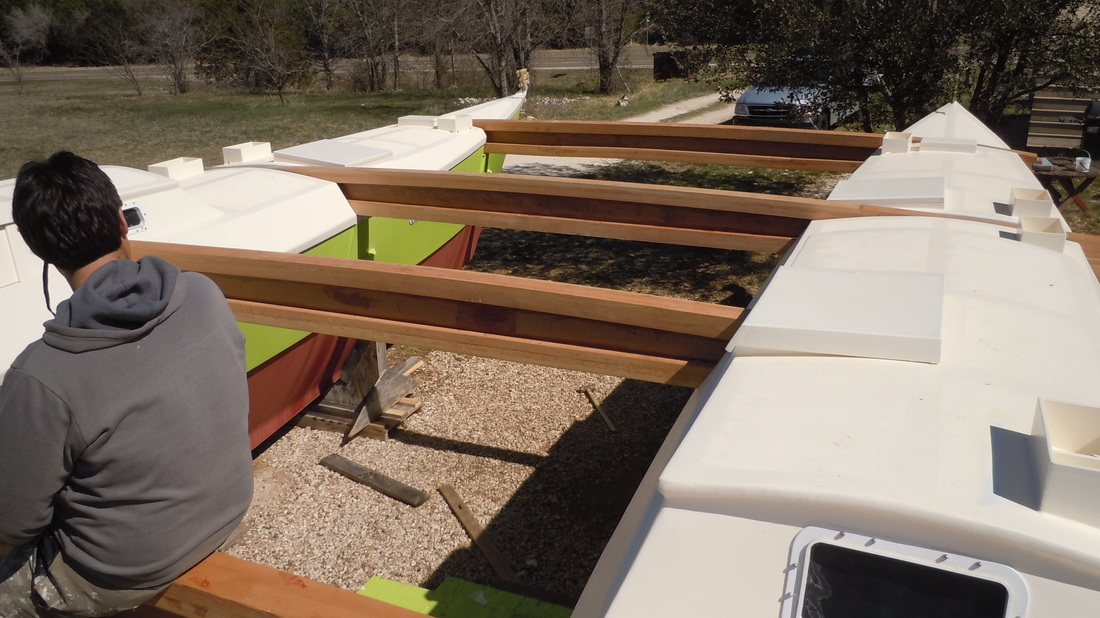
It stopped raining. With the weather pleasant enough to attempt work, we dragged out the beams an manhandled them into place. We ache.
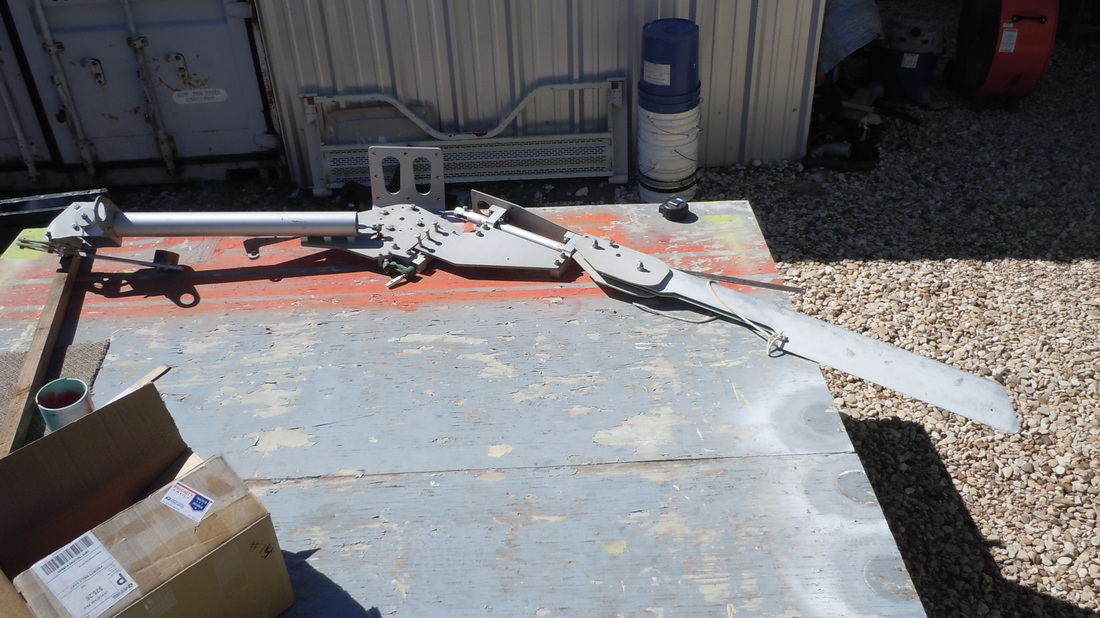
Now that all my Sail O Mat parts are in, We had to determine the placement of the mounting plate on the aft beam. Remember?? Beam 1, Beam 2, Mast Beam, Beam 3, Aft beam.........awww, never mind. The Sail O Mat mounts on the aft beam. It has to be mounted yea far from the water line...............Waterline? what waterline??????? Hmmmmm. First lay out the whole contraption on the table to see what we have.
Ok, Ok The table edge at the top of the picture represents the line perpendicular to the waterline where the beam is. What Beam? The aft beam height is somewhere along that edge. Now the table edge on the right of the picture represents the waterline. Placing the contraption roughly wherenit's supposed to be in the water, we measured the distance from the waterline to the top of the mounting bracket (that thingy sticking up in the middle. Now we had a distance without beams or water. Next we trotted over to the stern of the boat and eyeballed a waterline from where the aft beam theoretically will sit to determine where the mounting plate should be mounted on the aft beam. Then on to the real beams!
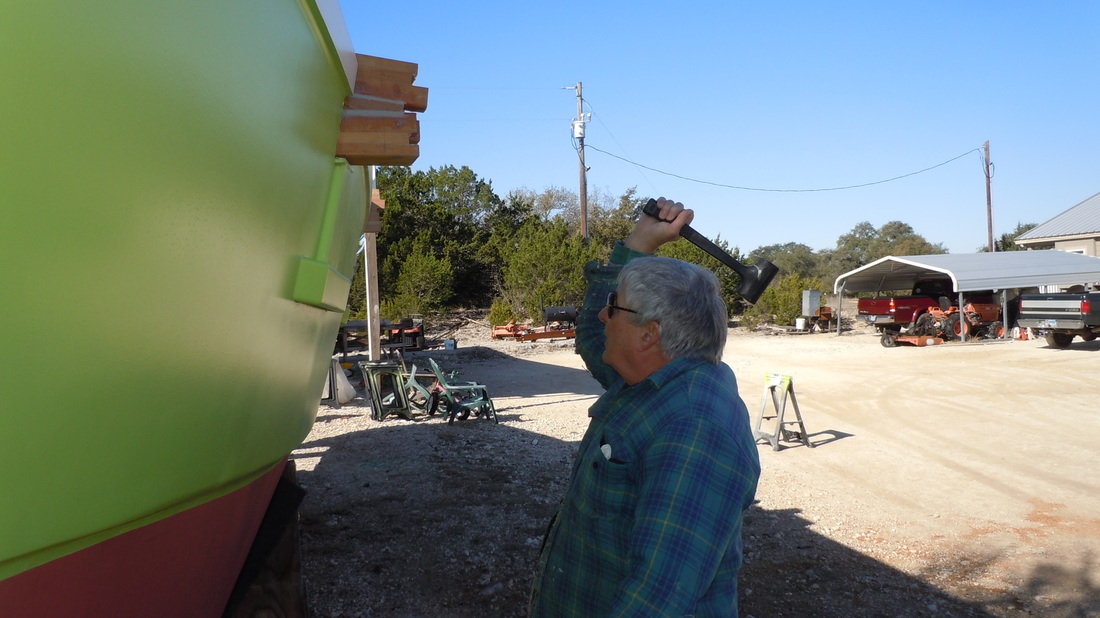
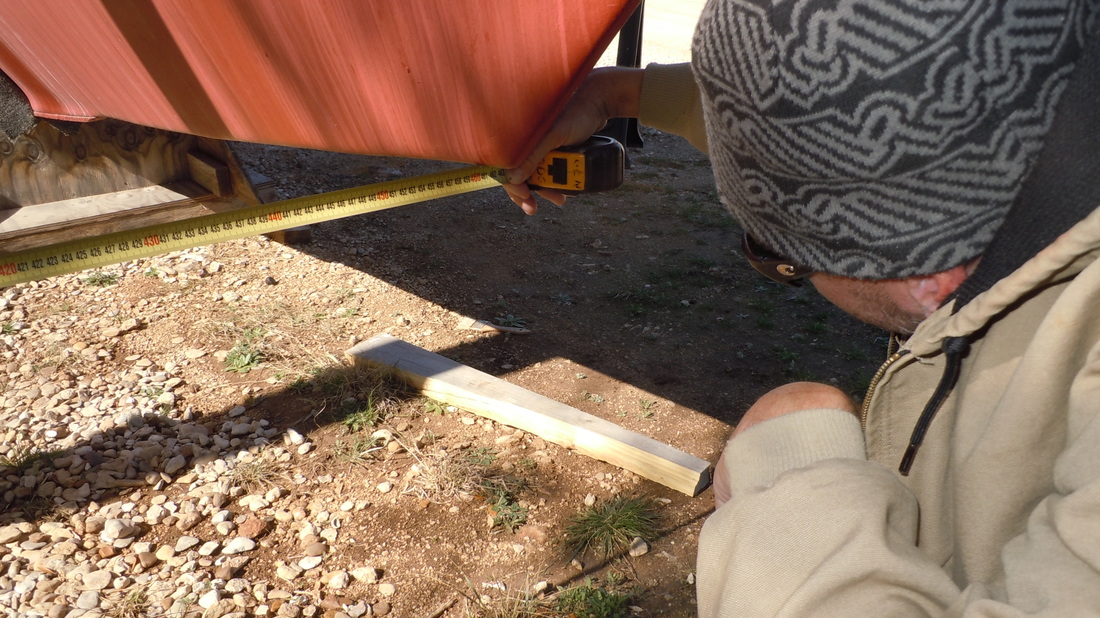
We marked the center of each beam, then measured out 2300 mm from the center out to the center of each hull. We marked the center of each hull at the beam troughs an banged away until they all lined up (mostly).
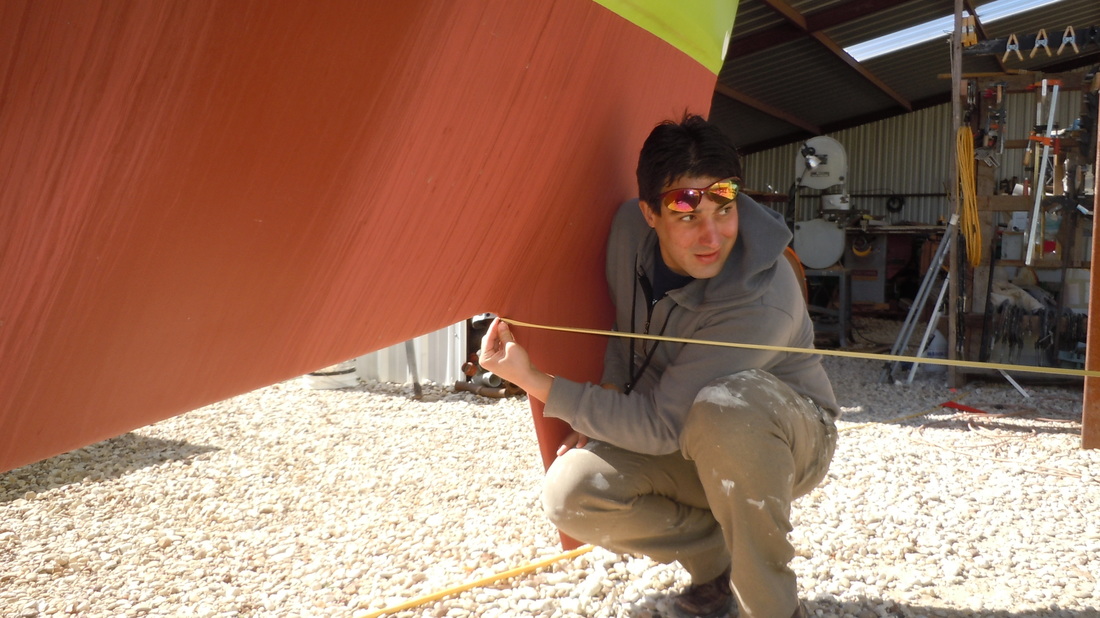
The we measured the hulls in relationship to each other.
And measured.
And adjusted the hulls to get them parallel (mostly).
And measured...........
And.......awww, you know........... until they were as good as we could make them. This took an entire morning.
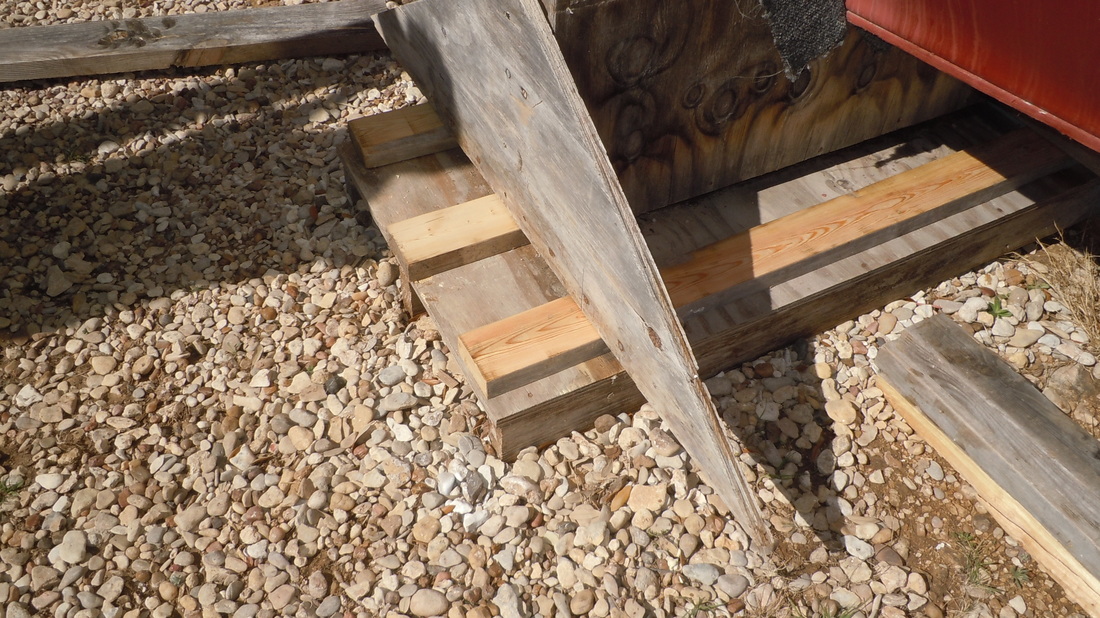
We had to shim one hull stand to level it to the other hull. Once everything was set, we measured the mast beam, which only goes between the hulls.
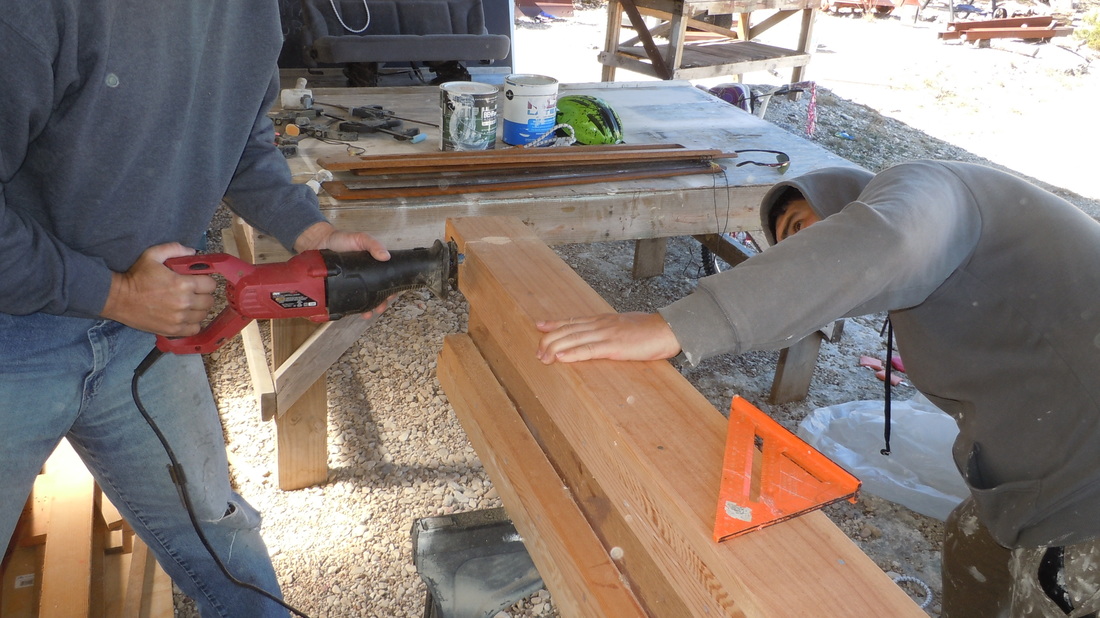
And lopped off both ends to fit.
Lop chunk and hunk!
Finally all beams, except the aft beam were in place and we had the opportunity to make actual measurements. It was time to make the pod!!!!!!!
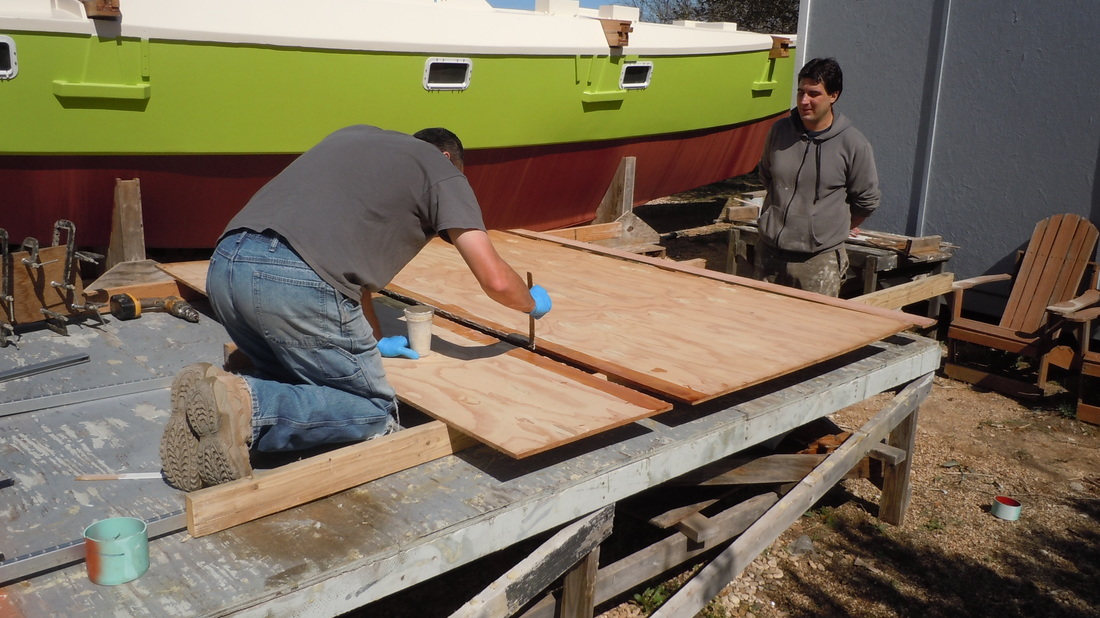
Budge came up with the definitive final design for the pod (cockpit?), Ben and Budge started building the cockpit floor.
They glued it up.
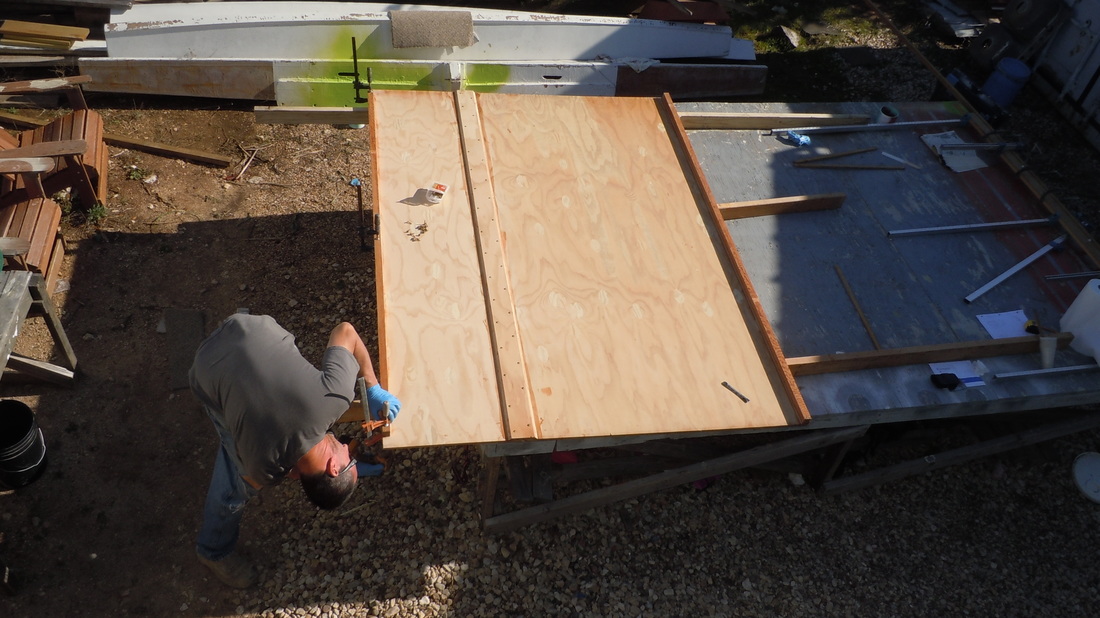
And reinforced it. I worked on the pad for the Sail O Mat.
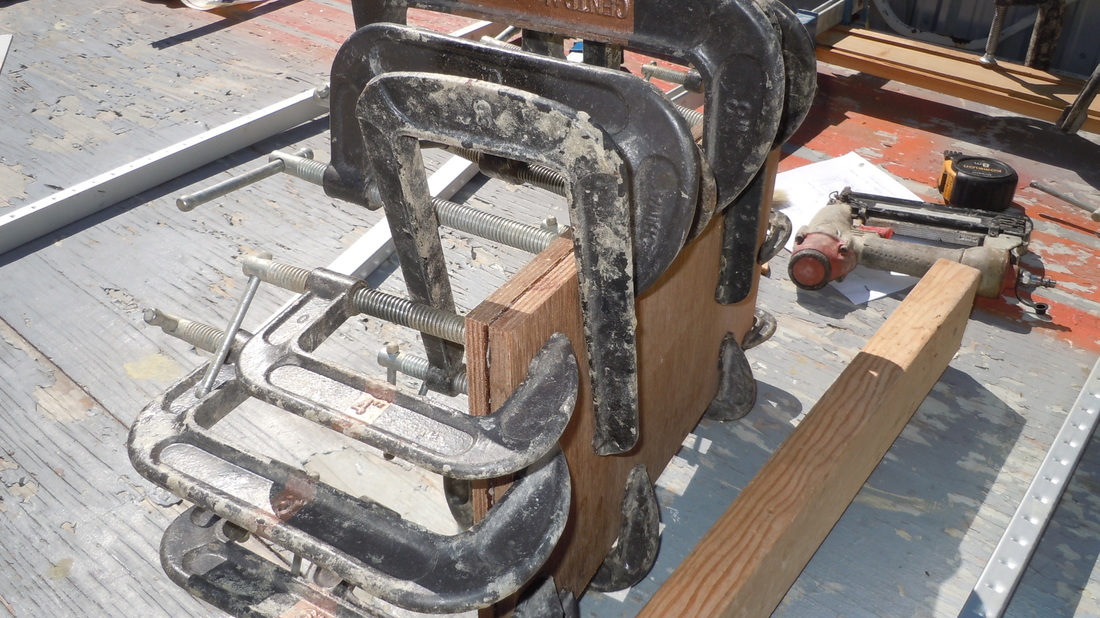
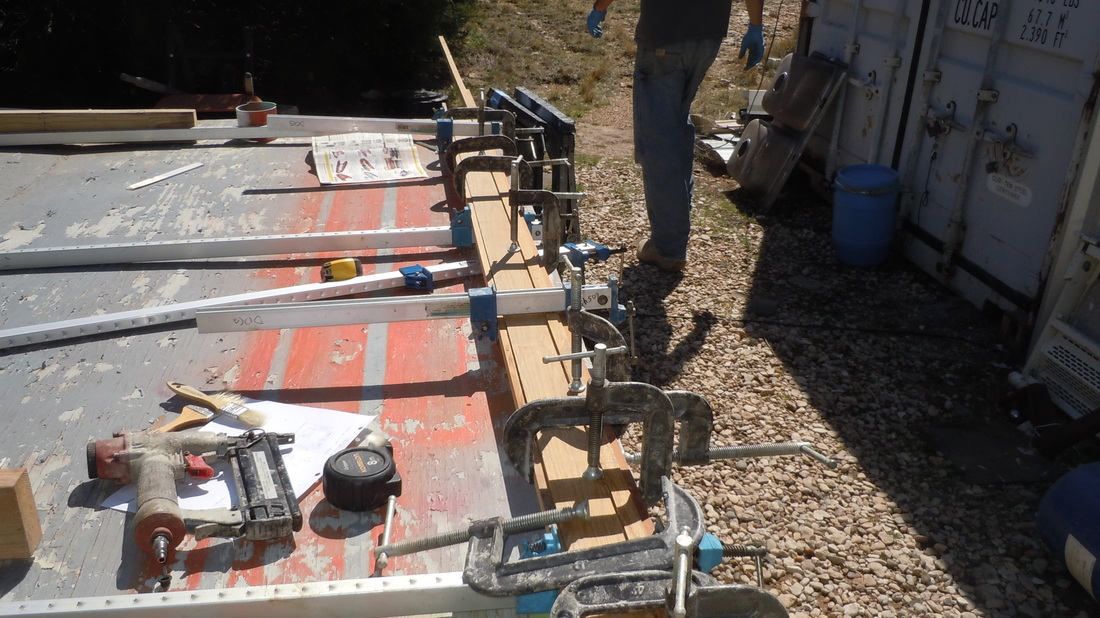
Ah, the nostalgia of clamp pictures. And..................
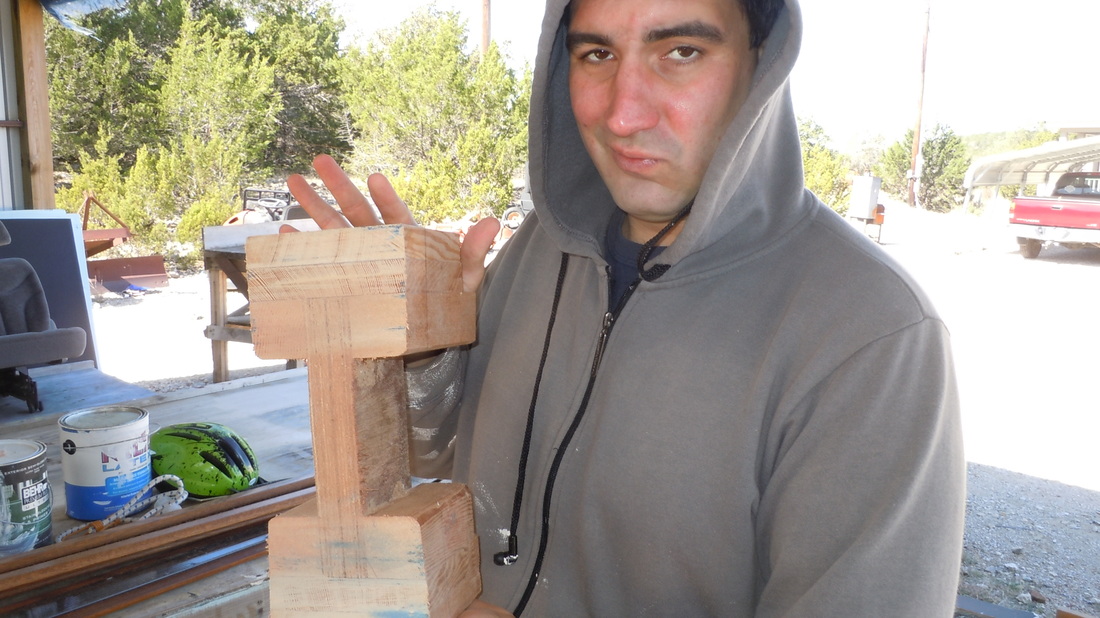
I also glued up some pad material. At the edges of the beam troughs sits a pad which raises the beam above the beam troughs so the water drains off. The beams only touch the hull at the pads on the edge of the troughs. Saturday I spent making the trough pads and figuring out the Sail O Mat pad, which, I discover, is off center necessitating tweaking of the aft beam center reinforcement. Budge is off redesigning whatever the pod is called this time. Someday he will emerge with the tablets after talking to the Burning Bush, who's dropped out of running for president this year and now has time to help him. We have to take the beams out and glue in the blocks Oh boy!
The Music ♪: Taj Mahal, "Cakewalk Into Town"
Always liked Taj's tuba stuff.
1 Comment
|
Archives
June 2024
AuthorChuck! Send money! |
The Blog of the Dog.
www.acatnameddog.com
It's important, I think...........
Click the "<<Previous" at the bottom of the page to see the previous week's post.
 RSS Feed
