Thanks to my two faithful blog readers, Ken, Rune, Rune's wife, Olivier and Ilfors (Huh?) for their comments and well wishes. This post requires my delving into the annals (it's got two "n's" get your mind out of the gutter) of this site (a slog through the smog of the dog blog bog). Hey, I have to write something while on vacation and not building boats. I could send you pictures of plumbing like I did on the last vacation. Yeah, we're in Ohio kickin' back and doin' nuthin'. So the alternative is maybe a learning thing. Those of you what knows boats should skip this post altogether. It will save you time and eliminate your yelling "You Idiot!!!" at your computer screen. So, here we go, Wheeee!
The Concept
When down in the cabin, ventilation is important. You need an ingress for fresh air and an egress of bodily expulsions and effluvia, AKA: Funk. A couple holes in the cabin top would help. But when the big ass wave proceeds to dump a ton of water on the deck. the concept seems imprudent. Drilling holes into the sides seems impractical and drilling holes in the bottom seems idiotic. Somewhere back in the annuls of time, there was the good ship "Dorade". This was some whiz-bang boat design and had these really cool ventilation boxes. Boat folks, being not long in the intelligence bracket, instead of calling them "hydro rejection ventilation units", simply called them "dorade boxes". So why not build a box that allows air in but keeps water out?
The Math
A PVC drain pipe from the big box hardware store is 4" in diameter, so a 4 inch hole in the deck is calculated to be around 13 square inches per pi R square or is it pie are round? That means you want an easy flow of air without restrictions: fresh air in. You need no restrictions to the flow of said oxygen (and nitrogen, for the science nerds) and plenty of restriction on the flow of water ( recipe: two cups hydrogen, one cup oxygen, stir or shake, depending on which James Bond you prefer).
The Box
So you want a two compartment box with a dam in the center to stop (mostly) the flow of water into the cabin and with an opening above the damn dam of 13+ square inches for oxygen. Oxygen floats on water (more science stuff).
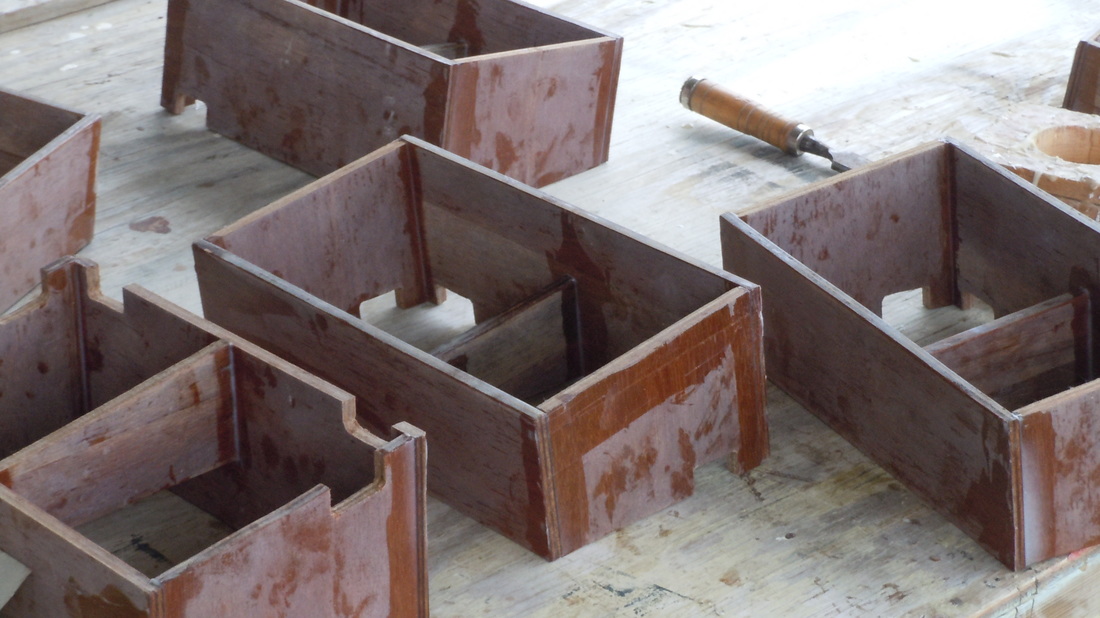
One side is shorter than the other side, as the deck is curved. The center divider is the dam that restricts the water. They must be attached to the deck in some fashion. You can have the box screwed to a couple blocks on the deck or have a removable top. I opted for the removable top as the box was a bear to make perfect to the deck, It was much easier to fill in the imperfections with epoxy to make it fit to the deck slope.. On one side of the dam the 4" tube goes through the dorade top. On the other side of the dam the tube goes through the deck into the cabin. Each cabin has two boxes. The fore hole cowl points aft and he aft hole (heh heh) cowl points forward. Ram air on one, draw effect on the other. Is that the Venturi effect or Bernoulli's principle or neither (potaytoes, potahtoes)? You also need holes to let the water out (scuppers).
The Cowl
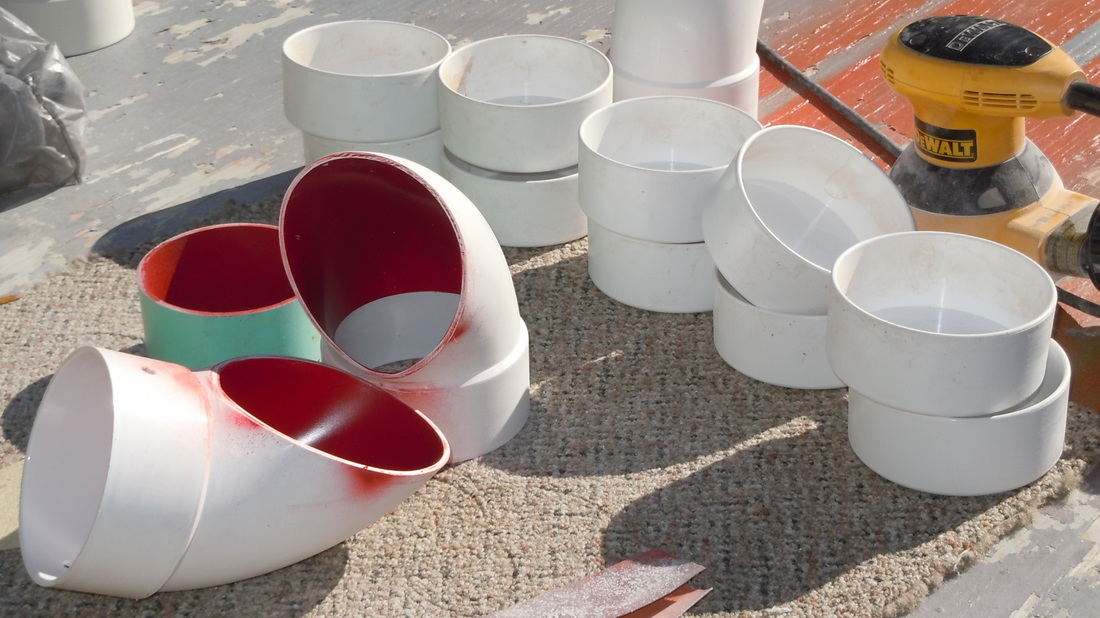
So on top of the box You need a scoop to force air in, a cowl (boat hoodie). On your basic boater goodies website you discover the great truth: holy crap, these things are expensive! Hmmm........to the big hardware store plumbing department again!
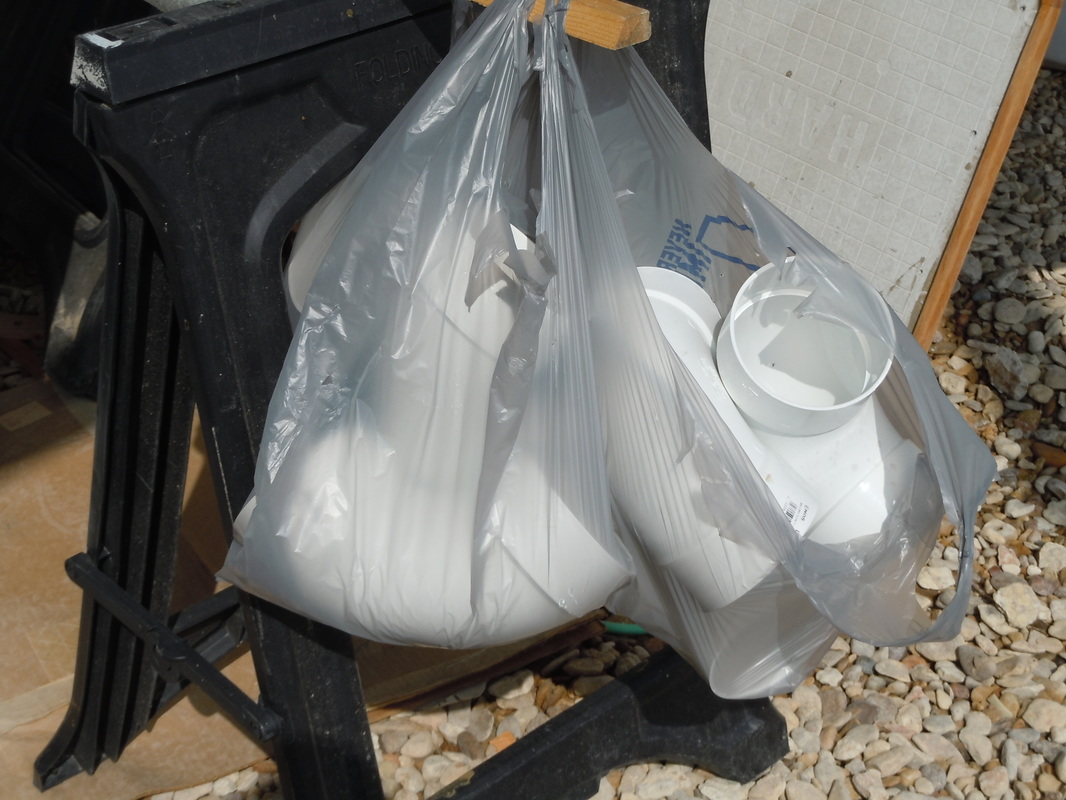
Bag o' 4" 90° PVC drain connectors (cheap).
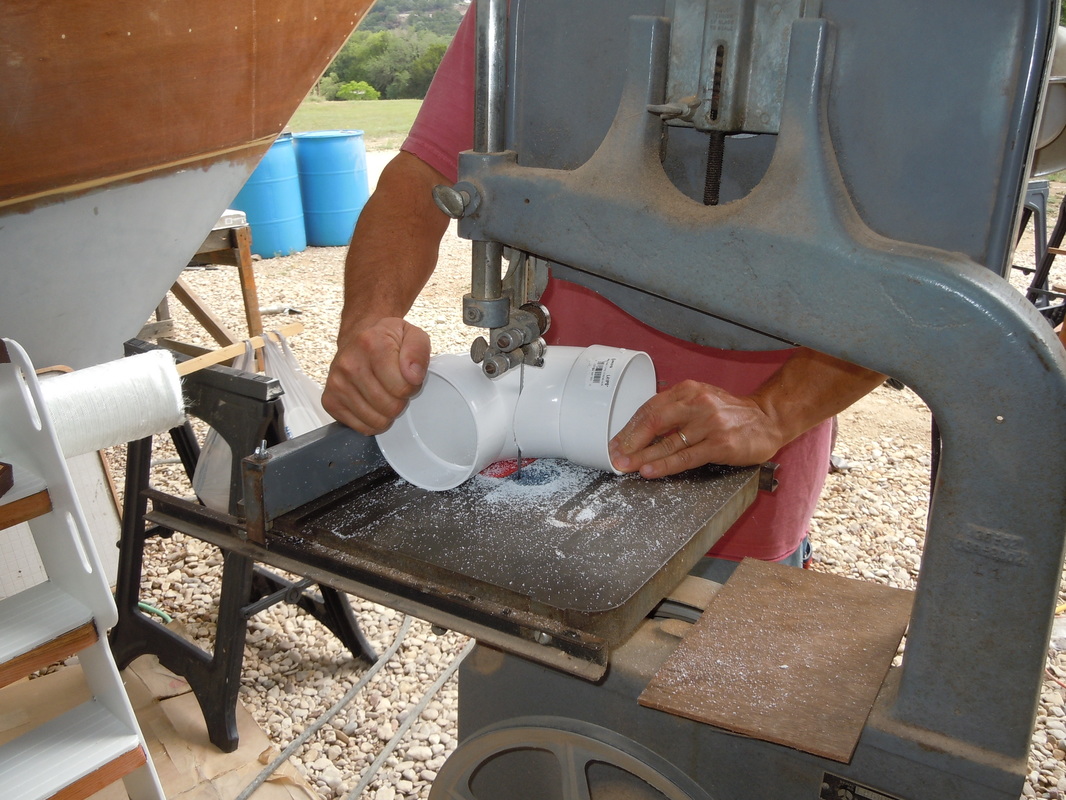
Band saw and Budge's labor (also cheap).
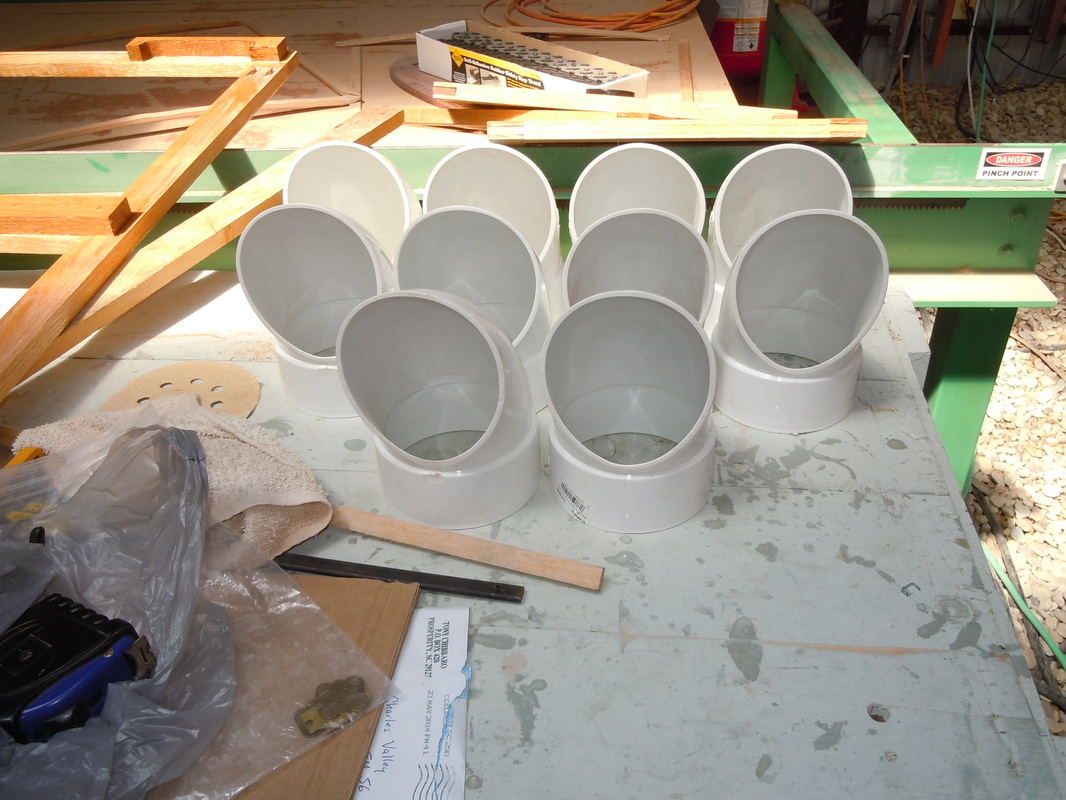
Voila! (viola?) Cowls!
The Tops
You need access to the boxes so that when the giant wave deposits a pissed off octopus into your ventilation unit, you can get him out. The removable top seemed the way to go. This was an evolutionary process with creationist inspiration, It just happened with inspiration and perspiration (see Edison).
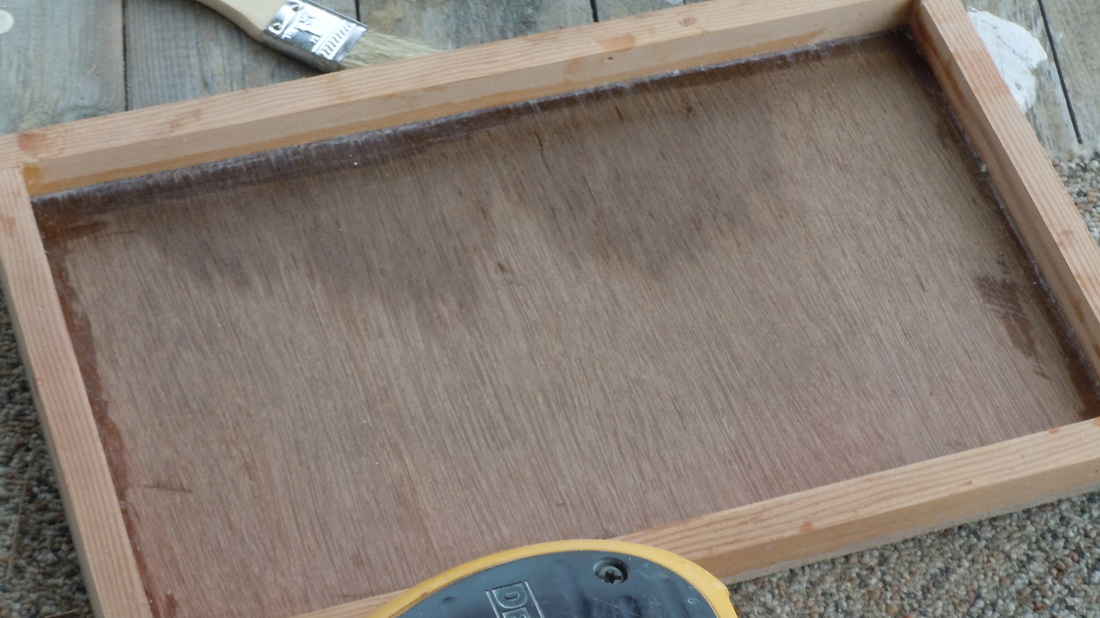
I started with a simple framed top that set over the box. Little did I know what kind of contraption this would become!
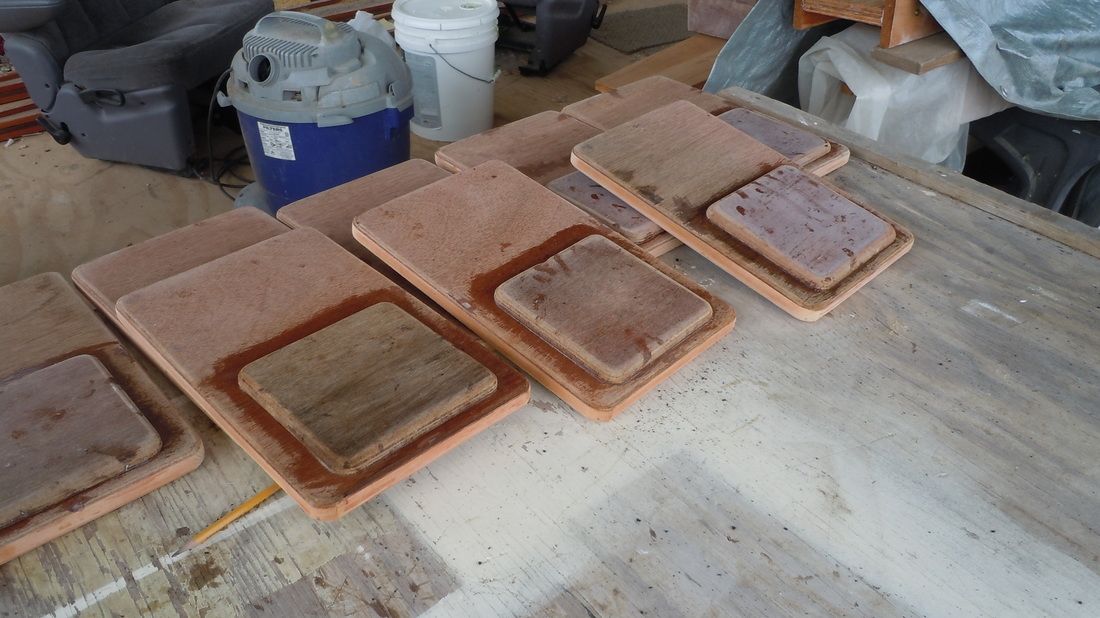
With my creative juices flowing, I determined the first evolution. The tops were thin plywood, so I figured I'd better reinforce where the cowl hole goes. Ergo, the pagoda top was formed (form follows function).
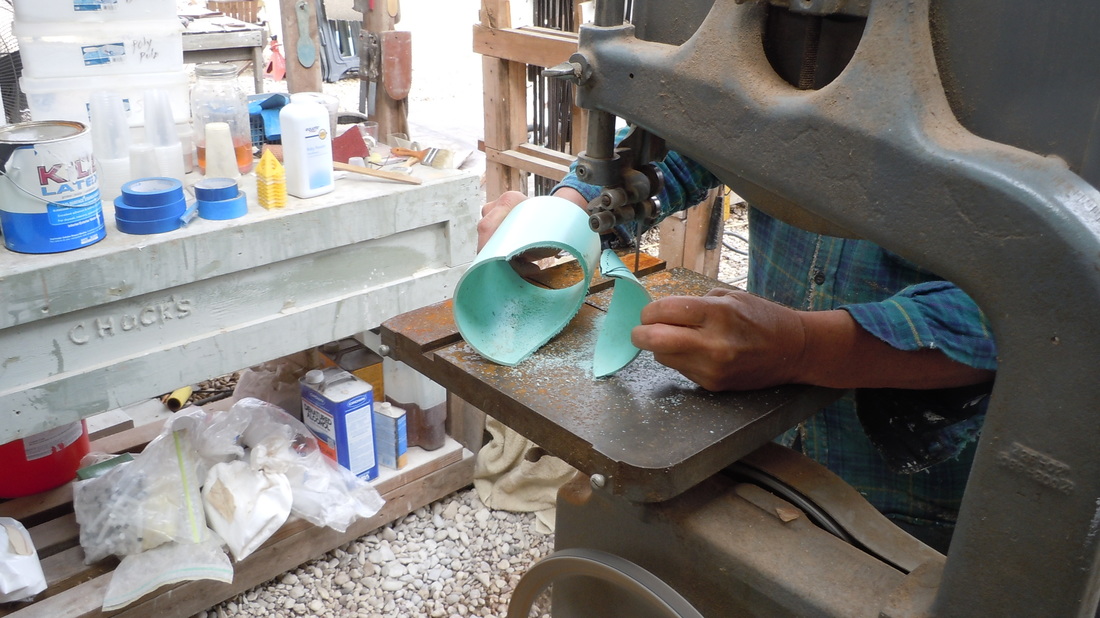
I made the cowl tubes rather long. Budge suggested that I cut away the part facing the wall to improve the air flow and direct the water away from the center dam. Budge comes up with great ideas sometimes (building a boat wasn't one of them).
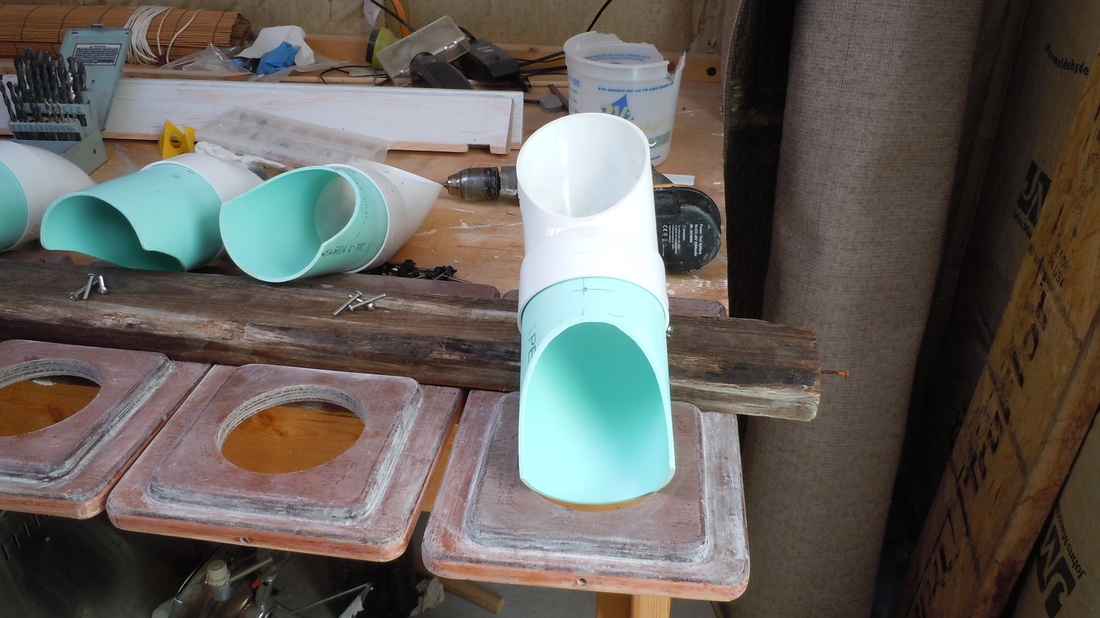
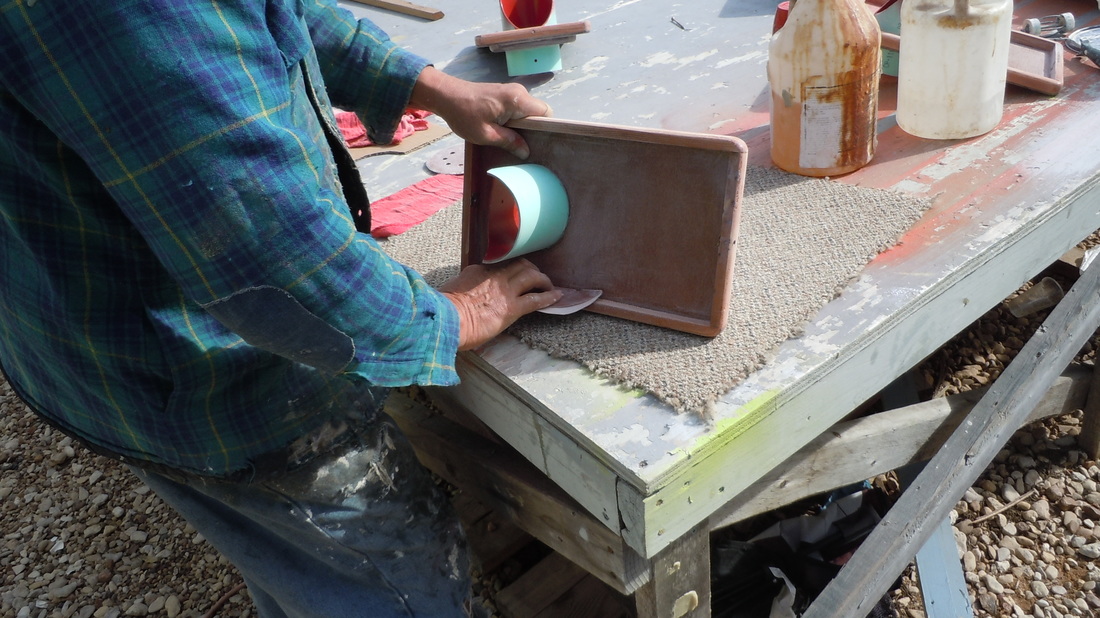
I drilled a hole in top for the tube. I also drilled a hole in the short edges and fastened a tee nut on the inside so I could put a thumb screw in each end to tighten the tops to the boxes. You can see the small hole in the front edge. Subsequent photos will elaborate and elucidate,
With the cowls temporarily fitted to the tubes, we tacked in the tubes to the box. We used #8 bolts as spacers to keep the cowls from being glued to the top. They must be removable. We then tacked the tubes in place with thickened epoxy and let it cure for a day.
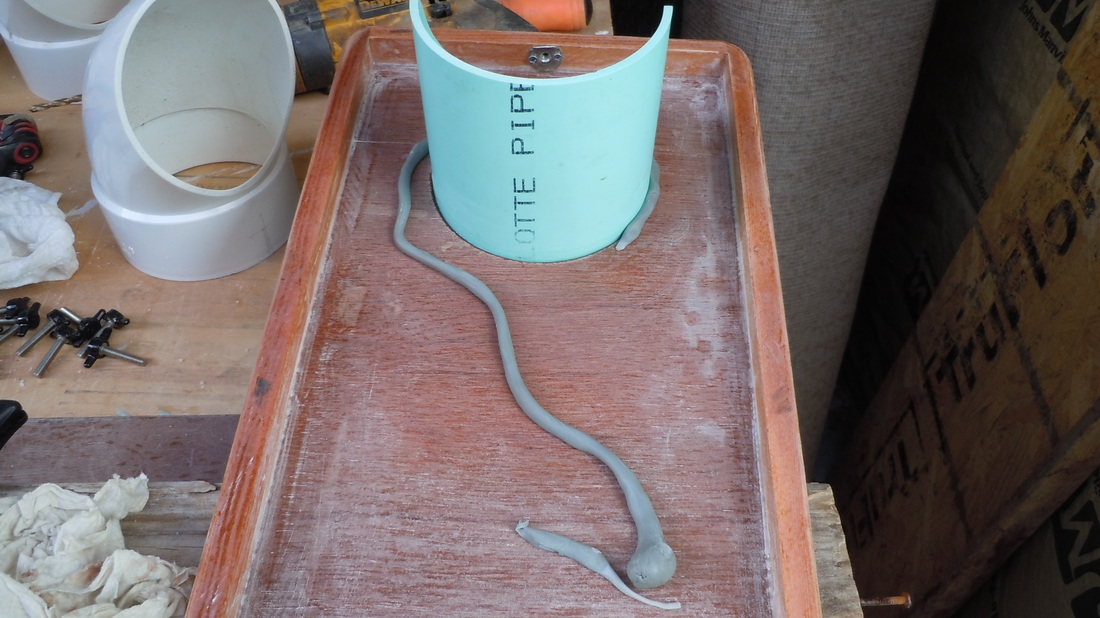
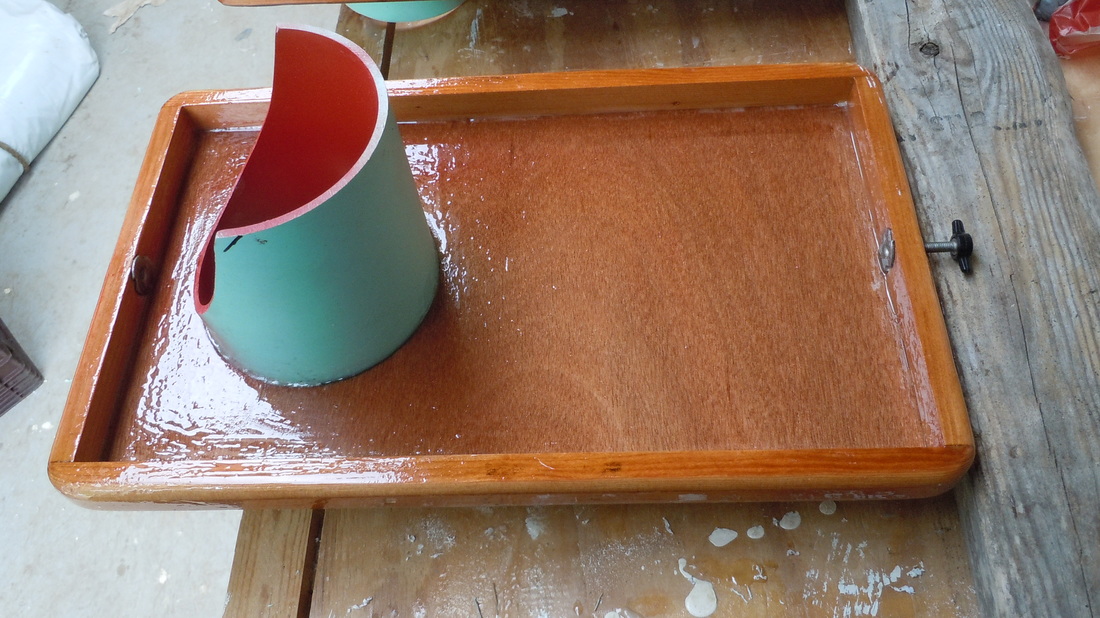
We made a tinkers dam out of leftover butyl rubber so the epoxy would not flow out. Then we flipped them over and filled in the gaps around the joint. we flowed epoxy from one side, let it cure, then flowed it in from the opposite side until the gaps were filled in. At the top of this photo, you can see a tee nut attached to the center lip. this holds the thumb screw.
If you look closely, you can see a hole in the base of the cowl. This is so a pin can be inserted to mechanically fasten the cowl to the tube. Using plastic fusion paint, I sprayed the interiors of the cowls and tubes. Red, to match my eyes!
Sand the overspray and epoxy drips.
Coat them with another coat of epoxy.
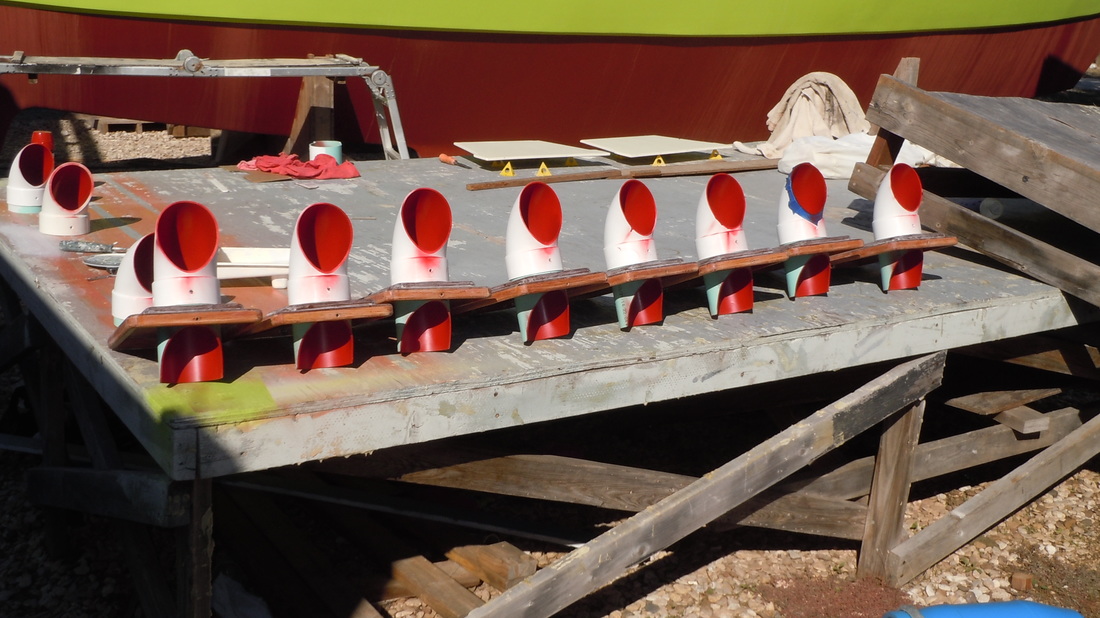
Prime and paint them (popcorn ball). Note the aforementioned tee nuts and thumbscrews and how the cut in the tube will face the wall of the box. The water will sploosh in and be directed away from the center dam.
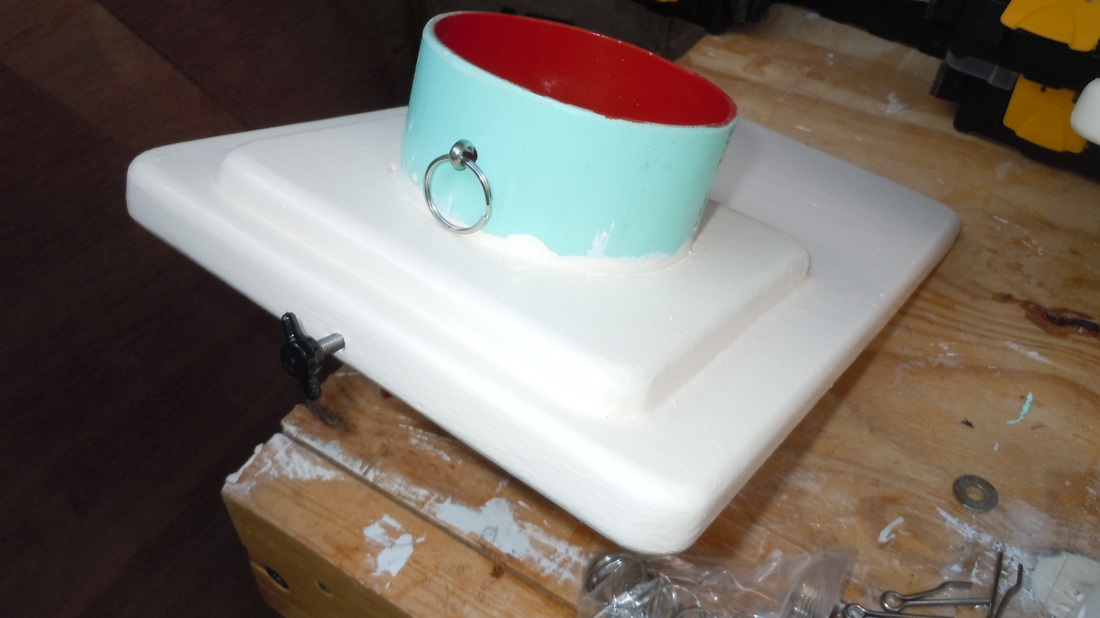
Box top painted with thumbscrew and cowl retaining cotter pin in place in tube. Spiffy!
I also bought some 4" caps to cover the holes when the cowl is removed. Then sand everything.
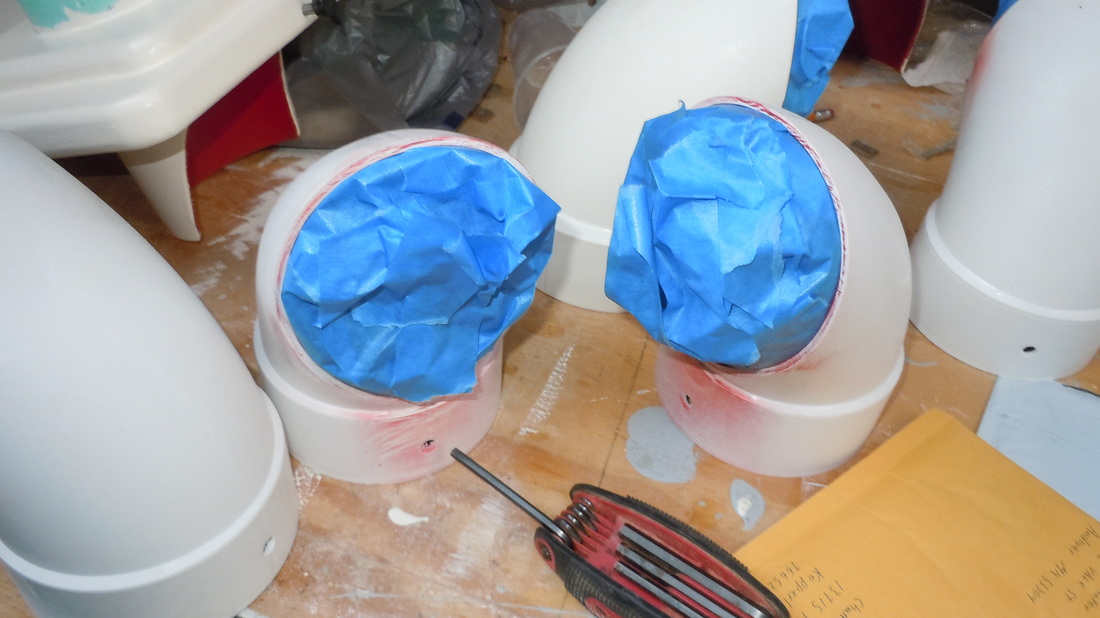
Mask them off as best you can.

Paint the tops. I used white plastic Fusion paint so it would stick to the PVC with a coat of silver hammered paint over the top. The Fusion went on like a dream. the hammered went on like a hammer!
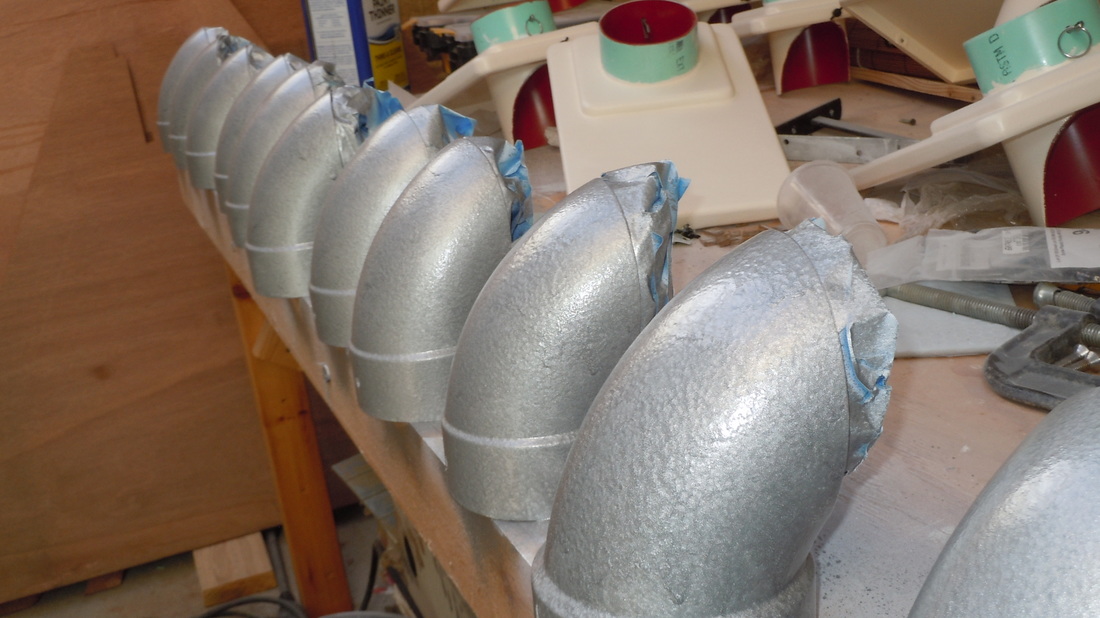
I had some drips. We are considering them as part of the character of the boat! This boat has LOTS of character!
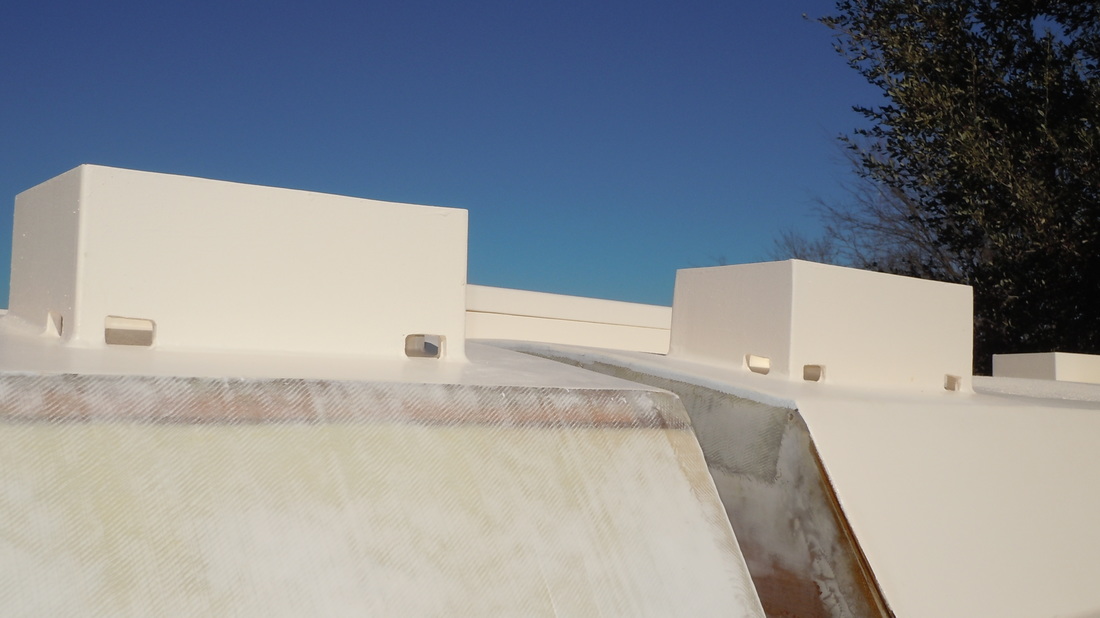
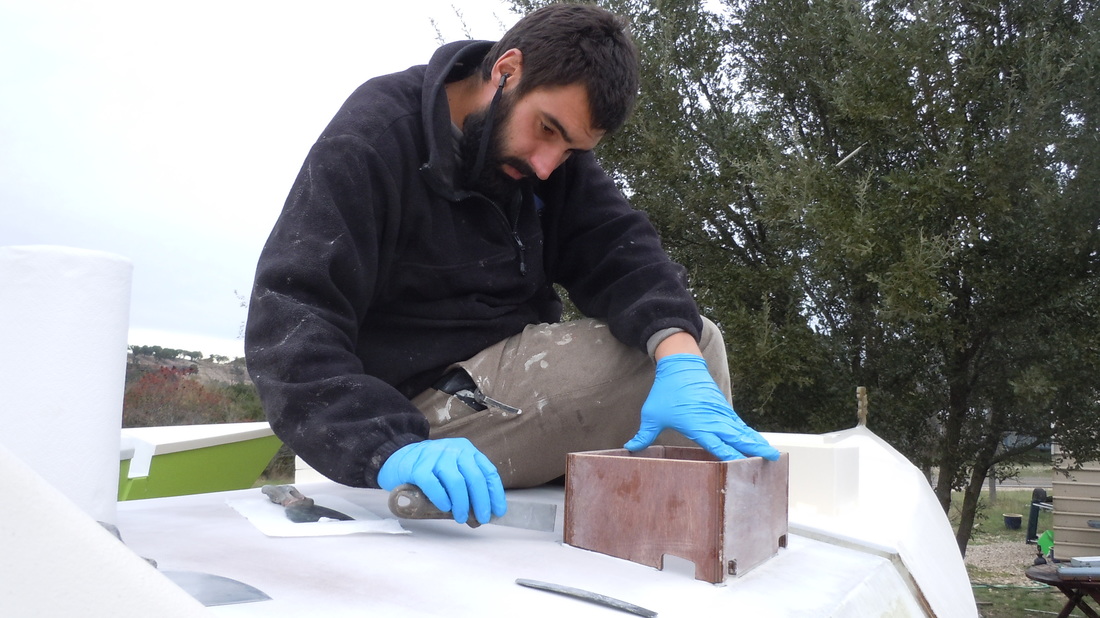
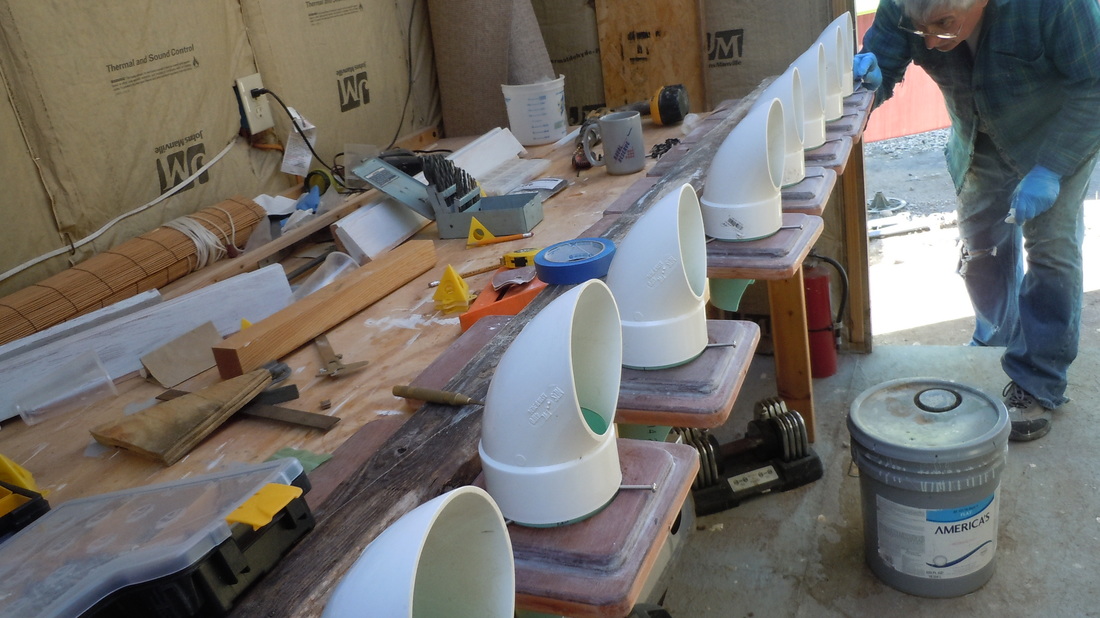
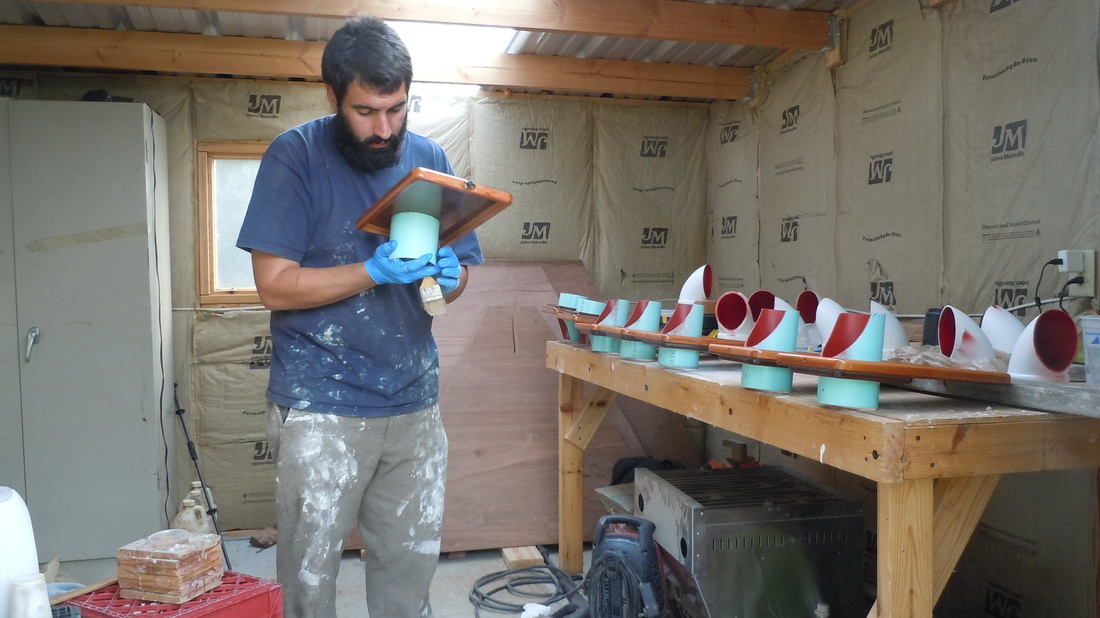
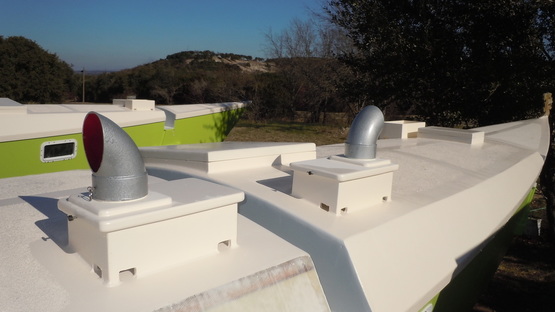
So, what do you end up with?? Boxes all glued in and painted.
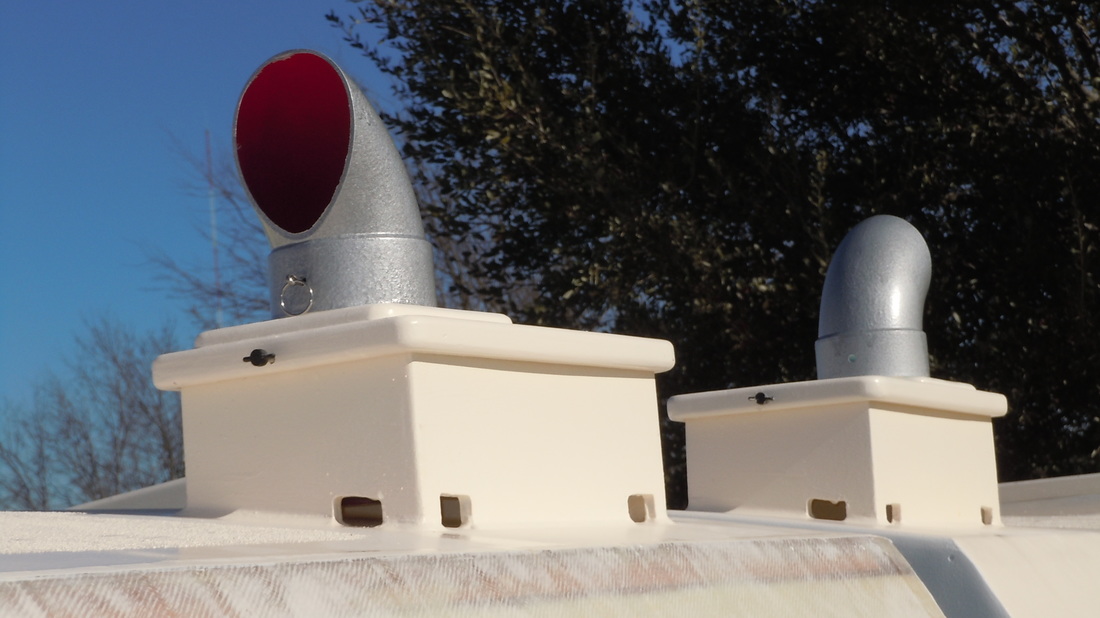
The tops on! I still have to touch up the red paint when I get back. I also have to mark where the thumbscrews touch the box and make an indentation so the top will be secured. This process, off and on (more off than on), in between other stuff, took a year. I didn't really concentrate on them until we had to glue them on the decks. So, to sum up the simple process:
1. Buy 4" 90° PVC plumbing connectors
2. Cut off to form cowls
3. Measure and cut box parts
A, 2 tapered ends
B. a short side and a tall side
C. cut a dam for the center
D. cut drain scuppers in tall side and ends
4. Glue box together making sure dam is in correct position (13 square inch opening at top
5 . Coat box with epoxy.
6. Make tops
A. Make simple frame that fits over boxes
B. Glue on 4mm top (discover it's a mite thin)
C. Make and glue a reinforcing block of 9mm over one end of top
D, Drill holes in edge to hold tee nuts and install tee nuts
E. Buy socket head cap screws and plastic thumb screw ends and press together
F. Drill 4" hole in top
G. Buy a 10' length of 4" PVC tube and cut it into proper length
H, Cut tubes on a bias to increase air flow and divert water. Drill small hole in tube that aligns with top so a screw can be inserted through tube and into top from the inside. This will help brace the tube when you twist the cowls on and off.
I. Fit cowls and tubes together and glue tubes in making sure you don't get glue on cowls. Use #8 bolts as spacers to raise the cowl slightly
J. Fill in gaps around tube/top connection from both directions
K. Drill two small holes in the cowl base front and back to pin them in place facing in either direction
L. Drill a corresponding hole in the outward facing face of the tube
M. Buy stainless steel cotter pins and stainless split rings and assemble
N. Paint interior of cowls and tubes with PVC paint.
O. Buy 4" PVC caps from hardware store. Note: all raised markings were sanded off cowls and caps prior to painting
P. Paint exterior of caps and cowls with 2 coats of PVC paint and 2 coats of hammered paint.
Q. Touch up overspray to cowl interior (yet to do)
R. Epoxy coat prime and paint tops
7. Screw in thumb screws of tops to indent bottoms and mark where they align and carve out an area for the thumb screws to attach the tops securely
8. Epoxy coat boxes and paint when we paint the decks
9. See? It's easy.........................................
We still have to drill holes in the deck and insert tubes, but that will come later. All in all the planning was mostly serendipity and tweaks as needed. If I knew more, they would have been different.......maybe.
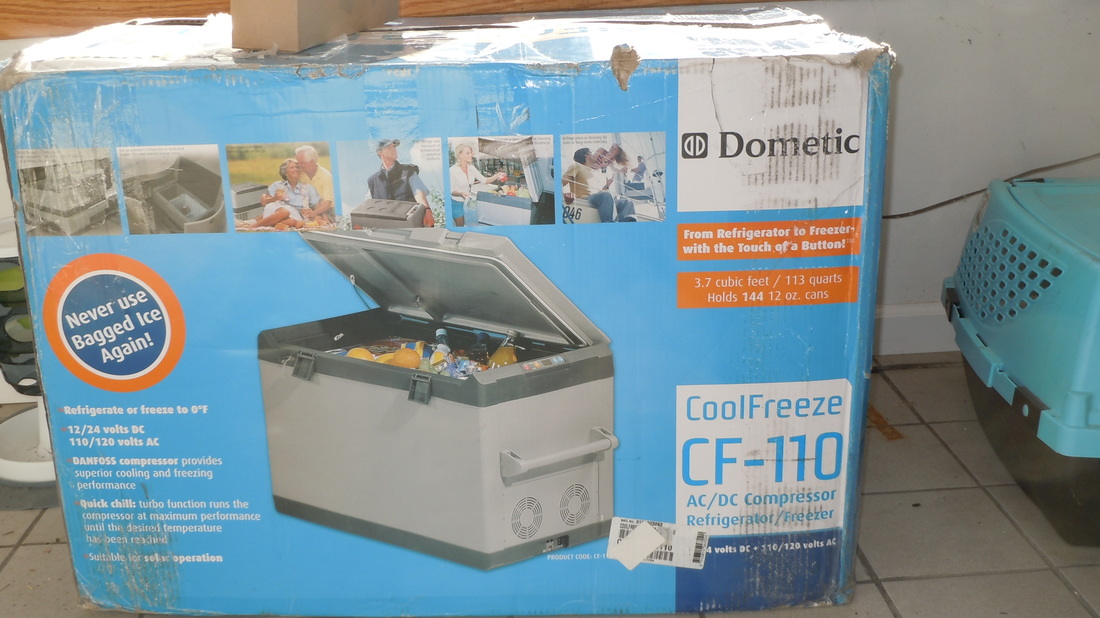
So, here in Ohio, I stumbled on a dented but new Dometic CF-110 (the big one) Cool Freeze refrigerator/ freezer for a good price. It was about 40% of the price for a new, shiny unit. Boat fridge! Good ol' Craig and his list. So you two readers are now experts in the design and execution of dorade construction. You have my pity; step 10: apply alcohol to brain.
The Music♪: Parliament Funkadelic "Give Us the Funk'
The circus chaos of George Clinton. For Craig (the other one), who doesn't read this Blog. What can I say? I gotta get me a hat!
 RSS Feed
