Just when you think something is finished, it comes baaaack. These beams are the zombies of boat construction. Hopefully we put the stakes in their hearts soon (wait.....that's vampires). Oh hell.....you get the picture. Does stainless rod work as vampire stakes? You don't just build them. You have to keep doing stuff to them. Holes, pins, blocks, more pins, more blocks morons build boats! Put the beam into the trough, take the beam out of the trough. I cannot say how many times we did this, but each time they're heavier! We shoulda built a car. At least it fits in a friggin' garage. The temperature is still in the 90's..............in the shade..............97° today..............we're not in the shade. You must be thoroughly disgusted with the seeming lack of progress. I had a couple partial days because it was kinda gonna rain and I had the exposed areas covered up. It didn't rain much, but the threat was enough to stop me. Now a fair warning. Read this at your own risk. People reading this may be subject to drowsiness, fits of screen screaming and bouts of full onset boredom.
Ben worked on the top blocks. They fit on the upside inside side of the beams and prevent the lashings from sliding down the downward curve of the beam trough. Beam 1 has two, beams 2 and 3 have one.
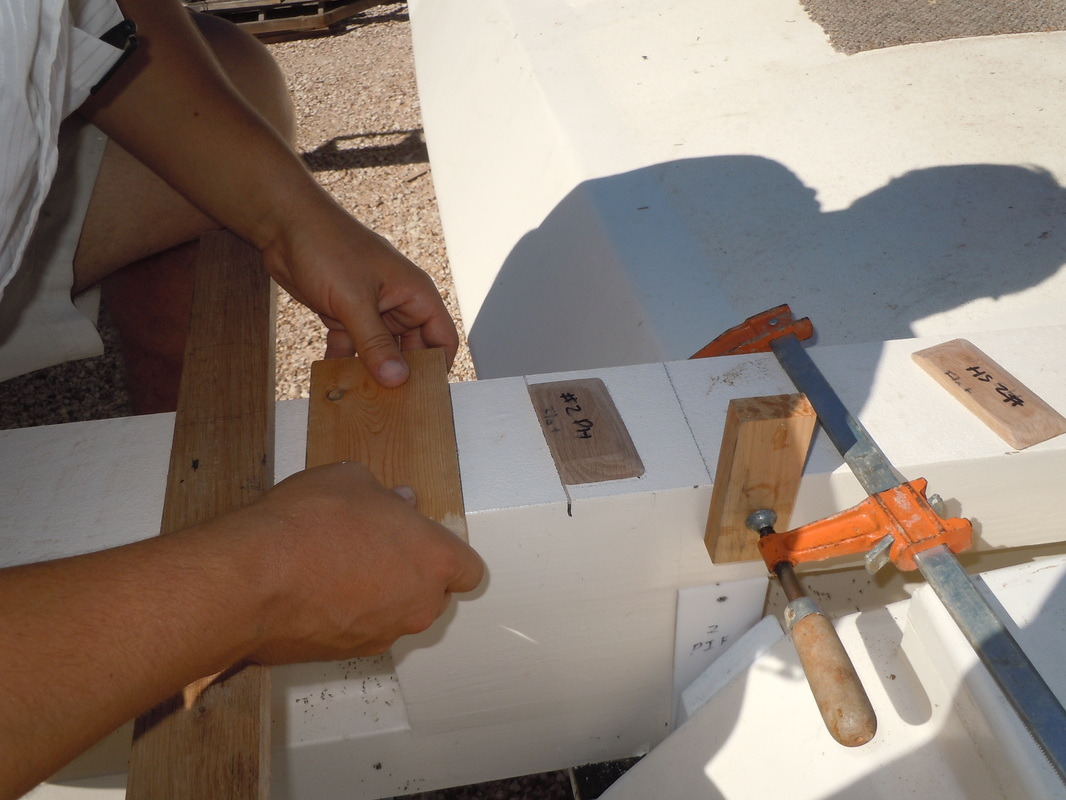
Just glue 'em on, right? Nope. They have to be positioned correctly (see saw cut on top to mark the edge. Because a rope lashing goes over the top. you can't have a square edge, lest it cuts the rope. Curve a short section with a roundover bit in a router (see edges north of the saw cut.
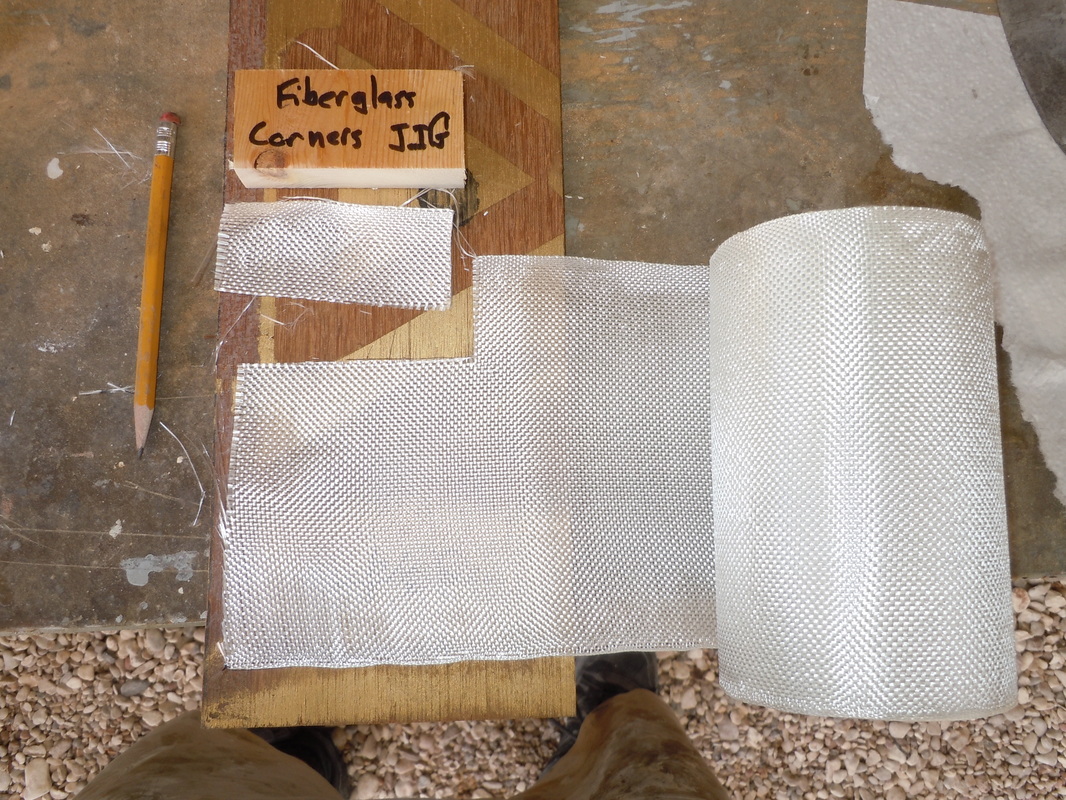
Cut 3 pieces of fiberglass cloth to reinforce the lashing points.
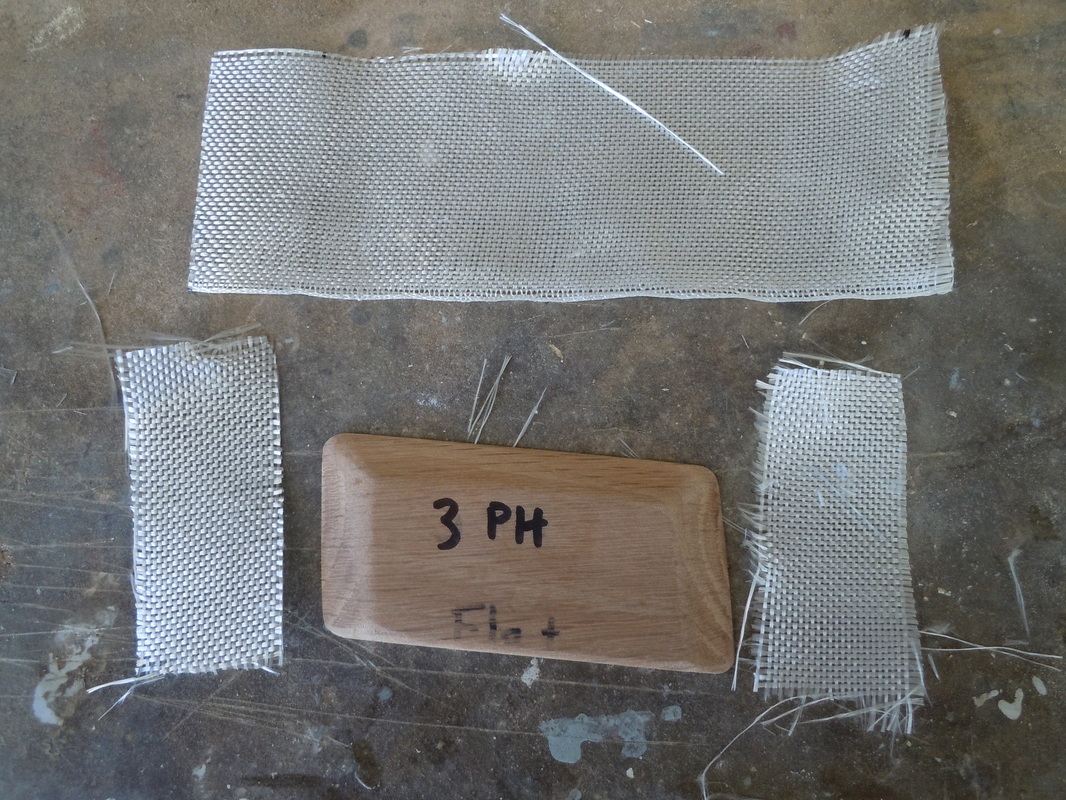
There the whole arrangement (derangement) before application.
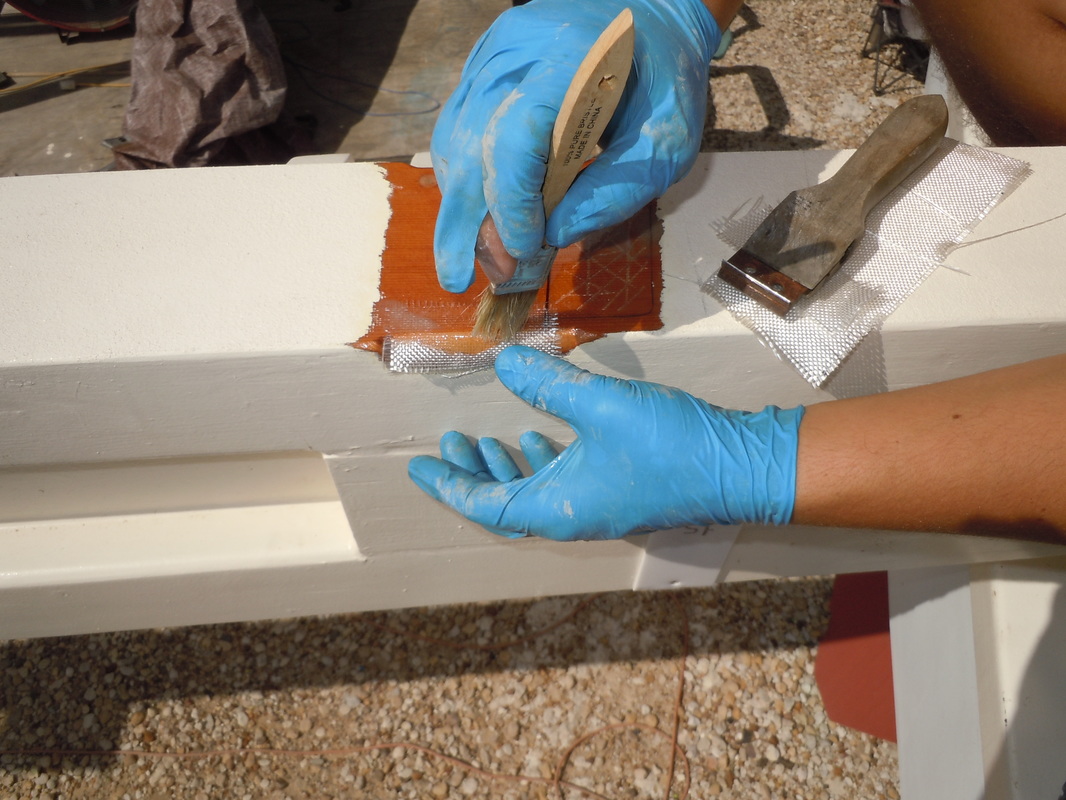
The two small pieces double reinforce the rounded edges.
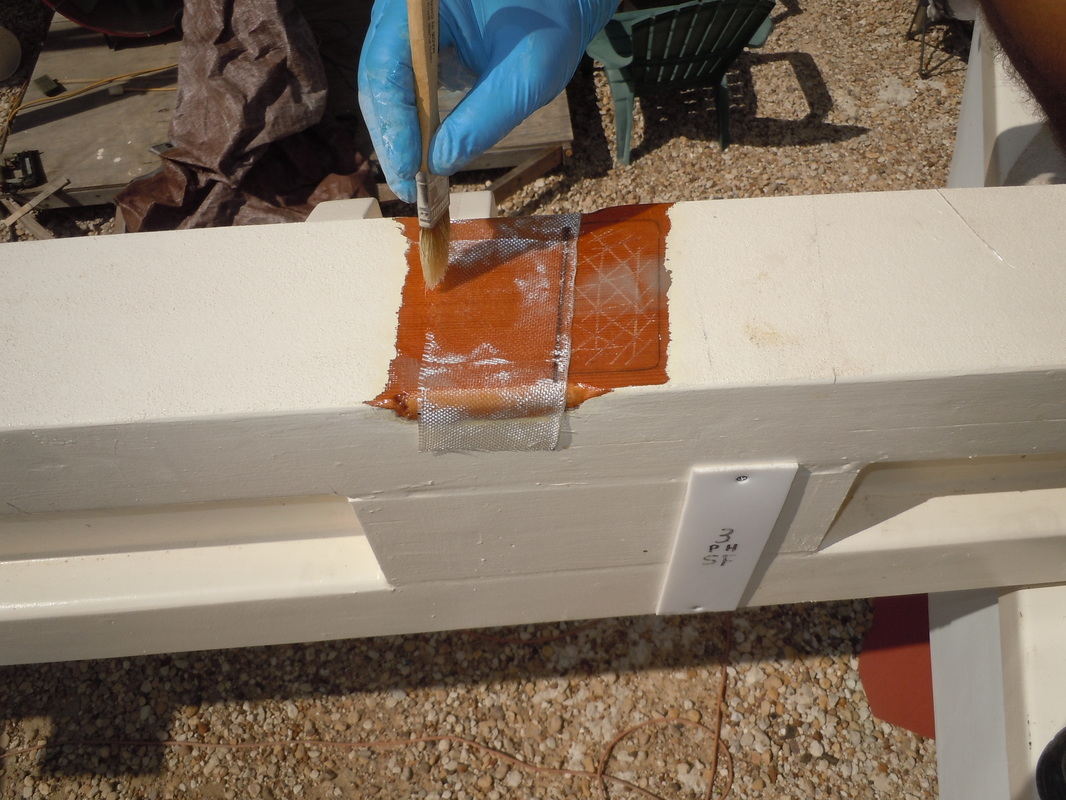
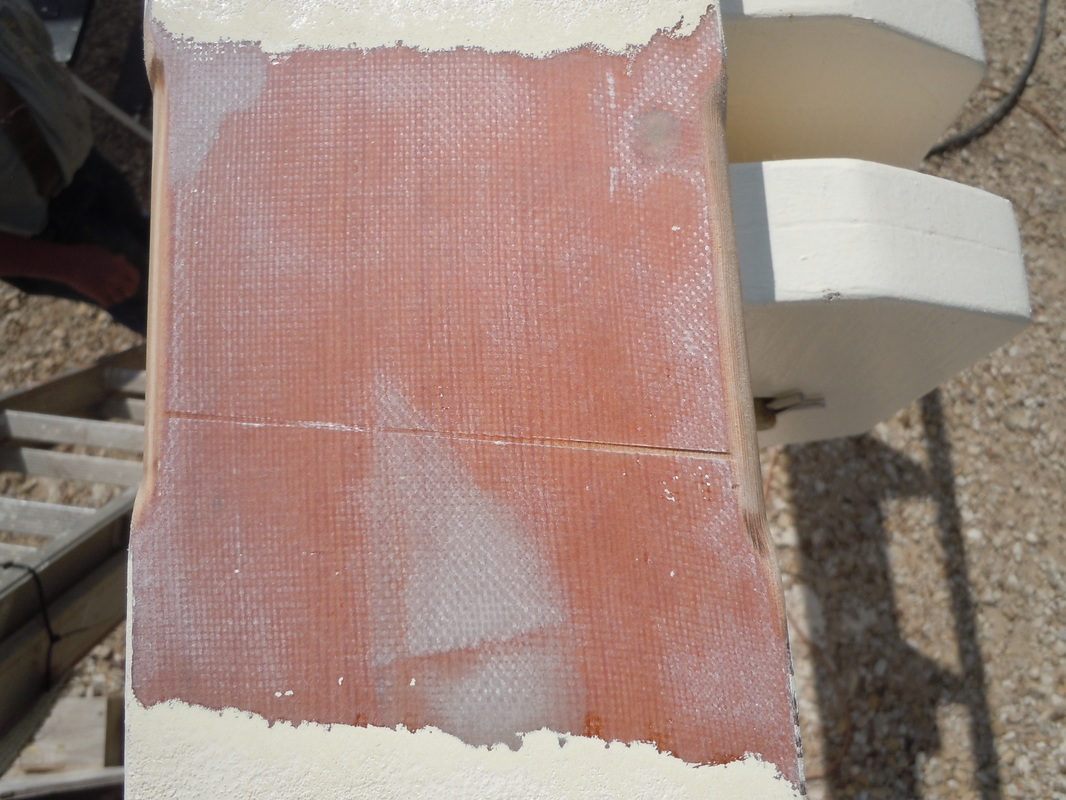
Then the big piece goes over the two edge pieces and gets wetted down.
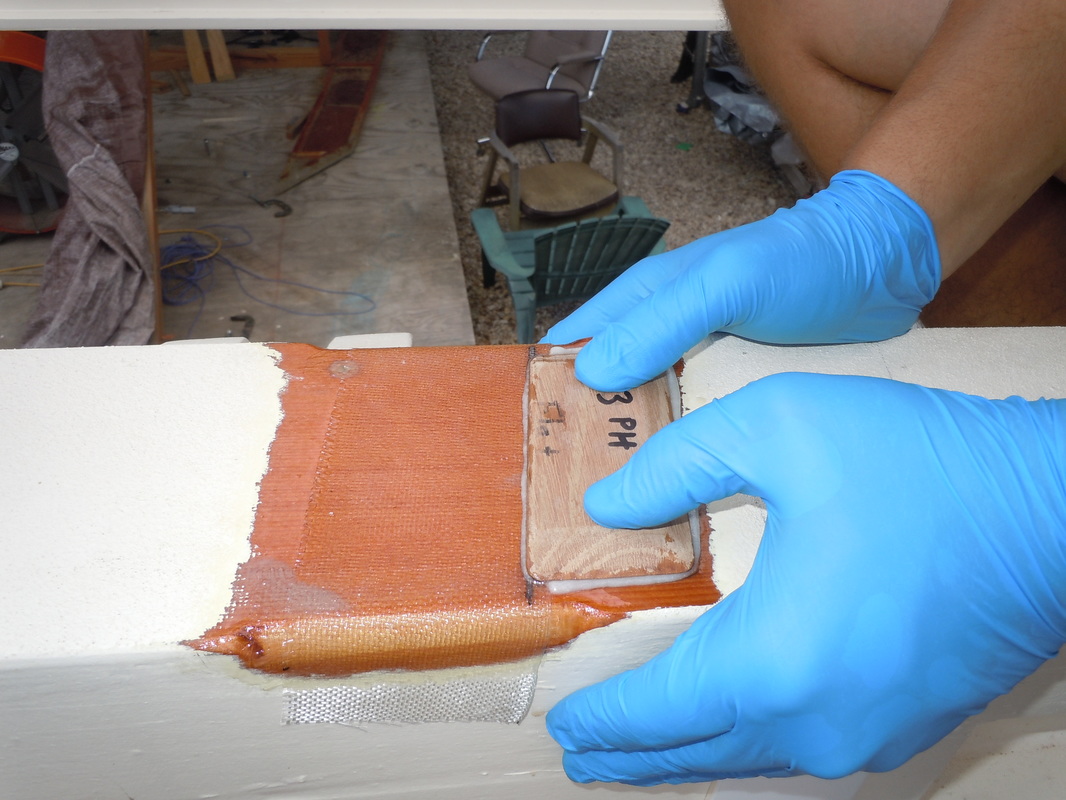
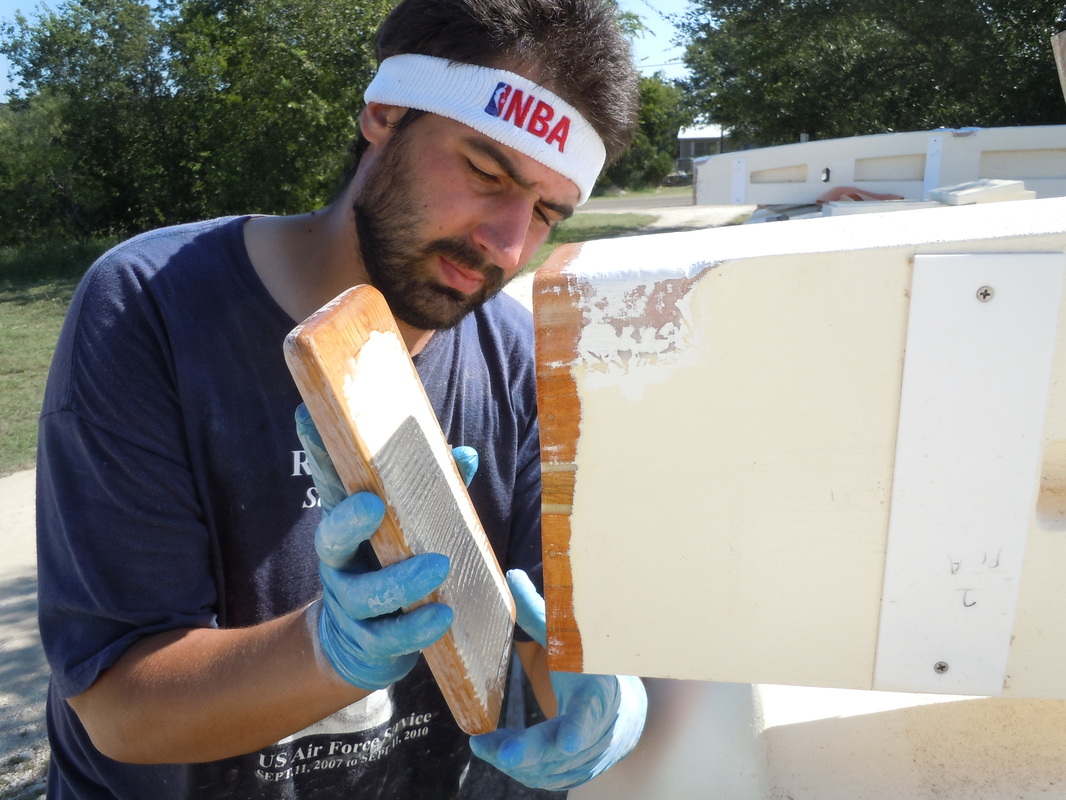
Then the block glues over the edge. Remember............90°, sun, sweat running off your nose, temper short, epoxy working time shorter, much enthusiastic cursing, holding back the rage seething like a dormant volcano coming to life. It sucks big time!
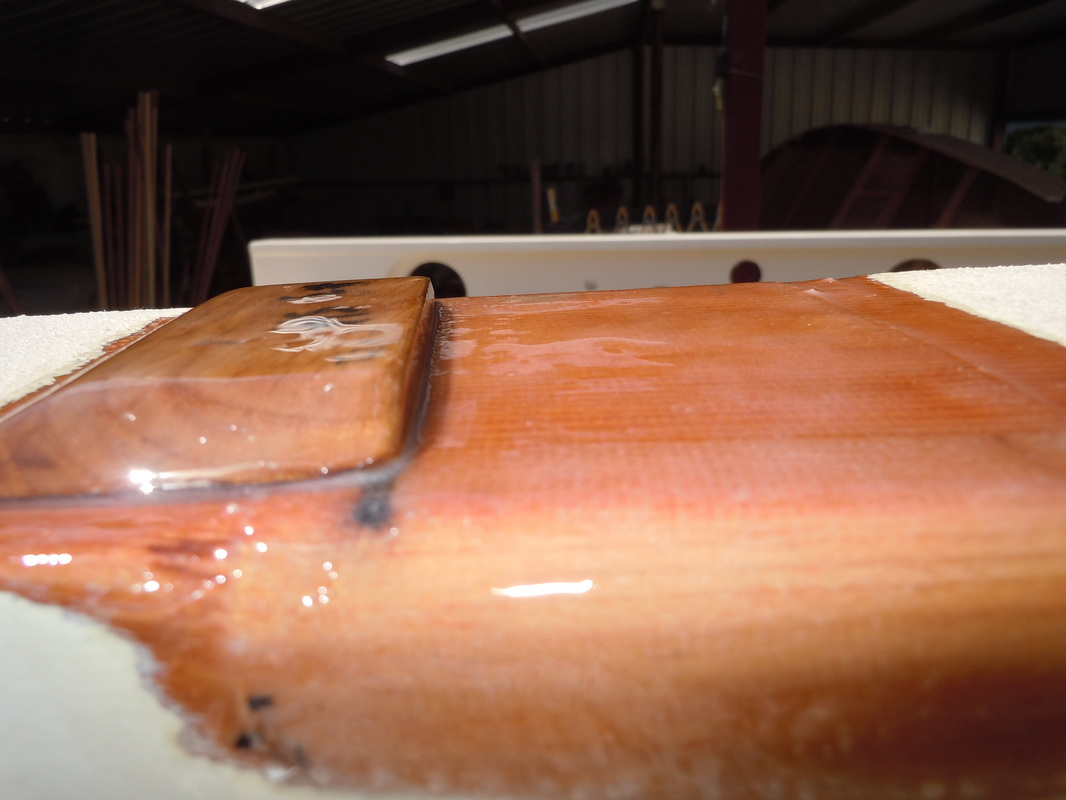
Then Bens secret Krispy Crème donut glaze coating to protect it. Immediately he painted it. Epoxy no like sun. Ben no like sun.
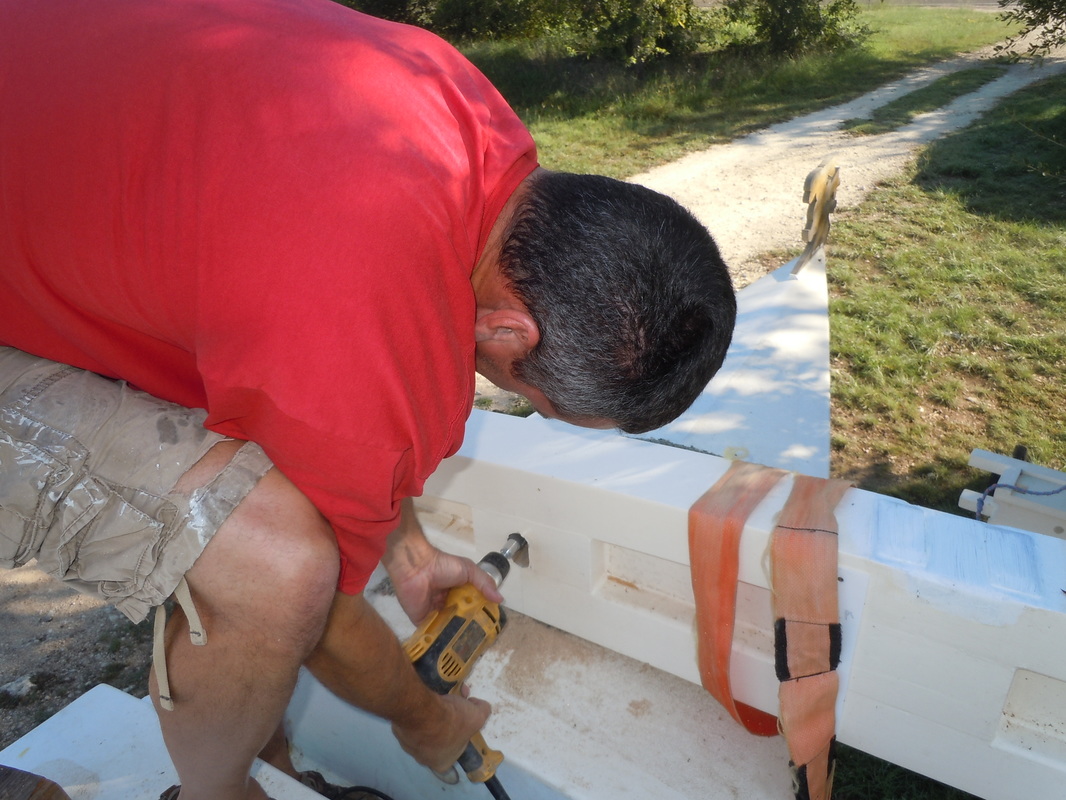
Then Ben's thoughts turns to the ends of the beams on the outside of the hulls. It's a semi same procedure only with end caps instead of top blocks. Much gusto cursing, as the beam profiles are not perfect rectangles. Each end cap had to be made custom of course. Did I mention that it's hot? And we are working in the sun? Oh, good, I wouldn't wish you to be unaware of this fact.
At 95°, all he could do was one end cap at a time. Any attempts at more only produces volcanic epithets and stratospheric stress. We survive this by only doing what we can guarantee to finish. Taking your time is tantamount to mental health. If you think your job is stressful, try doing what we do. I'll tiptoe away and turn to Budge.
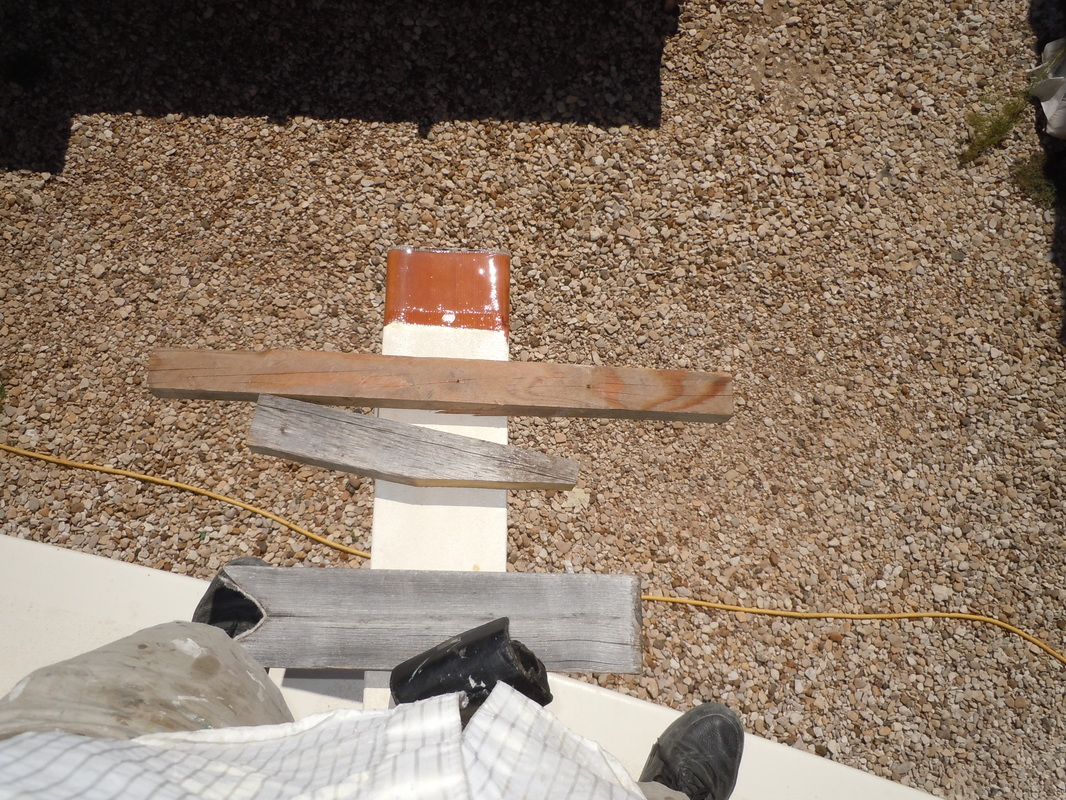
We put in beam one to align everything. Of course, the starboard beam hole was a bit wonky. We got in a 1" drum sander and he cleaned up the holes in the beams. The beam one forward trough hole didn't line up..............normal frustration compared to Ben's stratospheric frustrations. Lemmesee, we put the beam I, took it out. Oh, I don't know how many times. That's just beam 1.
I cut a plug and coated it with thickened epoxy and stuffed it in the hole so I could move the hole over ½" .......................sheesh! Then we.......................................put the beam back in so I could mark the hole. Then we.................................................took the beam out so I could cut the hole. Then we.........................................put the beam back in and I got the bushings and pins to line up both sides of beam one! Then we took it out.
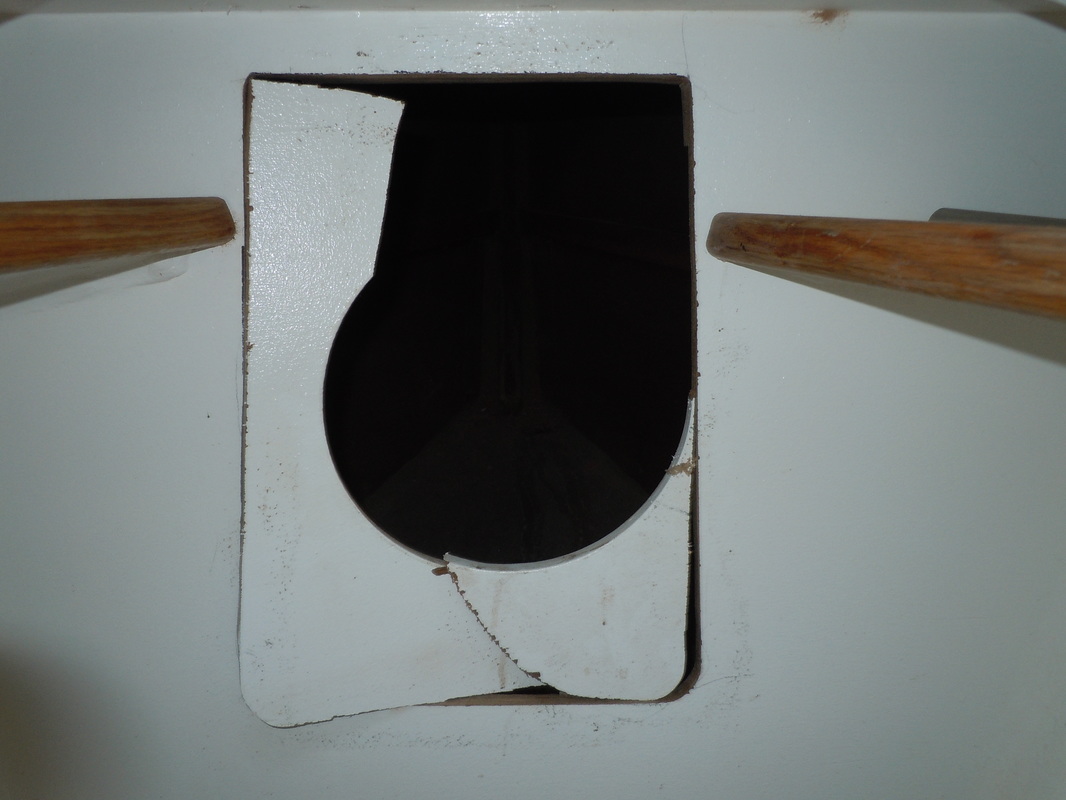
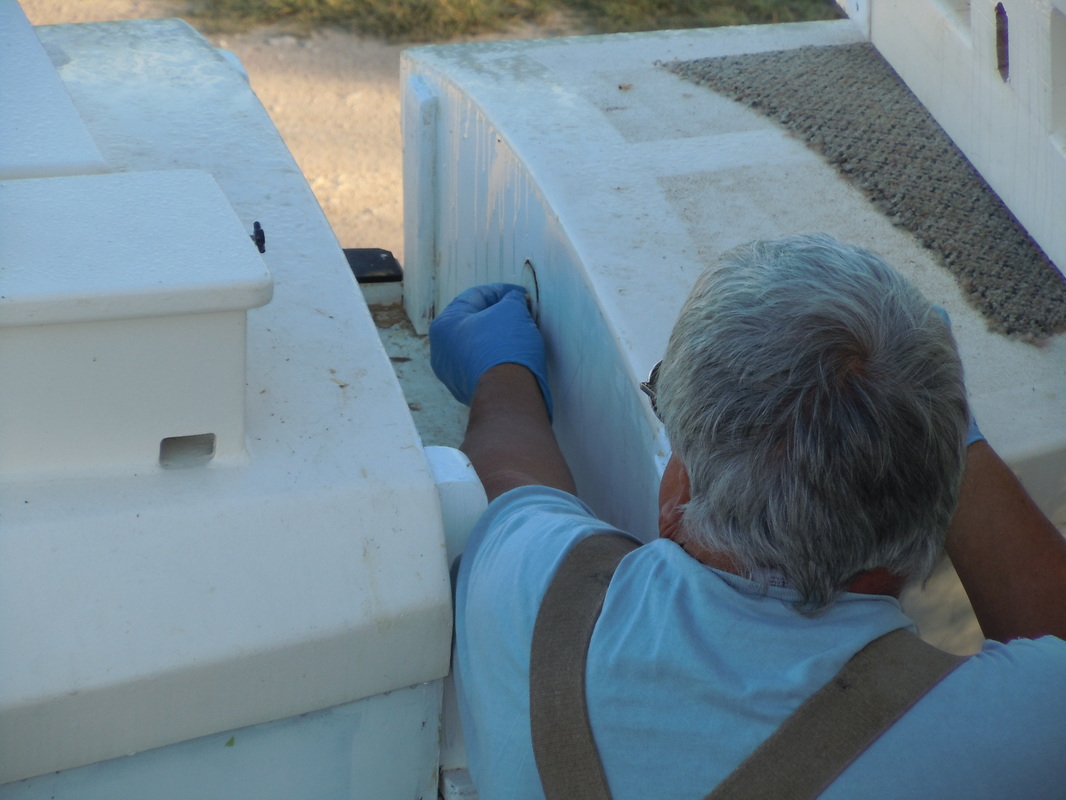
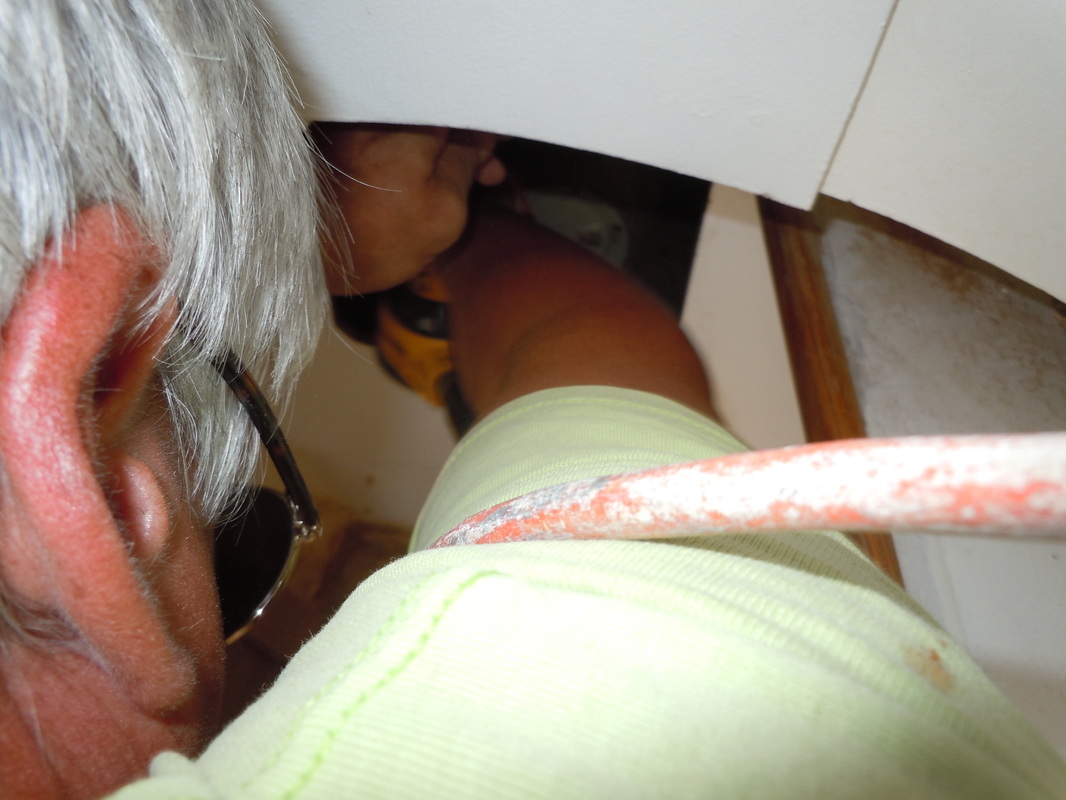
In order to put the forward bushing into the hole. I had to mash my face up against the bulkhead and reach up with my bent arm up to the elbow through an 8" hole and guide it into the hole. "Nuff of that crap. I attacked the forward bulkhead with a jig saw. We would have never been able to put a plate over it to keep the pin from sliding out.
Sanded up the edges.
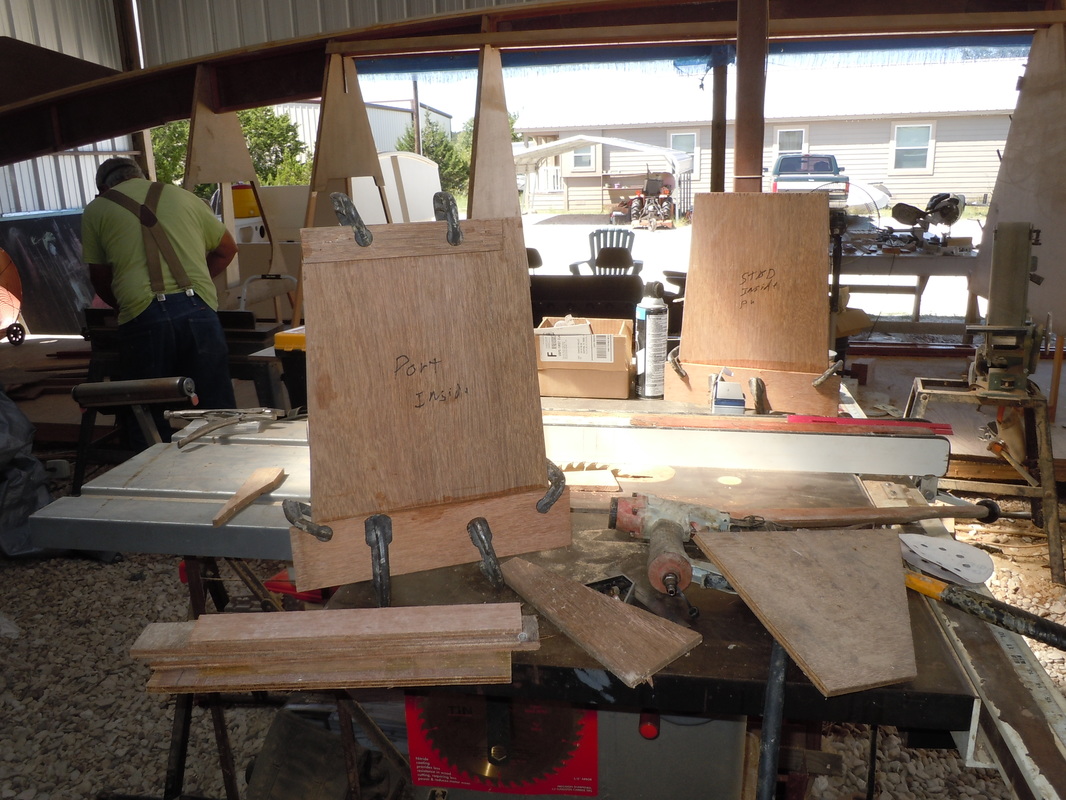
Make a couple panels to fit the holes.....
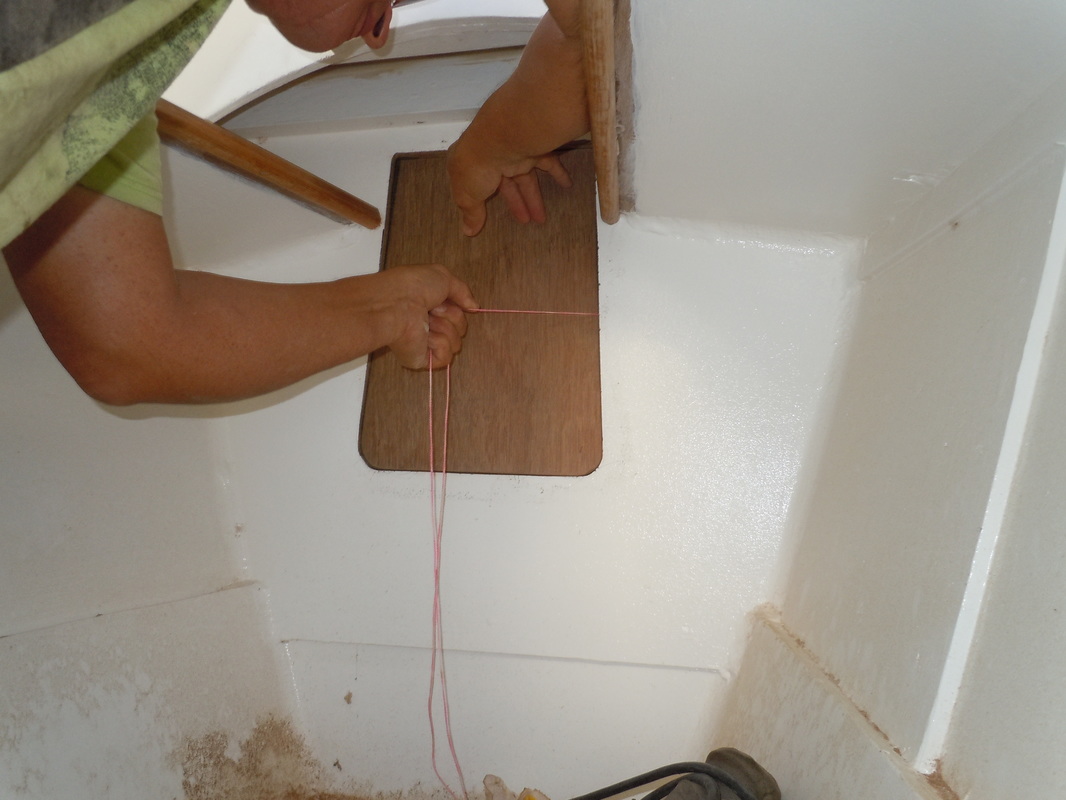
Test fit. Sand a bit. Cuss a lot. Sand a bit more. Inside the hull with minor ventilation with sweat dripping off you. Did I mention it was hot? It was.......very.

Finally they fit. Now just sand, epoxy coat, paint, figure out a way to hold them in. Neither Ben nor I have done anything so frustrating as this boat project.
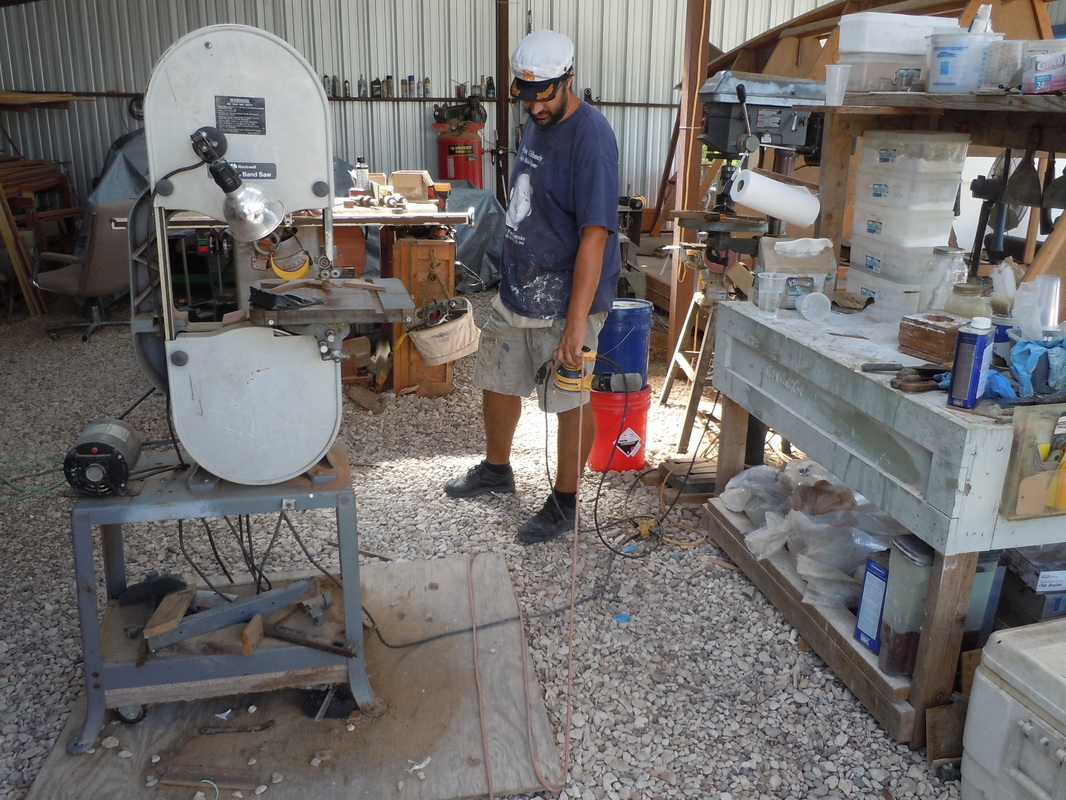
I call Budge's shop the master shop of inconvenience. Ben was dragging a sander around and hooked the edge of the extension cord on the band saw plywood then walked back and hooked the cord on the other edge of the plywood. These inconveniences exacerbate the frustrations and escalate the level of barely suppressed rage.
Hey! We Made a..........................................
Trumpet fanfare: Tootelty toot toot de toooooooooooot!. Video!
It's not a great video. It's just to show my friends (??????) so they can, perhaps better visualize the whole thing. Boatsmith makes better videos. Boatsmith makes better boats. Boatsmith is better looking than me. Boatsmith, grrrrrrrrrrrrrrrrrrr. I don't know why I entered the world of documented inanity. It seems like it snowballs once you start.
The Music♪: Taj Mahal "Statesboro Blues"
I gottem, too!
 RSS Feed
