Most people that build these Wharram boats (Wharramonians) are at or near the downside of their lives, having spent the upside in the rat race, fulfilling expectations, obligations and blowing out birthday candles. Having discovered that, in a rat race, the rats win, and that the number of candles exceed our intelligence quotient, we search out something to give us meaning. Something to say "I've been here". We choose a path and, like Keats' epitaph, which reads "Here lies one whose name was writ in water", attempt to etch our mark in that same medium. Is it wise? Who knows, but it's something.
Thanks to Olivier for his suggestion on the sea toilet. We had discussed this earlier and somehow it got lost in the build process (pod design, re-design, modification, re-re-design, tweak, re-tweak, etc.). At this point, we won't do anything. All of us want to just get this finished and launch. There are still a myriad of details to attend to: wiring, plumbing, beam details, finishing the interiors, and that damned paint! So we stumble on (see the music video). At this point of the build, we have devolved into a resolute march toward the completion of the project. We no longer cater to whims, changes, what if's, or what might be's. Time to finish. All the same, we cannot cut corners on quality. We build at the correct pace to accomplish each facet correctly. It's not that race. And thanks to Ken, A-T-W for his ever so helpful comment. So, with the camera loaded, we delve into the week's happenings. Hold steadfast. my two hearties, we march forth (wait......March 4th was last month)! I wonder how this blog comes through in translation to Olivier seeing as half the time even I don't understand it.
Thanks to Olivier for his suggestion on the sea toilet. We had discussed this earlier and somehow it got lost in the build process (pod design, re-design, modification, re-re-design, tweak, re-tweak, etc.). At this point, we won't do anything. All of us want to just get this finished and launch. There are still a myriad of details to attend to: wiring, plumbing, beam details, finishing the interiors, and that damned paint! So we stumble on (see the music video). At this point of the build, we have devolved into a resolute march toward the completion of the project. We no longer cater to whims, changes, what if's, or what might be's. Time to finish. All the same, we cannot cut corners on quality. We build at the correct pace to accomplish each facet correctly. It's not that race. And thanks to Ken, A-T-W for his ever so helpful comment. So, with the camera loaded, we delve into the week's happenings. Hold steadfast. my two hearties, we march forth (wait......March 4th was last month)! I wonder how this blog comes through in translation to Olivier seeing as half the time even I don't understand it.
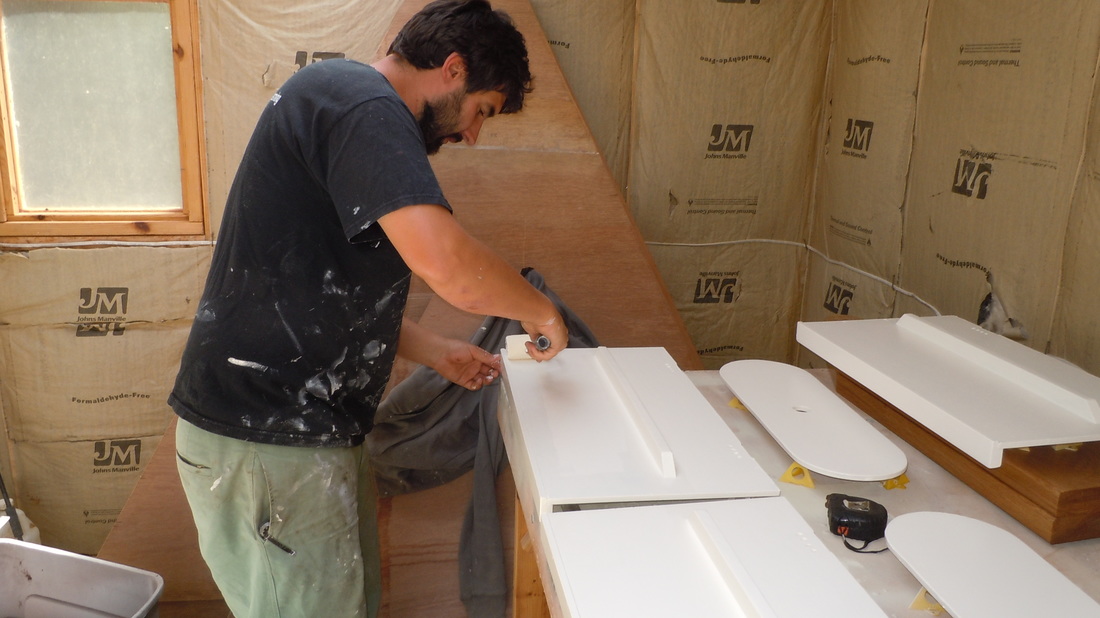
First thing, Ben epoxied and painted the pod seats and such, then turned toward............
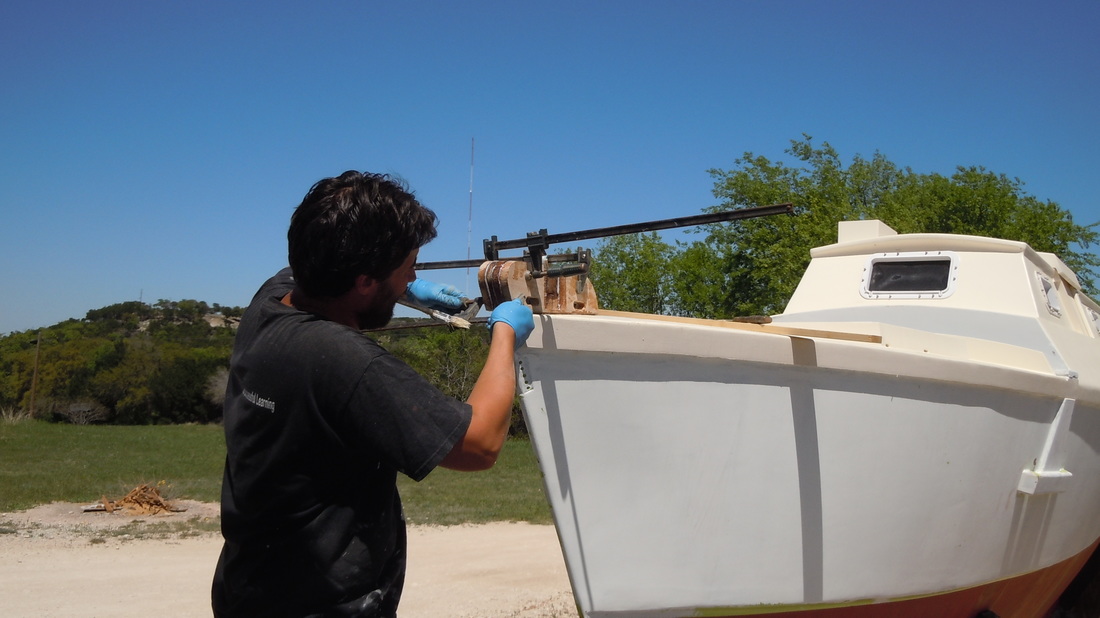
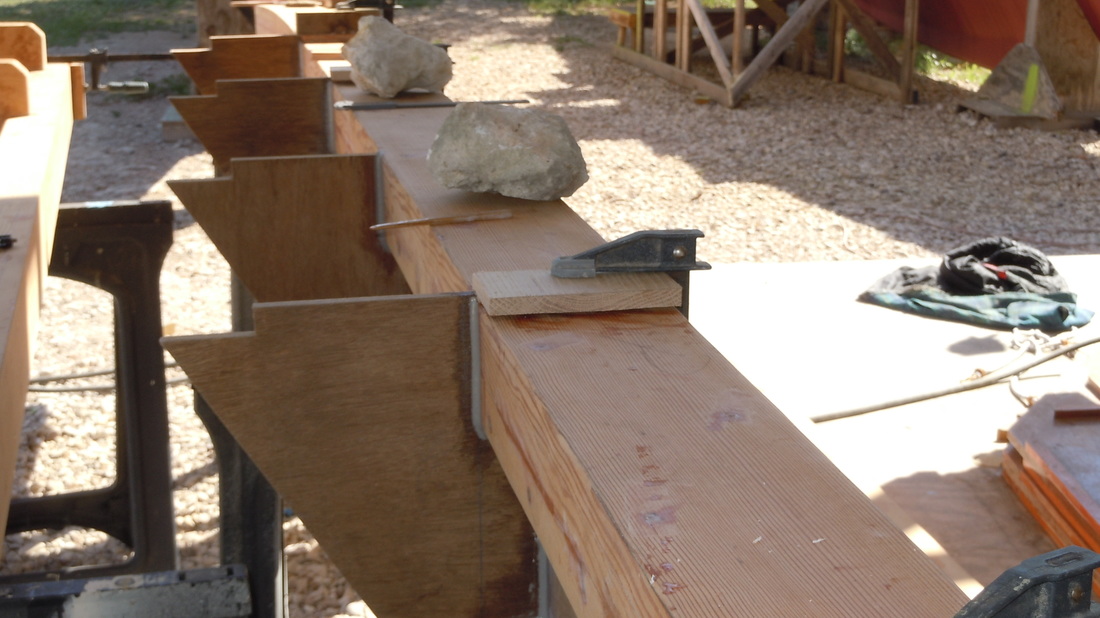
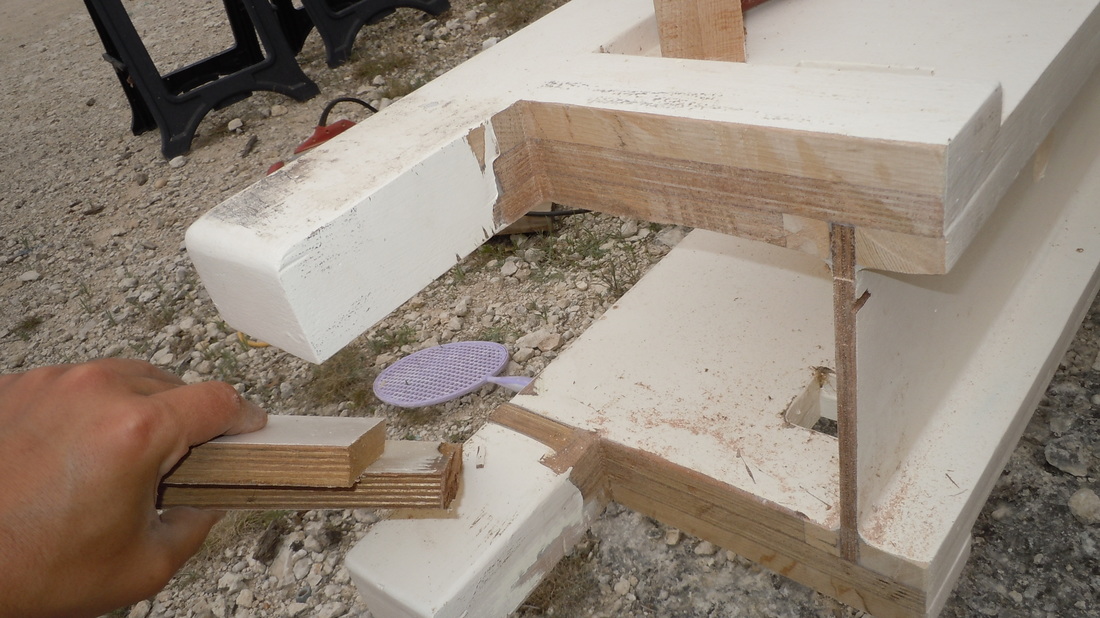
The stern posts. As you recall (Hah......no chance), the design called for an 5½" aluminum tube across the aft of the boat. And, as you recall (doubt it!), we changed everything to an aft I-beam. So the stern originally looked like this...
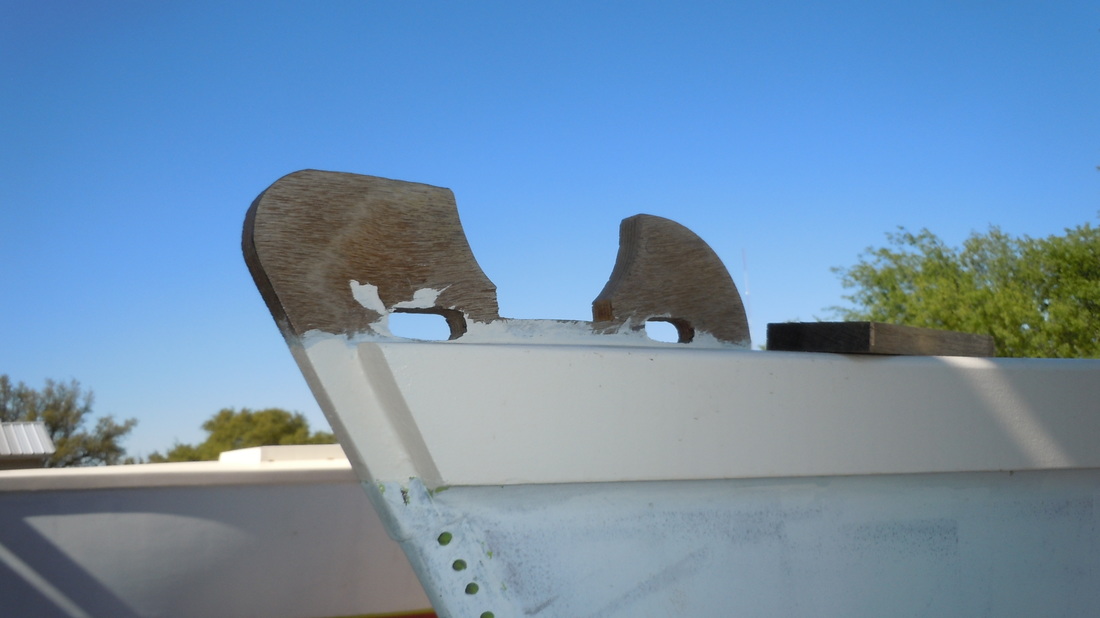
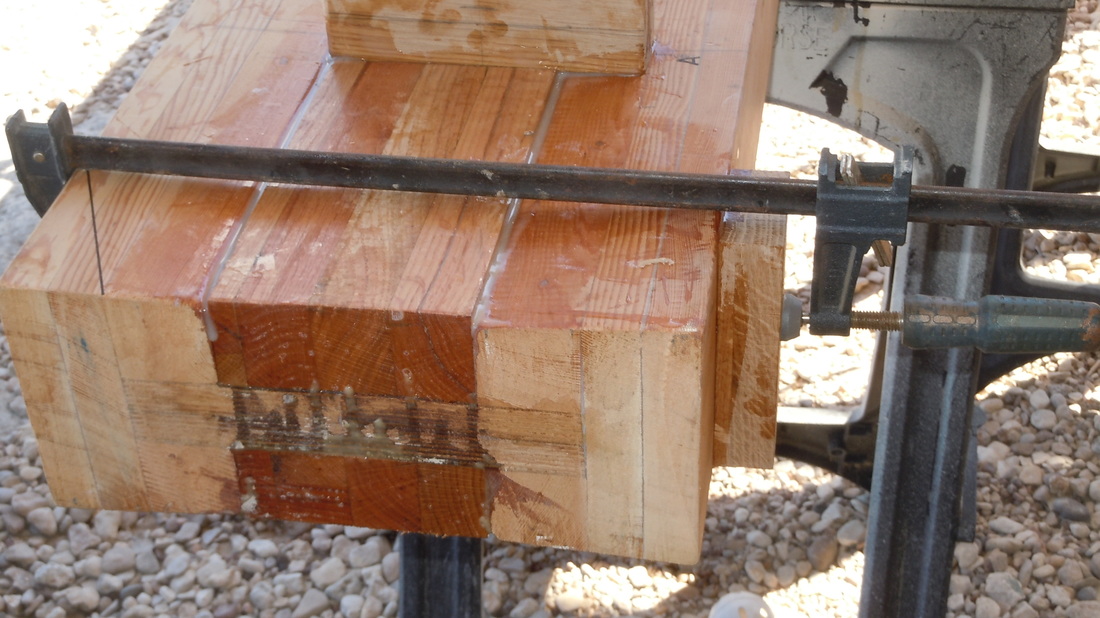
Square peg, round hole! That little notch at the bottom is the width of the beam. Hmmmmmmmmm.
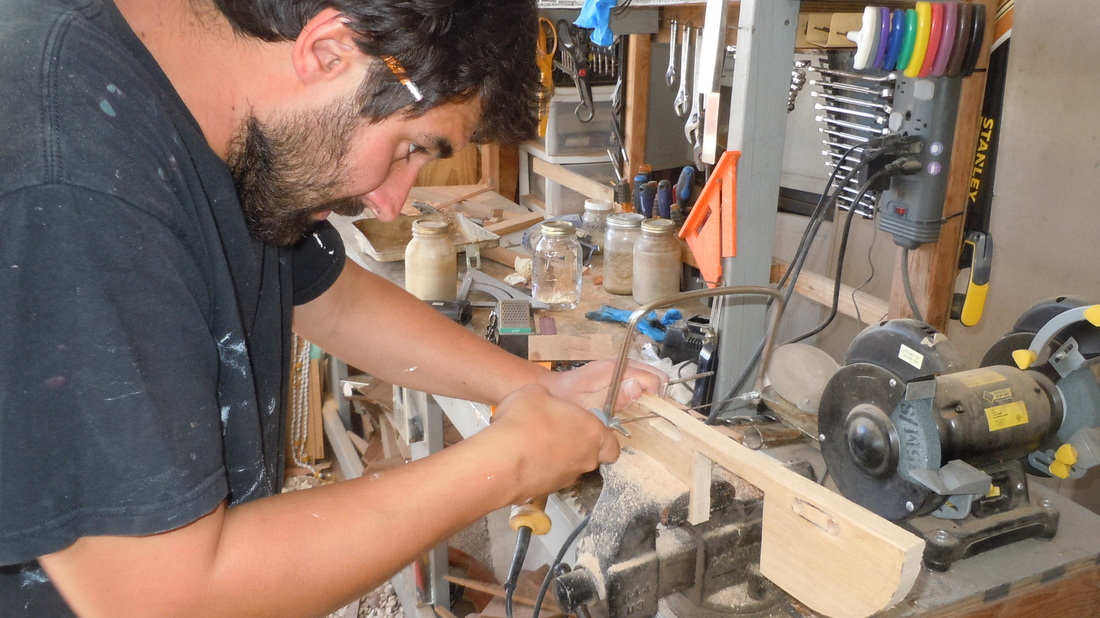
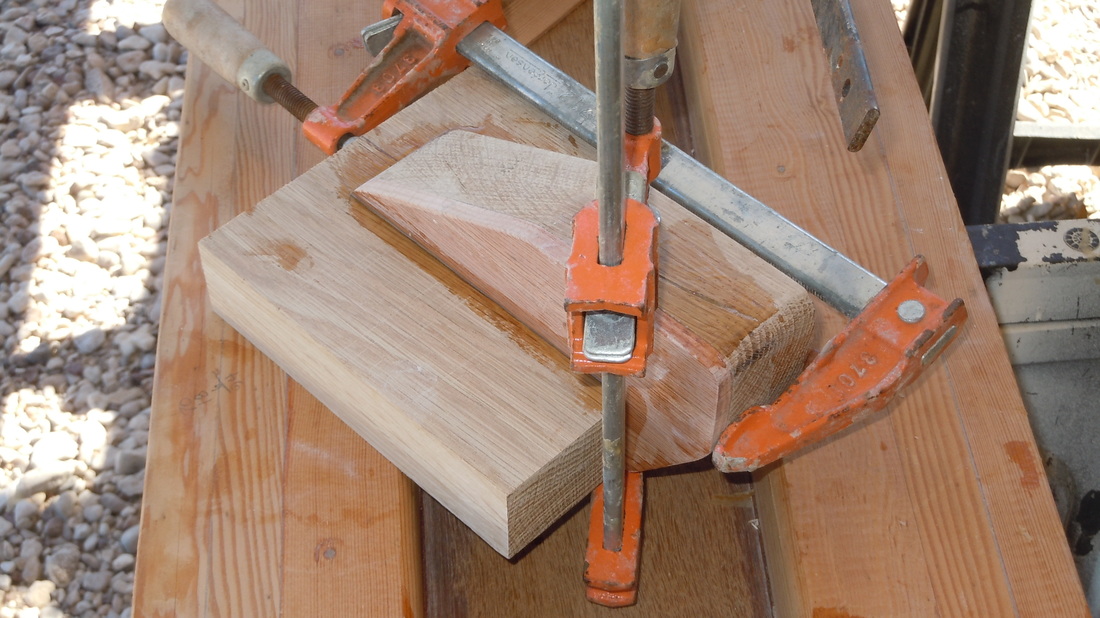
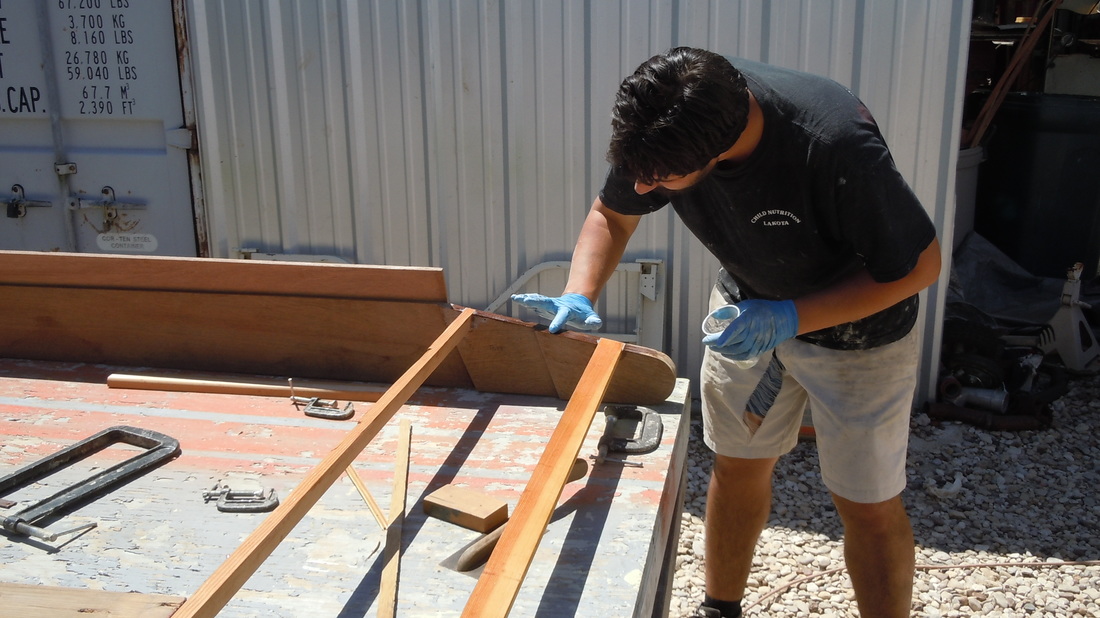
The plans call for side reinforcement cheeks on both sides of the stern post. Ben is cutting the lashing holes of one cheek. Just to make life semi-interesting, the port side was re-constructed to correct that misalignment problem we had with the rudder (I hope you don't remember that!). The plywood was doubled on that side to correct the problem. So, Ben had to make four cheeks, a plywood cheek for the starboard to even out the two sides, plus some teeny filler pieces to fill in the rounded area and make it square.
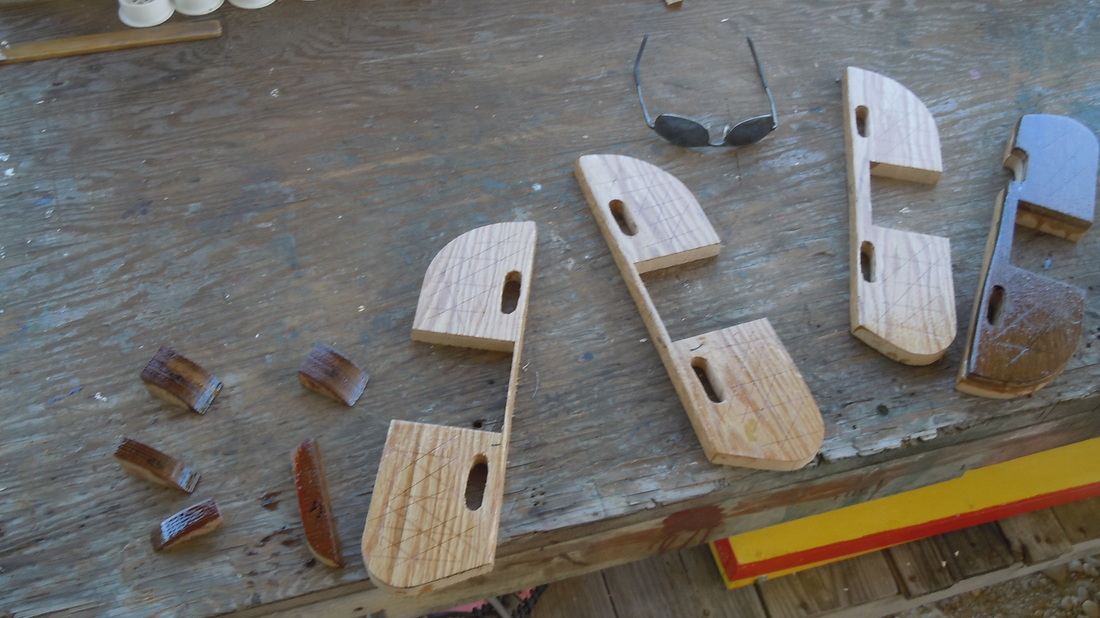
Ten pieces. We know how to make a simple thing complex!
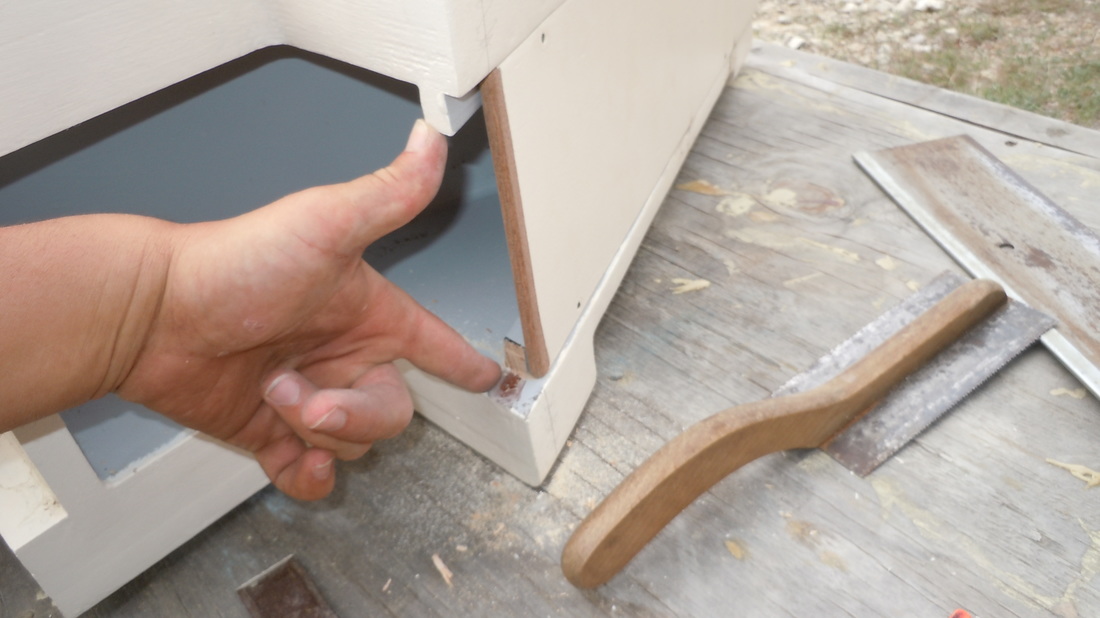
First the oak cheek!
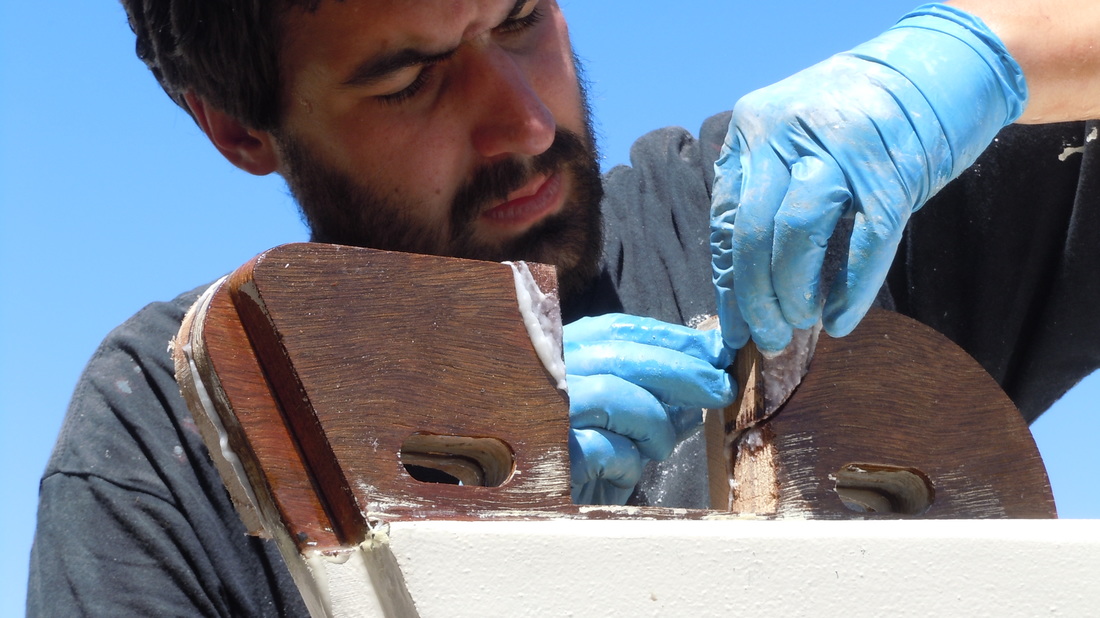
Then the two filler pieces to make it square again.
oak cheek on the other side....
And don't forget that little filler piece to bring the plywood flush.
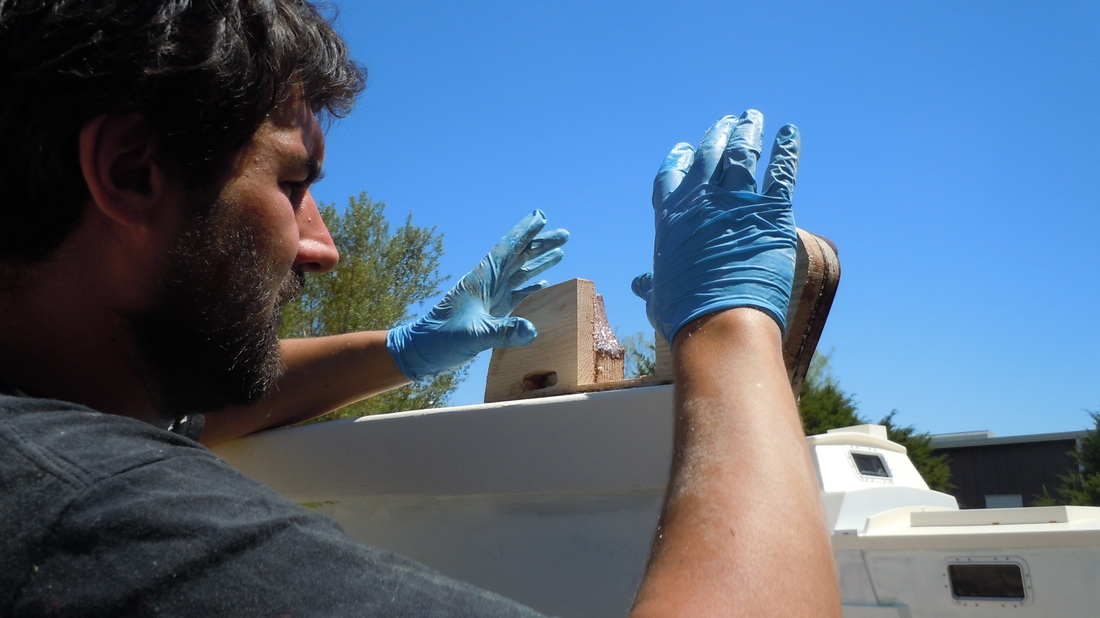
Clamp the hell out of it and..............................
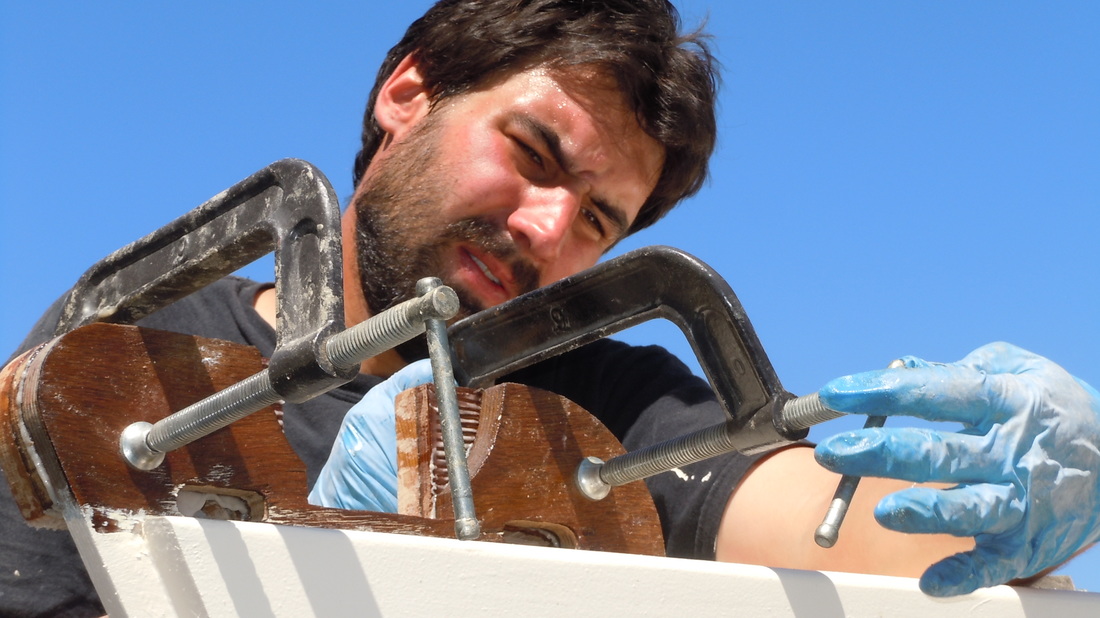
Do it again to the starboard side!!
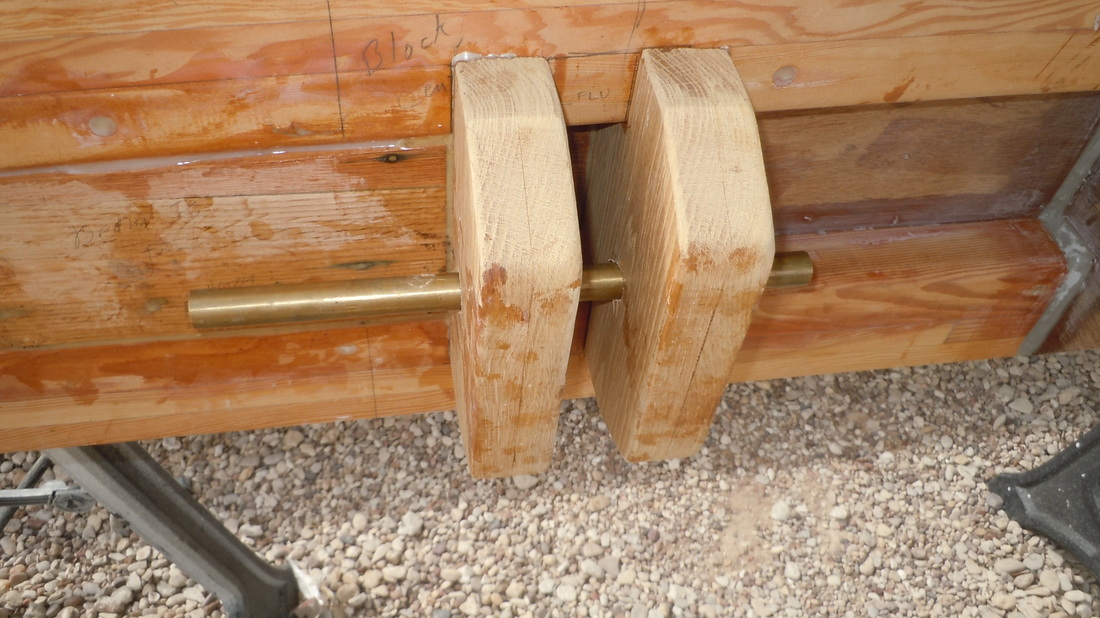
Me??? I glued blocks on beams. Mast beam locating blocks...

Seat support blocks.......
Mast case locating blocks.......oh, hell, who cares! Minutia upon minutia.
Mast beam mast supporting blocks. Oh hell, Let's just say I glued on every friggin' beam block to the beams! Oh crap....except for the pod blocks! The simple becomes the complex.
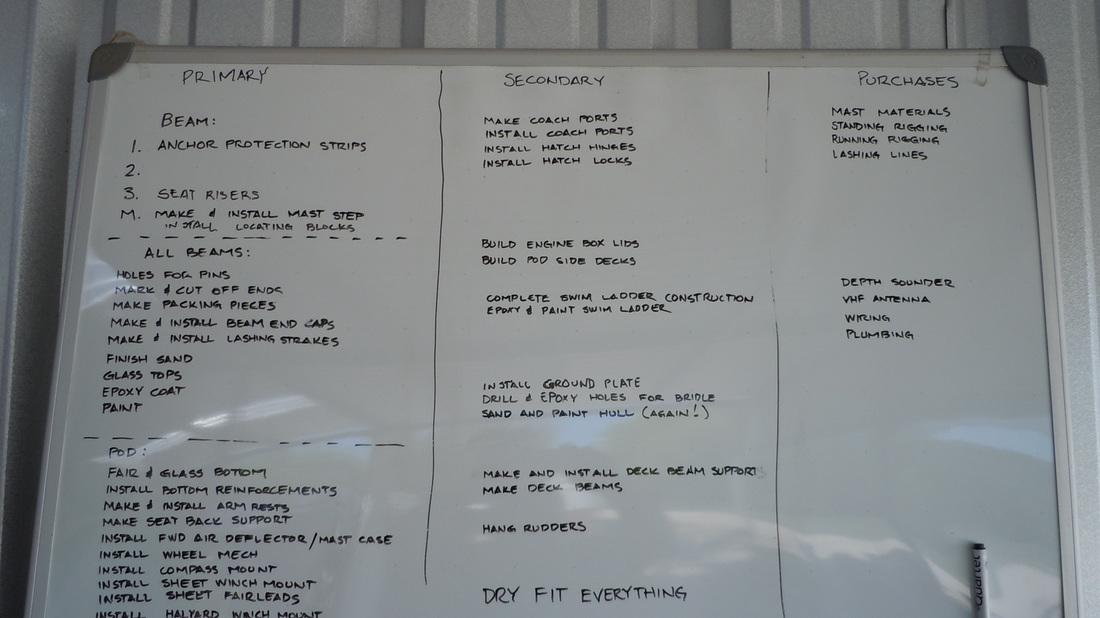
Budge made a list of tasks to be completed............our myriad documented............kill me now! Tedium piled upon tedium. One step at a time, don't look up.
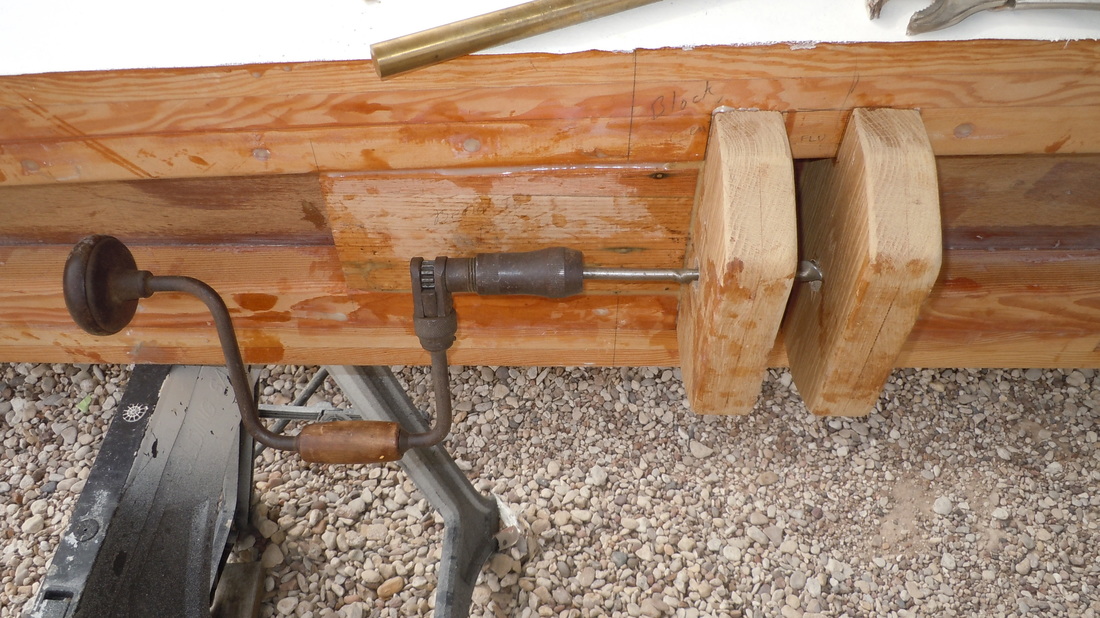
I had to expand the holes of the swim ladder pivots by 1/16'" to allow for epoxy in the holes. This involved a brace and bit riding on a centering plug cut with a hole saw. Don't worry, I don't get it either!
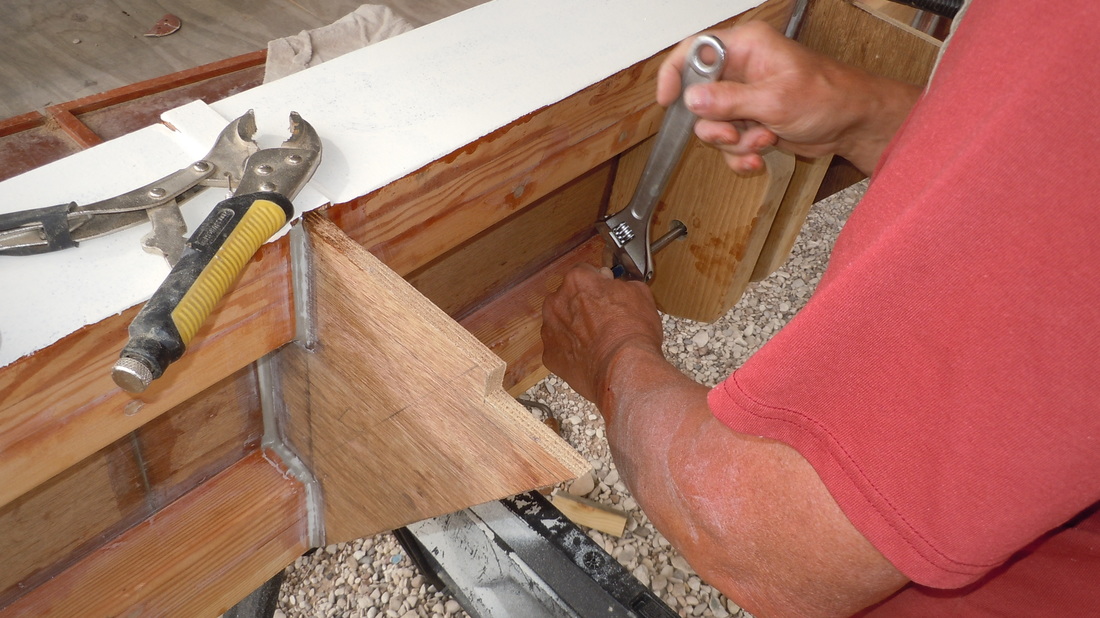
At one point the brace would not clear and I had to finish the last hole with a bit and a wrench.
Now the rod fits with room for epoxy in the holes. How exciting! We did other stuff, too.
Like screw up on the swim ladder. This was Budge's project, but we all worked on it. Sometimes three people are worse than one person working alone without distractions.
We glued on the ends and top...........
Plenty glue for those ends! Somewhere, early along the process, we didn't quite get it square. The bottom toes in from the top...........3 people, each thinking the other s checked the process. It's not major, but it propagated a discussion on how to correct it. My idea was to put knees in it...........naw..........need too many knees. We decided to make a complicated set of stairs that extended fully across the ladder and pulled everything into square. After thinking about it for a day, we decided it was overly complex. We have to mull things over individually for a day or two. Each person bouncing it through the grey matter. Finally, Ben and Budge independent of each other came up with the same solution: a cross brace in the center. Budge's design was more thought through, Ben's added a vertical brace, but they were very close. We will use Budge's concept adding Ben's brace.
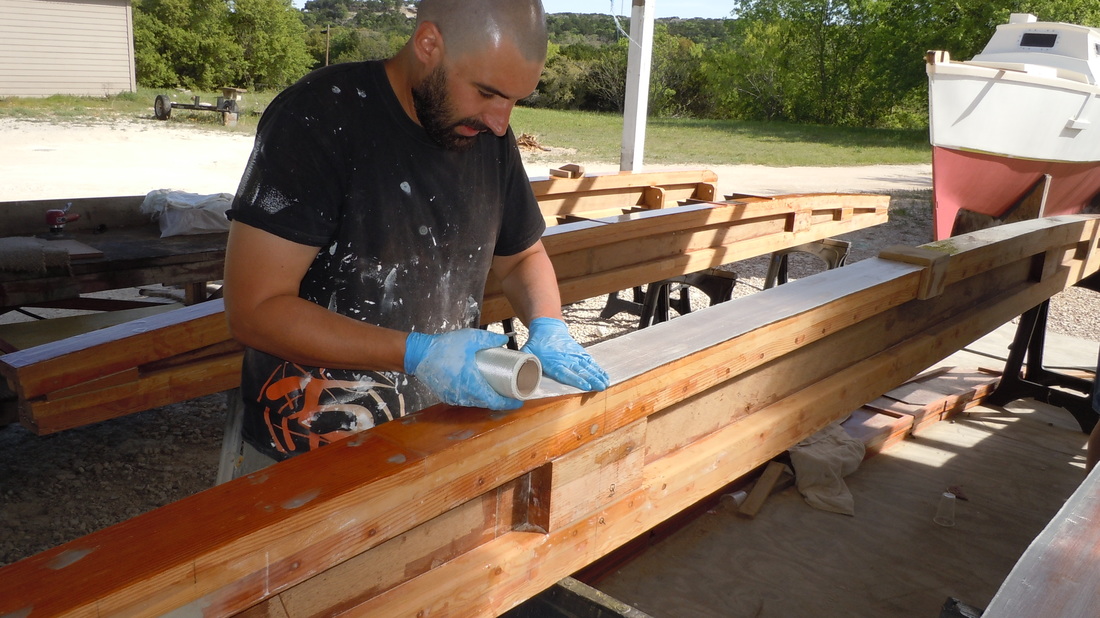
Once all the various blocks were glued on the beams, we glassed the tops, per the plans......
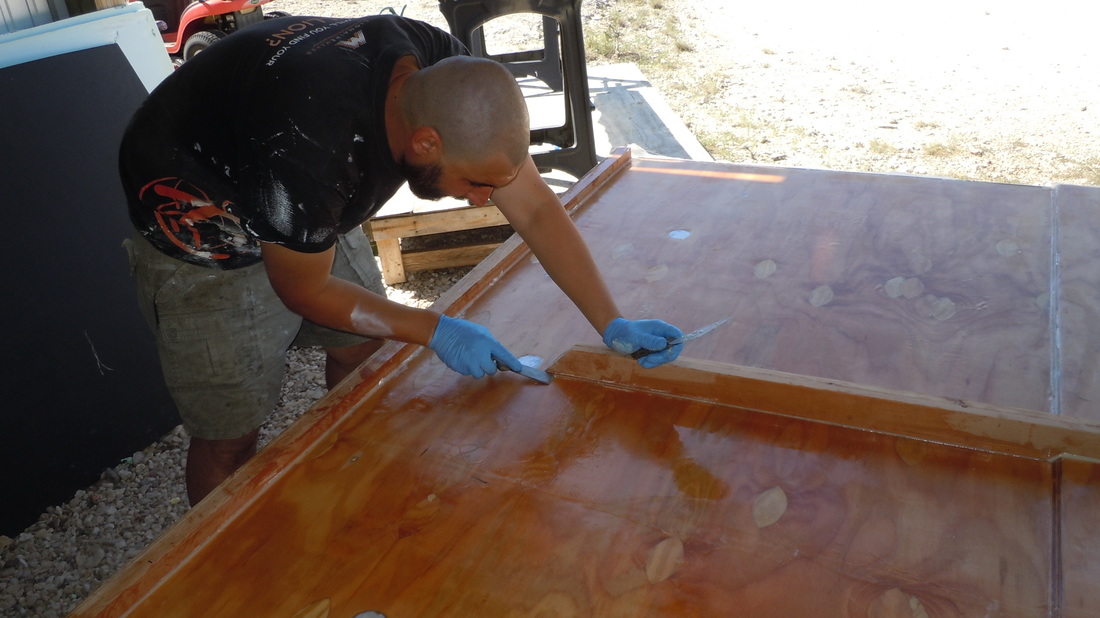
Saturated the glass with a bumpy roller.
Once the epoxy saturated glass gets mostly cured but not hard, cut off the excess with a razor blade.
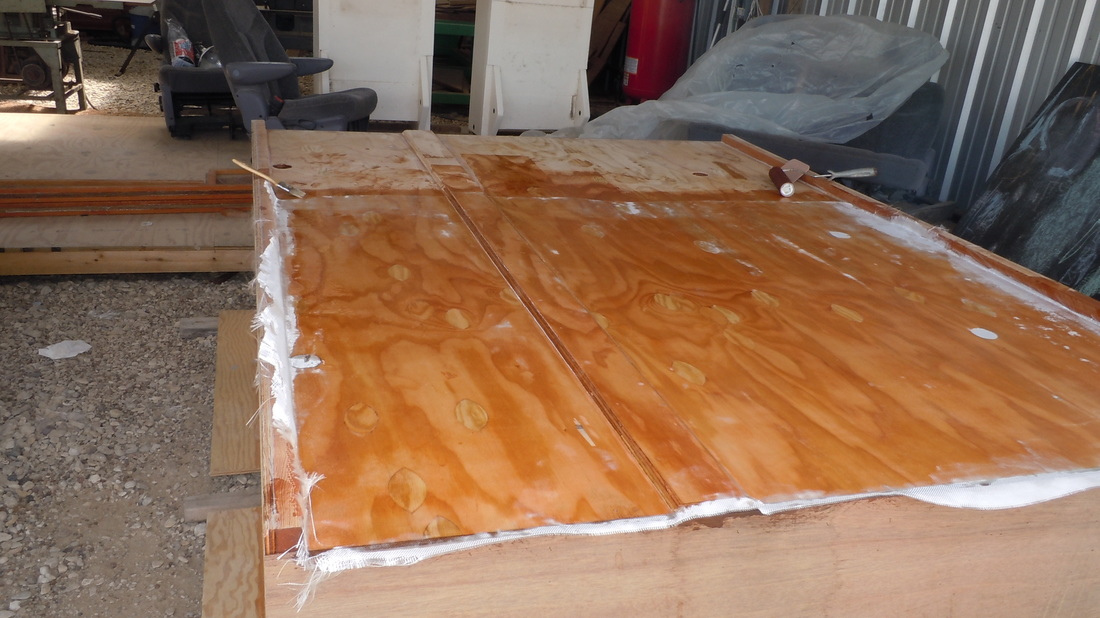
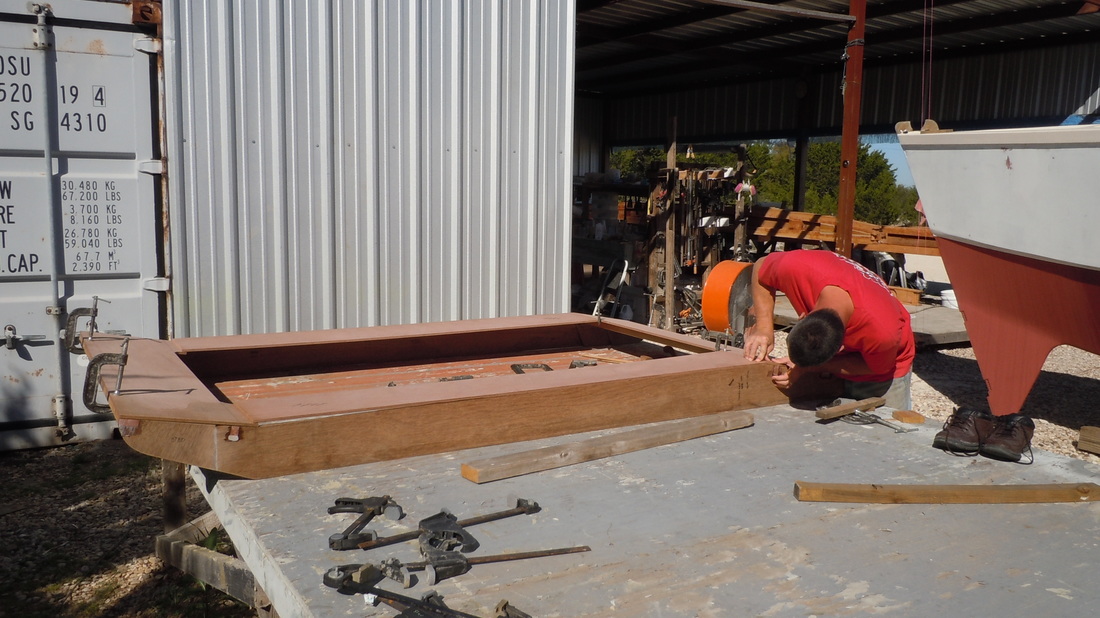
We also worked on the pod bottom (Sir Percival Podbottom...........where'd that come from?). We glassed.
Once the glass was on, we glued on the center stiffening brace.
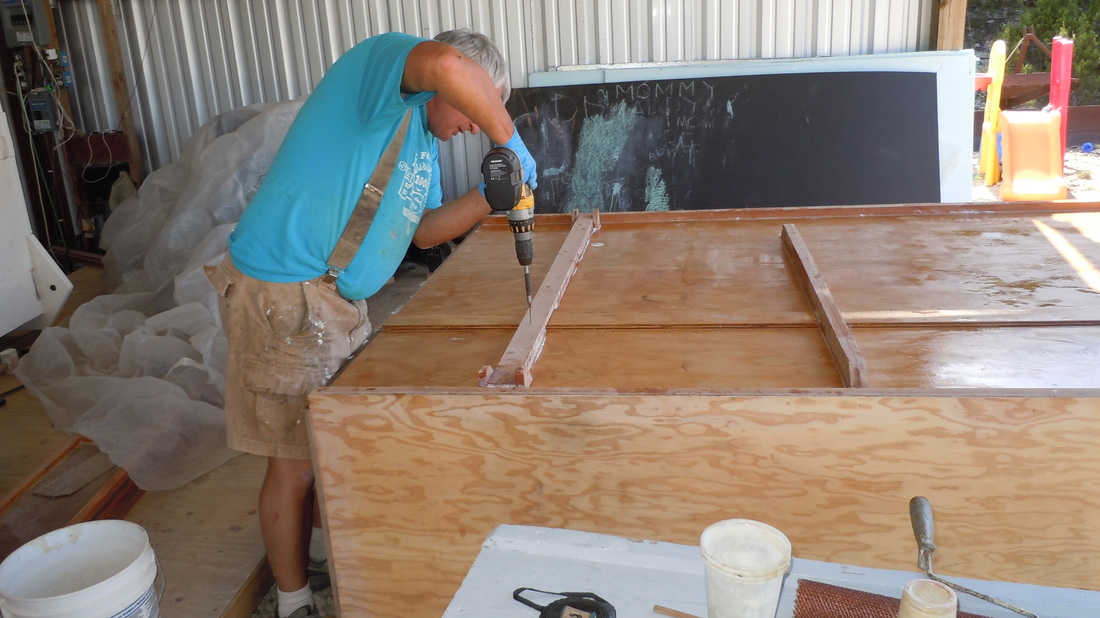
And the two outside support stiffeners. Now I must once again digress from my chain of thought, if I ever had one, and describe the pod support.................sorry. Through our stream of consciousness discussions and our changing of the basic pod design, we had to decide how to support it on the beams. Remember, the pod is lowered and we have to support it from the bottom. Again, discussions ad nauseam until we coalesced into a plan. Two web straps, beam to beam, on the bottom supports to hold up the contraption. If you look, you can see the two ears on each end of the support which will keep the straps centered. We have yet to work out the beam attachment system, but, once we sufficiently argue amongst ourselves, we'll have a system.
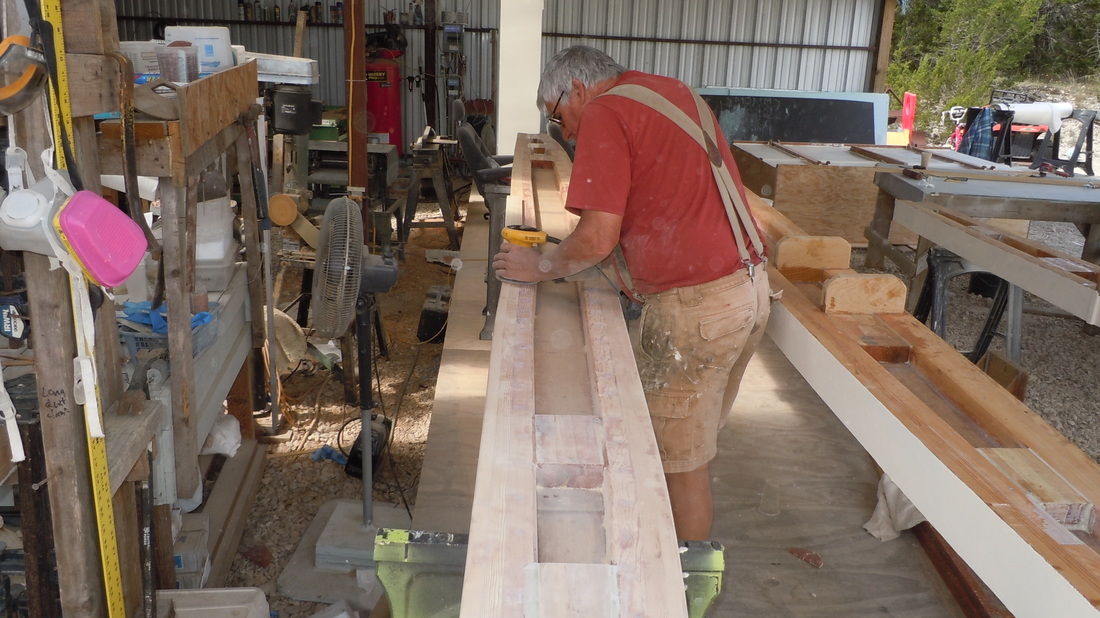
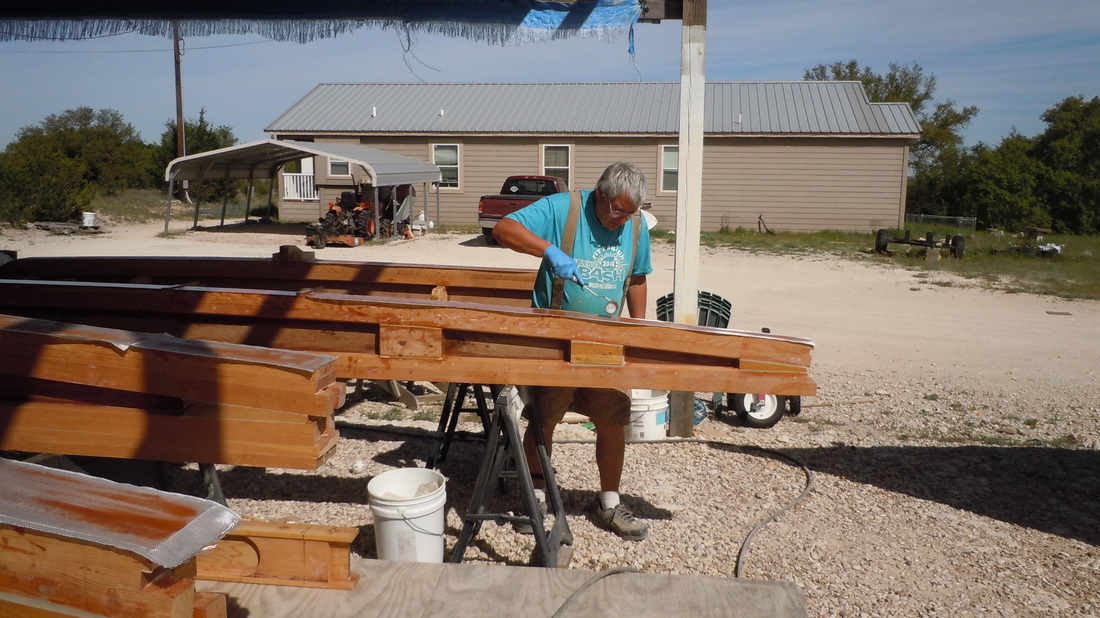
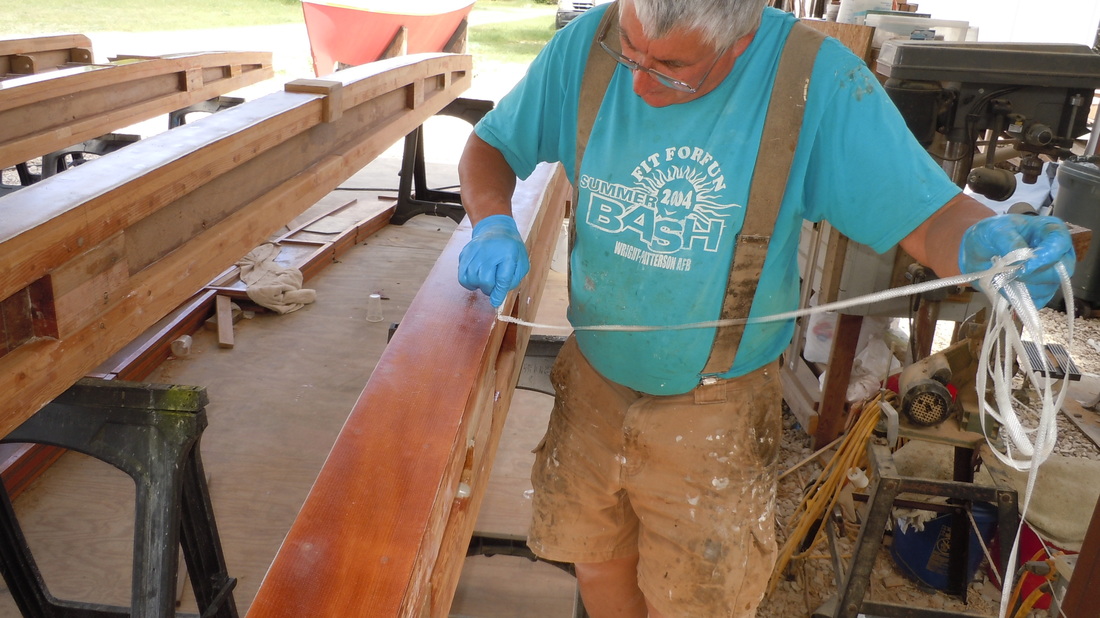
With the beam tops epoxied, glassed, and painted, we sanded two other sides. Sanding....
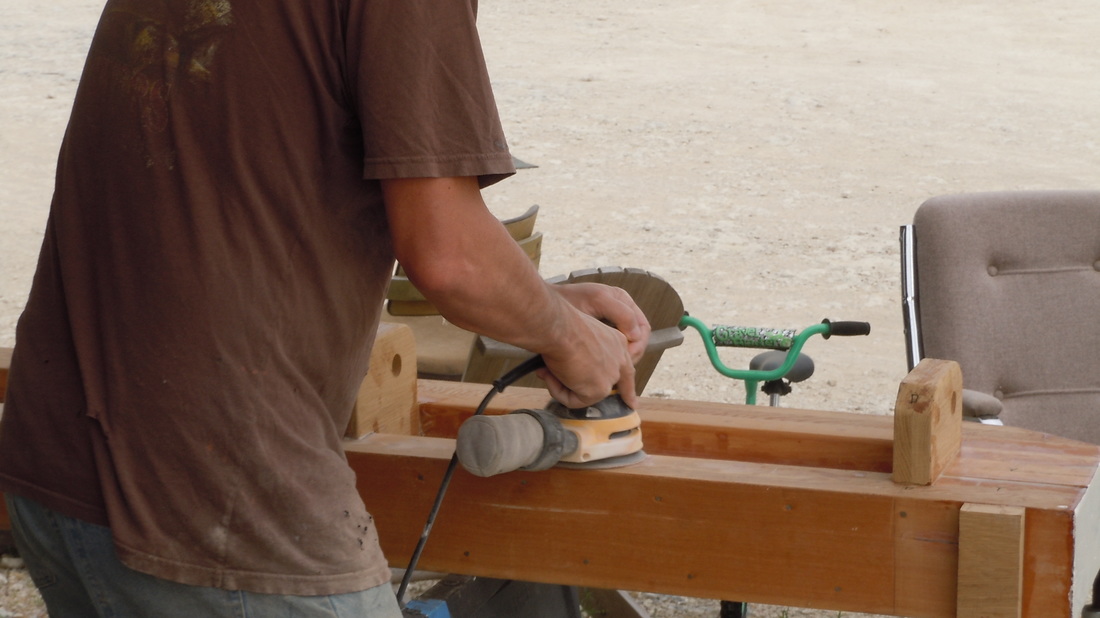
Sanding....................
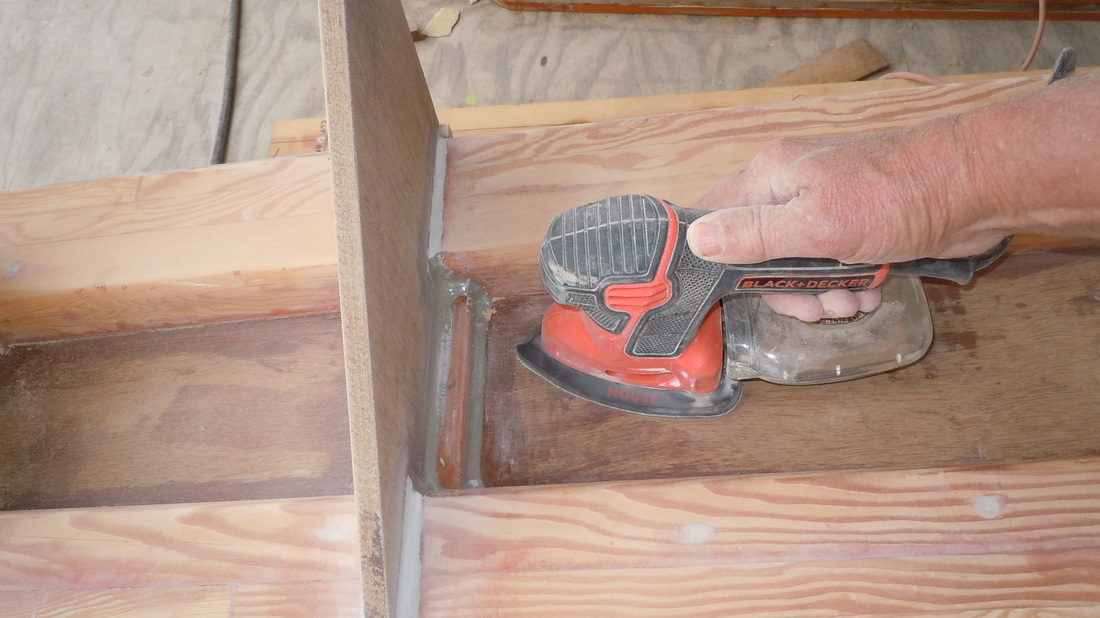
Sanding.....................................................................
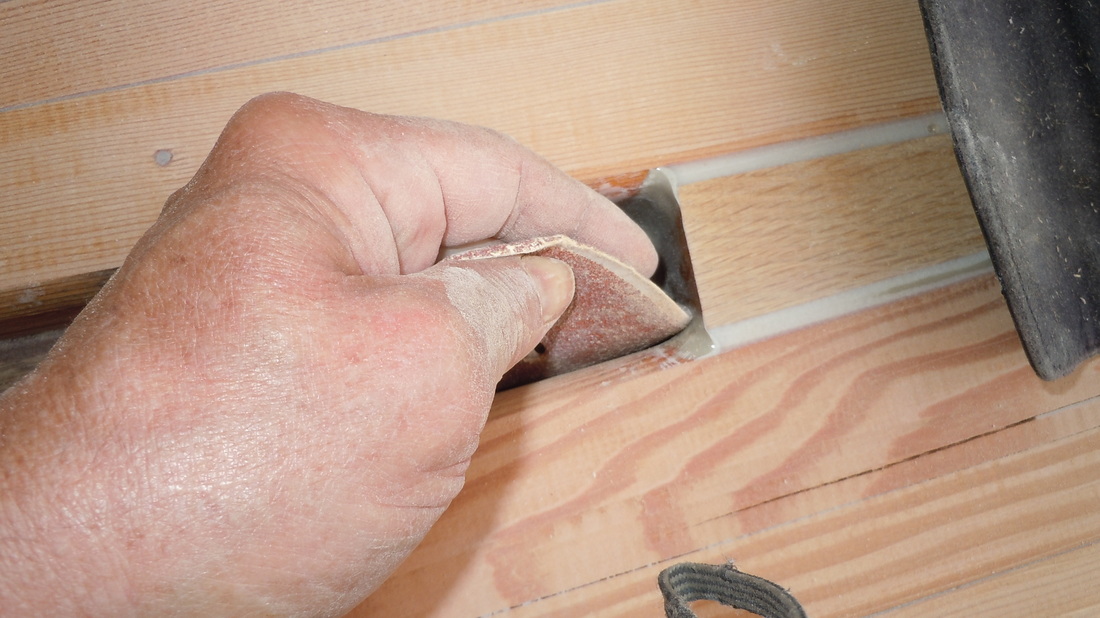
Sanding..................................................................................................................AAAAAAAAAAAH!!!!!!!!
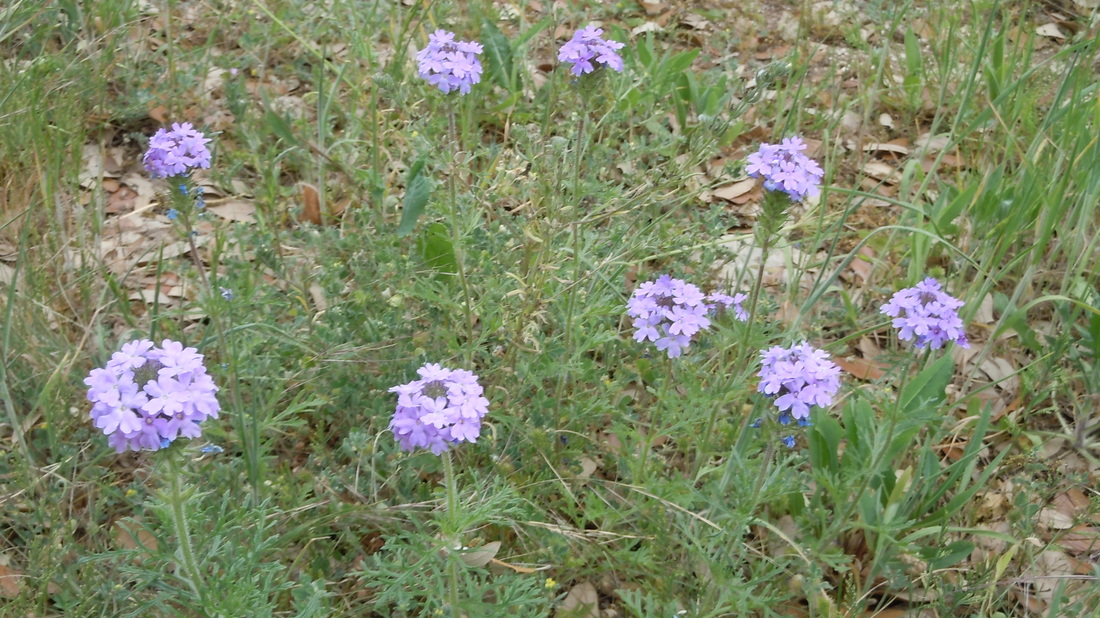
Mmmmmmmmmmmmmmm....................................wildflowers!
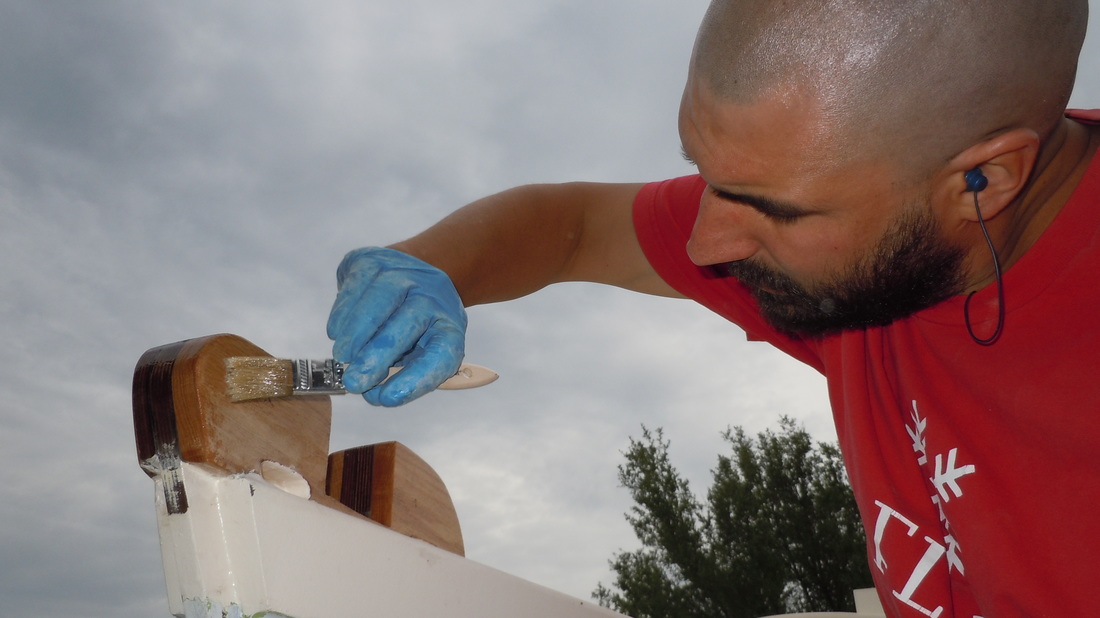
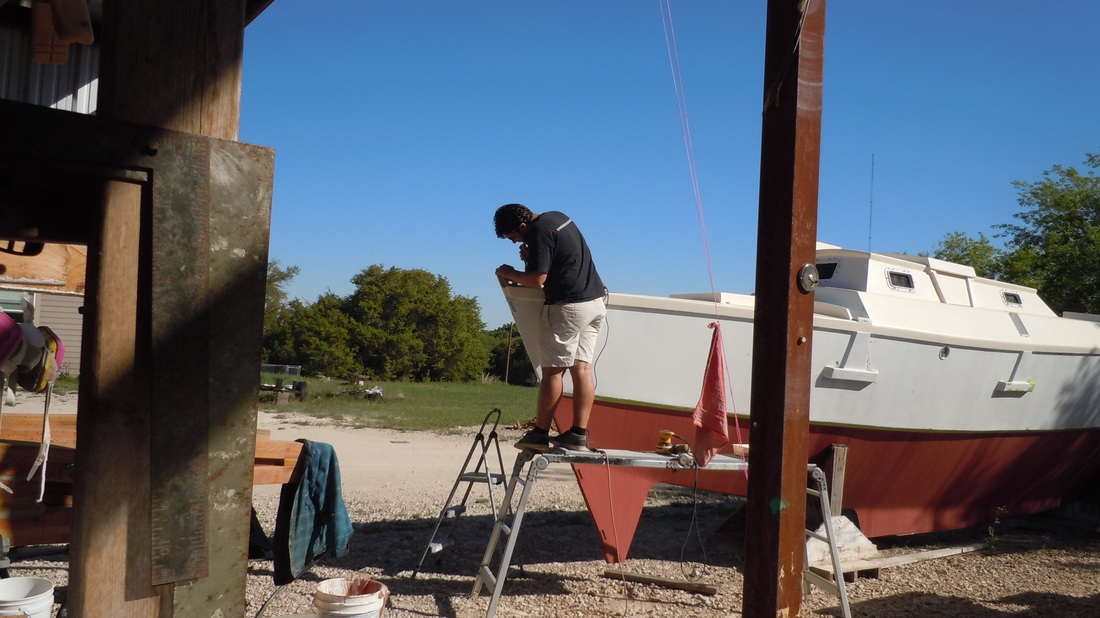
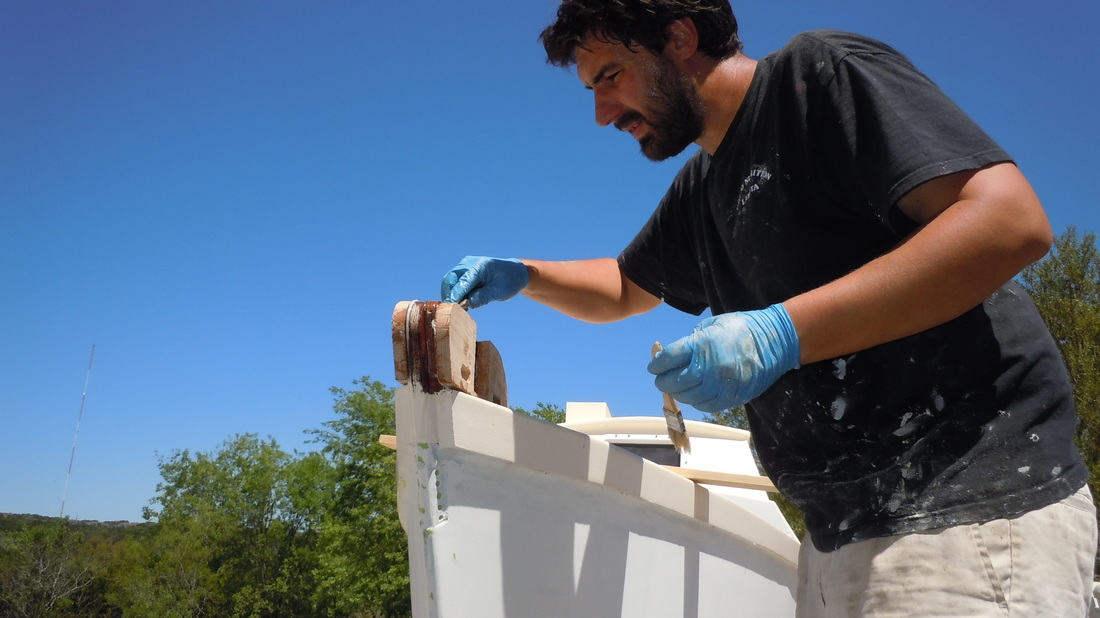
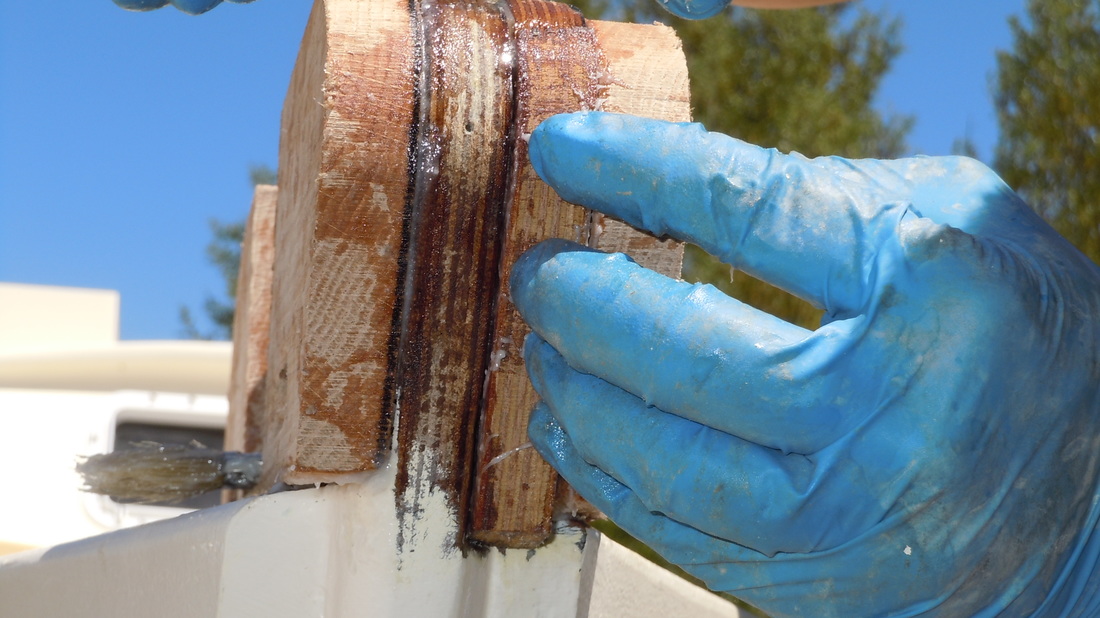
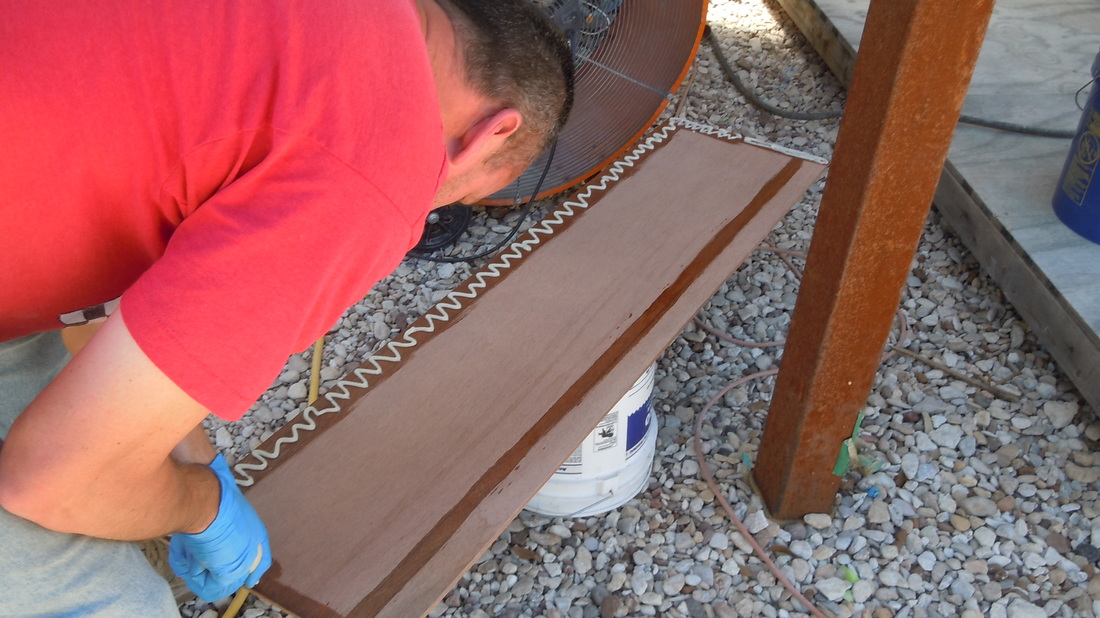
Ben finally coated the stern posts on Saturday
Being as dumb as we are, we had to lop off 3/4" off the end of the mast case so it will fit between the beams.
And trim the other end so it would fit over the blocks on the beams.

While we were there, we touched up the oak a bit, which was checking a bit. You can see the darkening at the end, a characteristic of white oak. I watched a show on the Vikings. Their boats were of split white oak and sailed all over the known world, as far as north America and Russia. Hey, that's what I'm doing with this blog!
The Music♫: Flogging Molly "Float"
Thanks a bunch to Michael for the suggestion. This is one of Ben's favorite bands (he only has about 500 favorite bands). The video is exactly like this build! Watch it! We just found the fork!
 RSS Feed
